
View Gappsi’s YouTube Channel to view Marble Patio, Vinyl Pool & Synthetic Turf Backyard Installation in Massapequa, NY
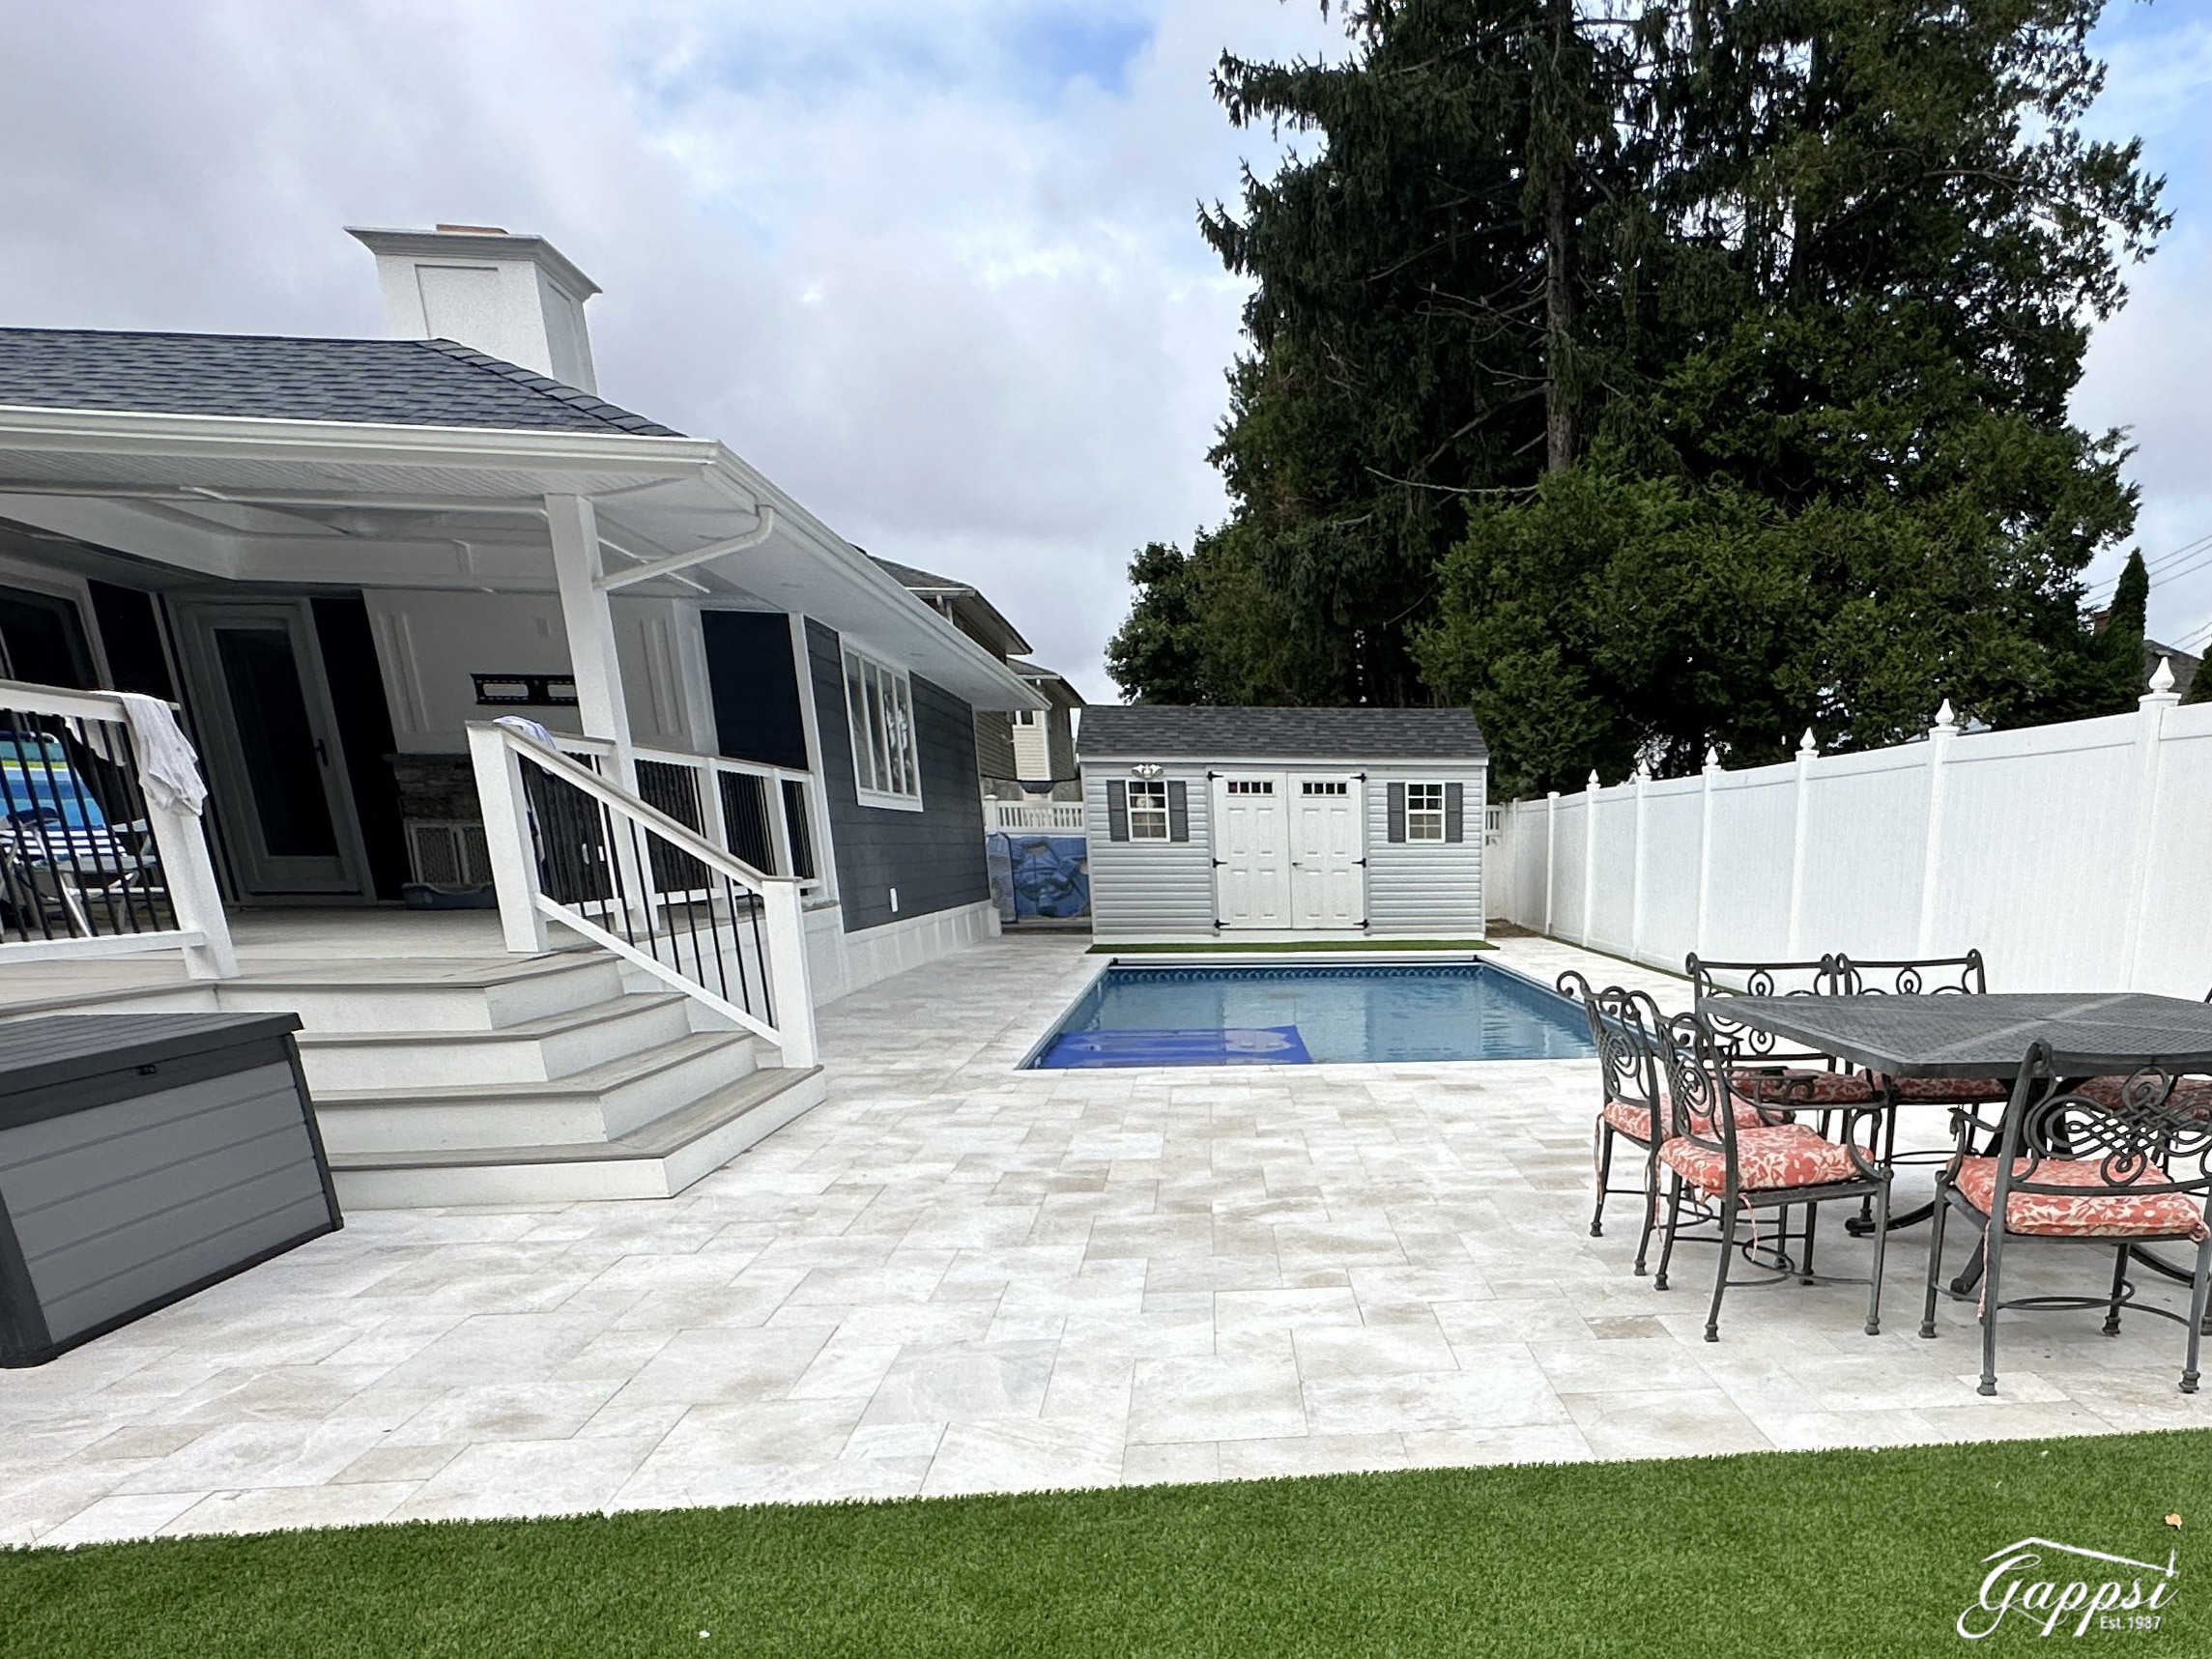
A thoughtfully designed backyard should function as an extension of your home, balancing aesthetics, performance, and ease of maintenance. In this latest installation by Gappsi in Massapequa, every element was selected and constructed to create a cohesive outdoor living environment. The project features a 16×32 vinyl liner pool with concrete walls, an automatic pool cover, G043 marble pavers from the Gappsi Natural Stone Collection, and extensive synthetic turf installation, including a custom putting green.
This backyard transformation demonstrates how strategic material selection and precise installation methods can deliver both luxury and long-term durability.
Vinyl Liner Pool with Concrete Walls – 16×32
At the core of this backyard design is a 16×32 vinyl-lined swimming pool with reinforced concrete walls. Vinyl liner pools remain a highly practical choice for homeowners seeking flexibility in design, smooth interior finishes, and cost efficiency compared to gunite alternatives.
The structural concrete wall system provides long-term stability and strength, ensuring the pool shell maintains its integrity against soil pressure and seasonal ground movement. The vinyl liner interior offers a comfortable, non-abrasive surface, making it ideal for families and frequent swimmers.
The depth profile was carefully planned for functionality:
- Shallow end: 43 inches
- Deep end: 5 feet
This depth configuration allows for safe recreational use, comfortable lounging, and versatile swimming activities without excessive excavation or steep slope transitions.
Stadium Stairs in the Shallow End
One of the most distinctive features of this pool is the custom-built stadium stair system located in the shallow area. Stadium stairs provide a tiered entry design that enhances both accessibility and aesthetics.
Functionally, this design:
- Creates multiple seating levels
- Allows gradual water entry
- Serves as a relaxation platform
- Improves circulation flow at the entry point
From a visual standpoint, stadium stairs add architectural depth and create a resort-style appearance. They also integrate seamlessly with the marble coping and surrounding patio.
Automatic Pool Cover Integration
The pool is equipped with an automatic safety cover. An autocover is more than a convenience feature; it is a safety, energy efficiency, and maintenance solution combined.
Benefits include:
- Enhanced safety: Creates a protective barrier when the pool is not in use
- Reduced evaporation: Minimizes water loss
- Improved heat retention: Helps maintain water temperature
- Lower chemical consumption: Protects water from debris and UV degradation
By integrating the autocover into the design phase, the cover housing remains discreet and does not disrupt the clean lines of the marble patio.
 G043 Marble Pavers & Pool Coping
The patio and pool coping were constructed using G043 marble pavers from the Gappsi Natural Stone Collection. Marble is a premium natural stone material prized for its elegant veining, refined color palette, and heat-resistant properties.
For pool environments, marble offers several technical advantages:
- Remains cooler under direct sunlight
- Provides a slip-resistant textured finish
- Withstands freeze-thaw cycles when properly installed
- Maintains color stability over time
The use of matching marble for both the patio surface and pool coping ensures visual continuity. The coping provides a clean edge around the vinyl liner pool while enhancing comfort for swimmers entering and exiting the water.
The patio layout was engineered to allow proper drainage and structural base support. Proper compaction and sub-base preparation are critical to preventing settlement or shifting over time, especially in Long Island’s seasonal climate.
Synthetic Turf Installation Throughout the Backyard
To maximize usability and minimize maintenance, synthetic turf was installed across the remaining backyard areas. This included:
- Open lawn areas
- The space between the fence and patio
- The side yard
- Custom putting green area
Modern synthetic turf systems provide a realistic appearance and soft feel while eliminating the need for mowing, fertilizing, watering, or reseeding. The turf is permeable, allowing rainwater to drain efficiently through the base system.
Filling the space between the fence and patio with turf created a finished, seamless perimeter. Instead of narrow planting beds or difficult-to-maintain grass strips, this approach delivers a clean, modern look with functional usability.
Side Yard Transformation & Custom Putting Green
The side yard was fully converted to synthetic turf, optimizing what is often an underutilized space. Within this area, a custom putting green featuring two holes was installed.
This feature adds a recreational component to the property without requiring additional square footage. Two-hole configurations allow for varied practice angles and improve playability.
The putting green surface was engineered with:
- Proper sub-base grading
- Integrated cup placement
- Defined fringe edges
- Performance turf designed for consistent ball roll
For homeowners who enjoy golf or entertaining, this addition significantly enhances backyard engagement.
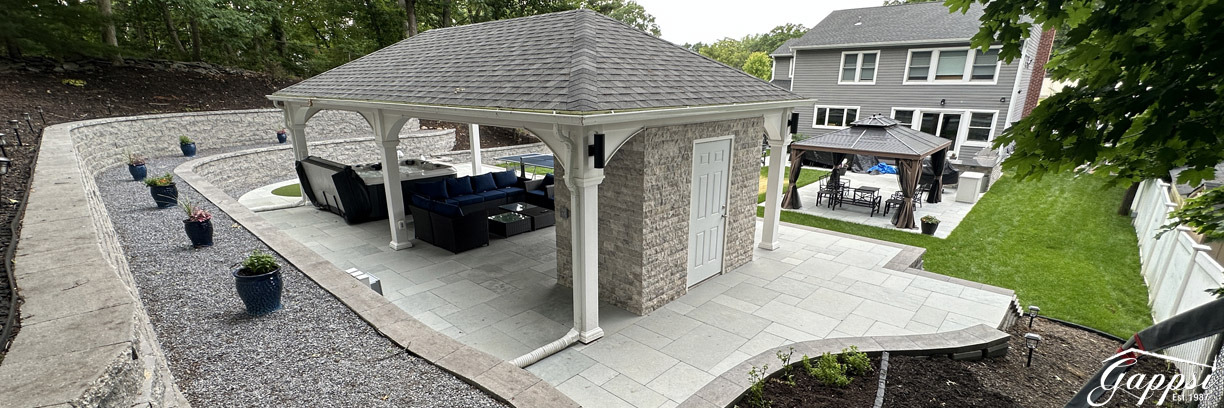
Cohesive Backyard Design Strategy
What makes this Massapequa project successful is not just the individual components, but how they function together as a unified system.
Key design principles applied include:
Material continuity: The marble coping and patio create a cohesive transition from pool to entertaining space.
Functional zoning: Pool, lounge areas, turf play zones, and putting green were strategically positioned to maximize flow and usability.
Low maintenance strategy: A vinyl-lined pool, automatic cover, and synthetic turf significantly reduce long-term maintenance requirements.
Aesthetic balance: Natural stone paired with clean synthetic surfaces achieves a modern yet warm appearance.
Engineering & Installation Considerations
A project of this scope requires detailed planning and professional execution. Critical phases included:
- Excavation and structural reinforcement
- Concrete wall installation
- Plumbing and filtration integration
- Autocover housing installation
- Marble base preparation and installation
- Turf base compaction and drainage layering
Each layer, from sub-base to surface finish, directly affects longevity and performance. Improper grading or base compaction can lead to uneven surfaces or drainage problems, which is why experienced installation is essential.
The Latest Backyard Installation by Gappsi in Massapequa, NY
This marble patio, vinyl pool, and synthetic turf backyard installation represents the latest completed project by Gappsi in Massapequa, NY. The result is a modern, fully integrated outdoor environment designed for relaxation, entertainment, and long-term durability.
By combining:
- A 16×32 vinyl liner pool with concrete walls
- Stadium entry stairs
- Automatic safety cover
- G043 marble pavers and coping
- Full synthetic turf coverage
- Custom two-hole putting green
The property now delivers a resort-quality outdoor experience with minimal maintenance demands. For homeowners considering a backyard transformation, this project demonstrates how strategic material selection and professional installation can transform an ordinary yard into a highly functional, visually refined outdoor living space.
Contact Gappsi Today
📍 Serving all of Long Island, NY — Nassau & Suffolk Counties
🌐 www.gappsi.com
📞 Call now for a free consultation and estimate!

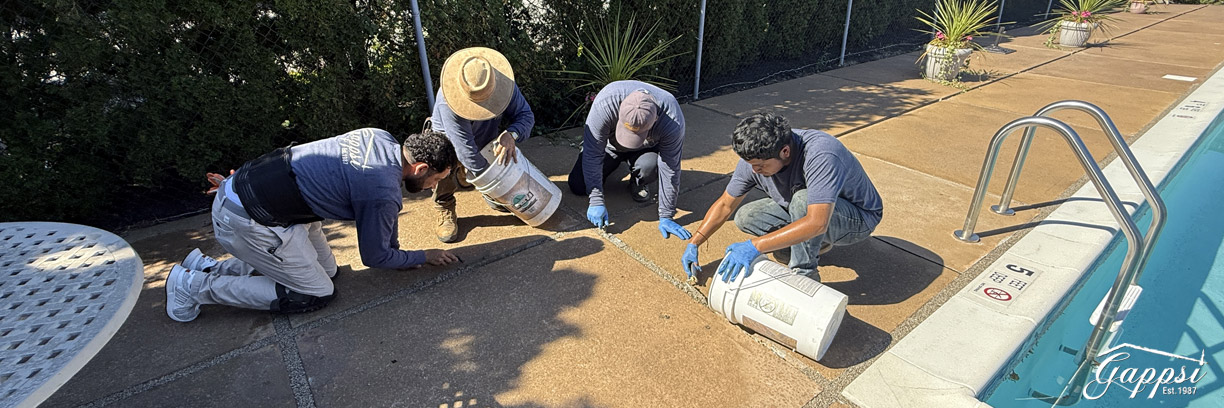 Unfortunately, over time, the polymeric sand did not hold up as expected. Despite claims from the manufacturer that it would withstand weathering and movement, the sand began to crack, wash out, and deteriorate.
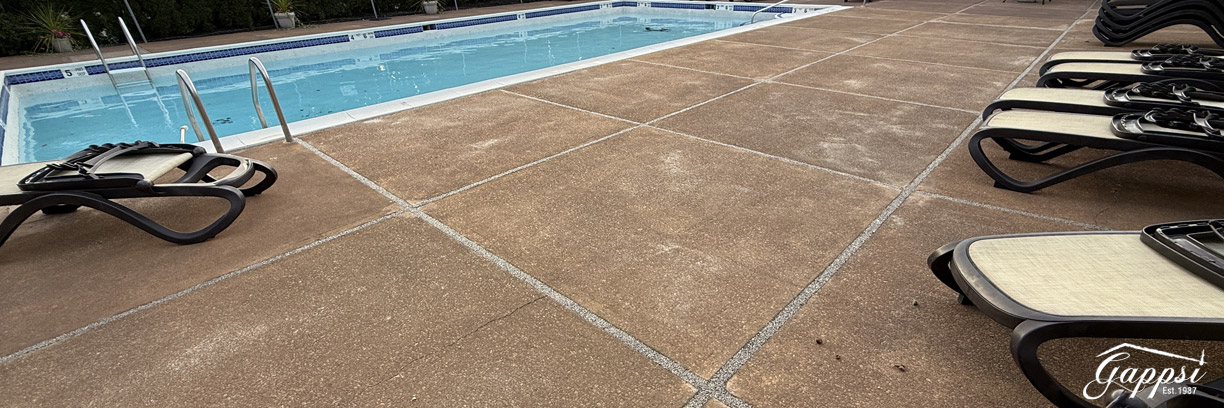 Why Urethane Resin is Superior to Polymeric Sand
 Imported Italian Quality, Installed by Gappsi
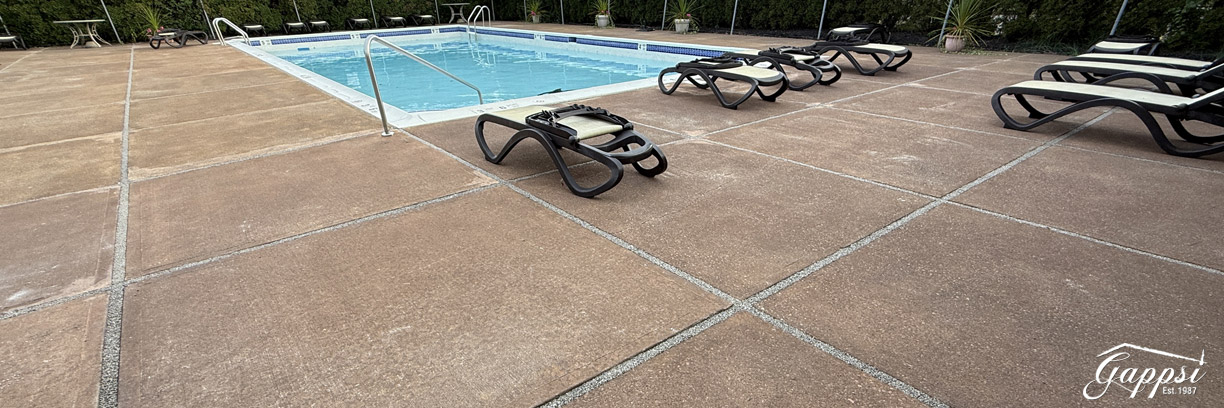 Contact Gappsi for Your Next Project
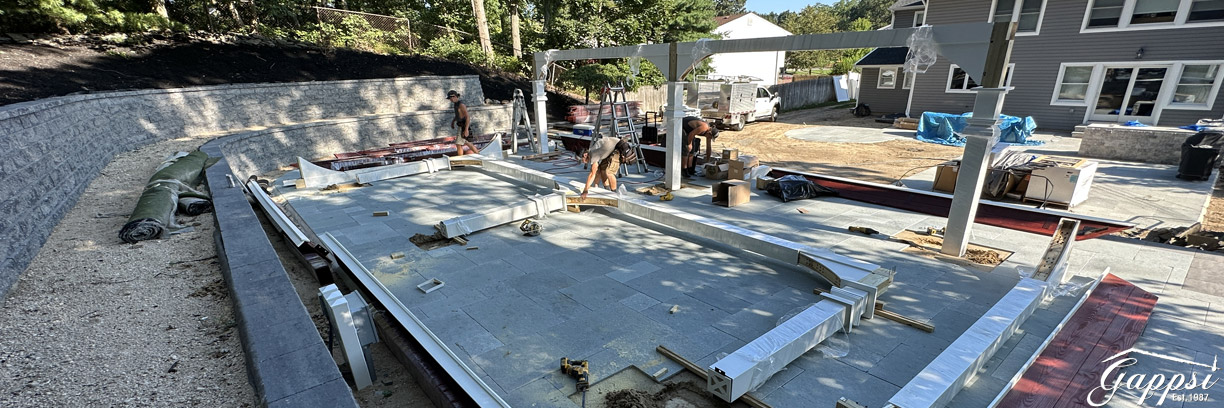 Considerations when designing for a sloped backyard:
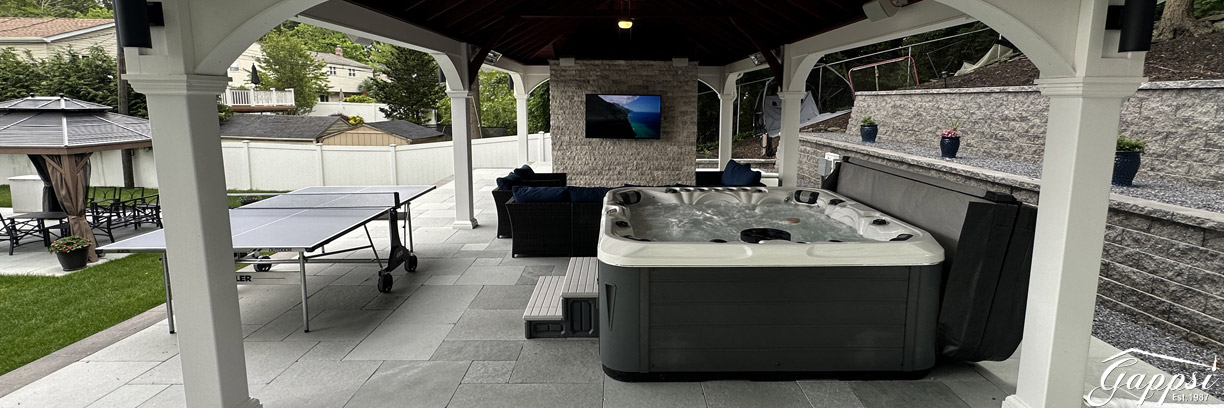
 3 Hole Putting Green
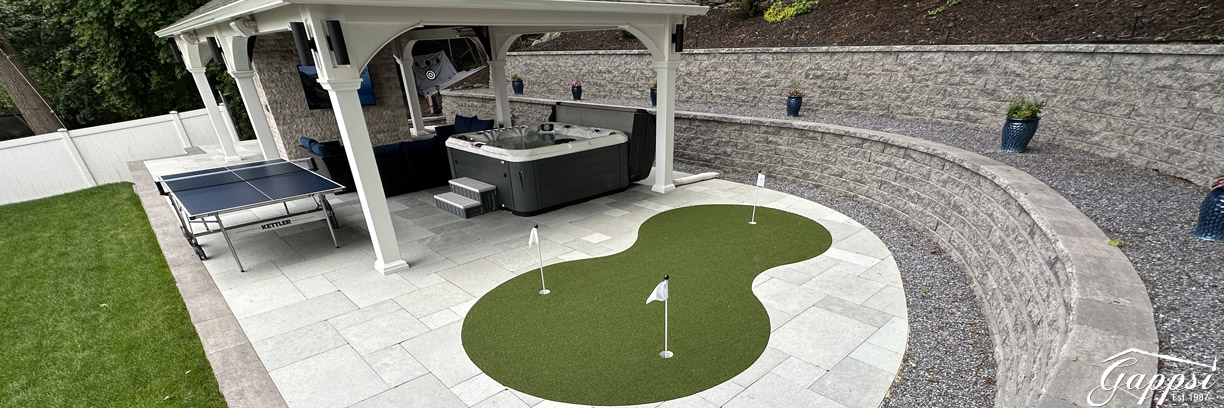 Passion Spa – Gappsi is an Authorized Dealer for Passion Spas
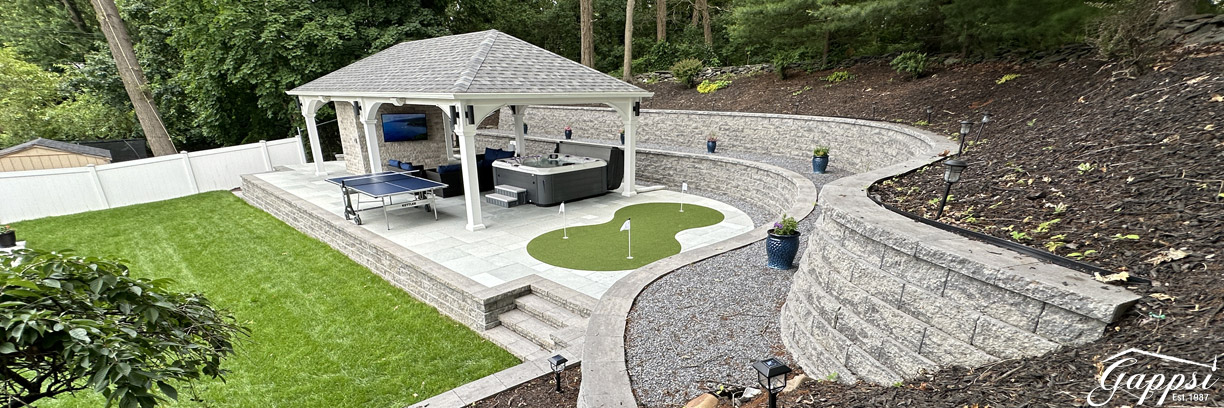 SCHEDULE A MEETING TODAY WITH GAPPSI
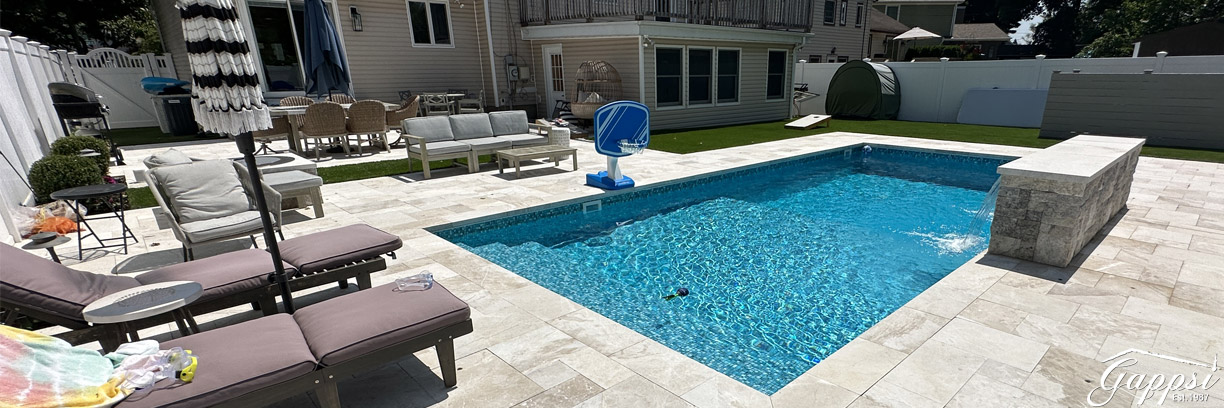 Marble pavers for pool patio and synthetic turf can transform your space. The addition of marble pavers to your pool deck and lanai areas adds style and elegance. You can easily transform your outdoor space with the beauty of pavers, marble, or travertine. At Gappsi, we can help you choose the product that will blend seamlessly with your style.
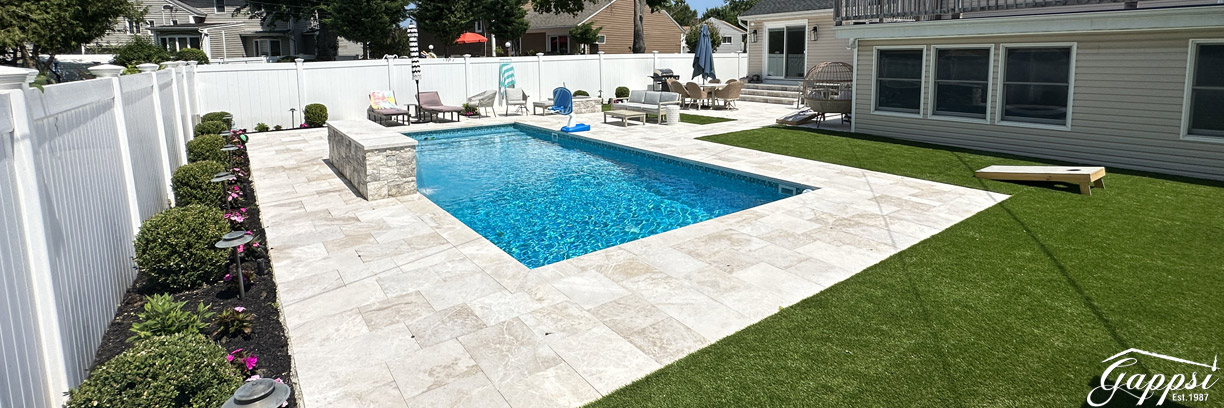 Synthetic Turf – Artificial Grass
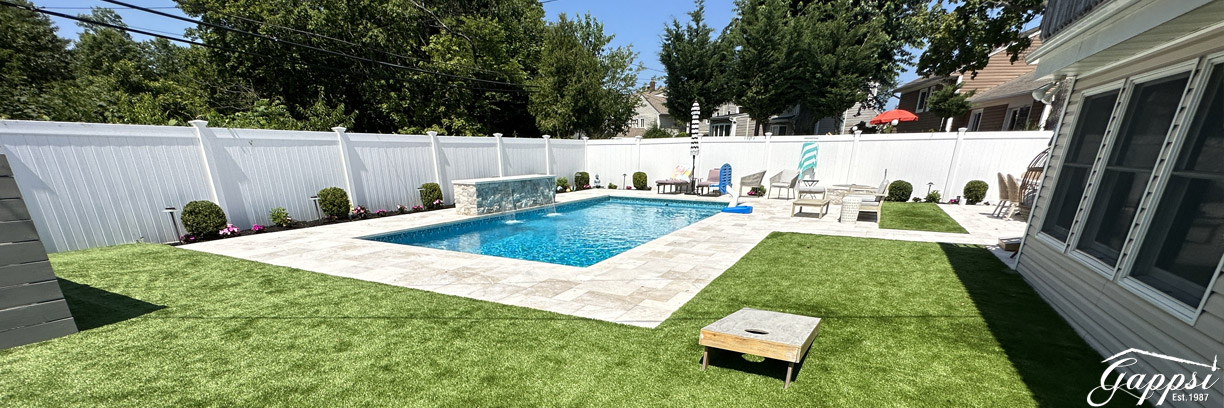 Breeo has 3 types of fire pits: