When you think about updating a room, your mind probably goes to paint colors, new fixtures, or maybe even a full remodel. But one of the most impactful changes you can make is often overlooked: the grout between your tiles. This small detail holds major design power. A professional indoor tiles grout coloring and sealing service does more than just clean up old stains; it gives you the chance to completely redefine your space. You can refresh the original color for a crisp, clean look or choose a new shade to create a bold contrast that makes your tile pop. It’s a smart, cost-effective update that protects your investment while delivering a dramatic visual upgrade, making your entire room feel fresh and modern.
Key Takeaways
- It’s a Shield, Not Just a Color Change: Grout coloring and sealing is a protective measure that creates a non-porous barrier. This shield makes daily cleaning easier by preventing stains, mold, and mildew from setting into your grout lines.
- Quality Products and Clean Grout are Non-Negotiable: The success of your project depends entirely on starting with impeccably clean grout and using a true color sealer, not a paint. Sealing over dirt will trap stains and cause peeling, so proper prep is essential.
- Maintain Your Seal with Gentle Care: Extend the life of your treatment by using pH-neutral cleaners and avoiding harsh chemicals like bleach or vinegar. Once a year, test the seal with a few drops of water—if they soak in, it’s time to reapply.
What is Grout Coloring and Sealing?
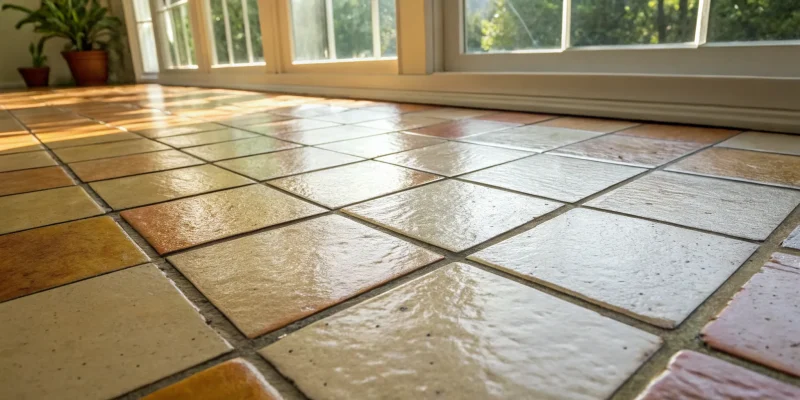
If you have tile in your home, you know that dingy, stained grout can make an entire room feel dated and dirty. Grout coloring and sealing is a straightforward process that completely revitalizes your tiled surfaces. Think of it as a two-in-one solution: it gives your grout a fresh, uniform color while adding a durable layer of protection. This treatment is one of the most effective ways to refresh the look of your kitchen, bathroom, or entryway floors without the cost and hassle of a full renovation.
The process involves applying a specialized colorant that bonds with the existing grout, followed by a sealant that locks in the color and shields the porous surface from future damage. At Gappsi, our restoration and sealing services are designed to bring your tile back to life, making it look brand new and ensuring it stays that way for years. It’s a simple update that makes a huge visual impact, protecting your investment and making daily maintenance much easier.
The Benefits of Coloring and Sealing Your Grout
Deciding to color and seal your grout goes far beyond just aesthetics. It’s a practical choice that offers some pretty great long-term advantages for your home. First, it creates a barrier that prevents stains from spills like coffee, wine, or juice from soaking into the porous grout lines. It also contains ingredients that inhibit the growth of mold, mildew, and bacteria, which contributes to a cleaner, healthier environment for your family. On top of that, sealed grout is significantly easier to clean—no more intense scrubbing required. And if you’re planning a home remodeling project, you can even change your grout color completely to match your new design.
Grout Coloring vs. Sealing: Which is Right for You?
So, what’s the difference between just sealing your grout and using a color seal? A clear sealer is a great protective measure for new grout or grout that’s still in perfect condition. It creates an invisible shield against moisture and stains. However, if your grout is already discolored, stained, or uneven in tone, a clear sealer will just lock in those imperfections. That’s where a color seal comes in. This is a comprehensive solution that restores your grout to a uniform color and seals it in one step. It’s the perfect choice for older tile floors or for anyone looking to give their porcelain and natural stone a complete refresh.
Clearing Up Common Grout Treatment Myths
There are a few common misconceptions about grout treatments that are worth clearing up. First, some people think grout coloring is just “painting” the grout lines. While some low-quality services might use products that act like paint, a professional color seal is very different. It’s a specialized sealant that penetrates the grout to form a durable, long-lasting bond that won’t peel or chip. Another myth is that you can seal new grout immediately after it’s installed. Grout actually needs time to cure—at least 48 hours—before any sealant can be applied. Sealing it too soon traps moisture and prevents it from hardening properly, which can lead to major issues down the road.
Finding the Best Grout Coloring and Sealing Products
Once you’ve decided to give your grout a makeover, the next step is choosing the right products. Walking down the aisle of a home improvement store can be overwhelming, with dozens of options all promising the best results. The truth is, the quality of the product you choose will directly impact how good your grout looks and how long the finish lasts. A premium colorant or sealer will not only transform your tile but also provide a durable barrier against future stains and grime.
Investing in a high-quality product from the start saves you time and money by preventing the need for frequent touch-ups or complete re-dos. Whether you’re tackling this as a DIY project or just want to be informed when hiring a professional, knowing what separates the best products from the rest is key. We’ll walk through our top picks and what to look for, so you can feel confident in your choice and get a finish that looks professionally done.
Our Favorite Grout Coloring Products
When you want to change your grout’s color and seal it at the same time, a grout color sealer is your best friend. These all-in-one products are designed to simplify the process. A great option is ColorSealPro, which is formulated to restore, color, and seal grout lines in one easy application. It’s a fantastic solution for fixing stained, dirty, or discolored grout, giving your tile a fresh, uniform look. These products create a durable, non-porous surface that makes future cleaning much easier, as dirt and spills wipe away without settling into the grout. This is a game-changer for busy kitchens and bathrooms.
Top Professional-Grade Sealers
If you’re happy with your current grout color but want to protect it, a high-quality sealer is essential. Grout is naturally porous, meaning it can easily absorb moisture, dirt, and spills, leading to stains and mildew. A professional-grade sealer acts as a shield, repelling moisture and preventing stains from setting in. This proactive step is one of the best ways to maintain a fresh, clean look over time. When we perform our restoration and sealing services, we use impregnating sealers that penetrate the grout to provide long-lasting protection without changing its appearance or making the floor slippery.
What to Look for When Comparing Products
Not all grout products are created equal, and it’s important to know what you’re buying. The biggest thing to watch out for is products that are essentially just paint. While they might look good initially, cheap paint-like products will quickly peel, chip, and flake, especially in high-traffic or high-moisture areas like bathrooms and kitchens. A true, high-quality color sealer is designed to bond with the grout and create a durable, protective layer. When you’re shopping, look for products that are specifically labeled as a “color sealer” and check that they offer protection against stains and mildew.
Popular Grout Colors for Long Island Homes
Choosing a grout color is a great opportunity to define the style of your space. While classic choices like white, gray, and black are always popular for their timeless appeal, don’t be afraid to think outside the box. For many Long Island homes, a crisp white or light gray grout can create a clean, coastal feel in a bathroom or kitchen. In contrast, a darker grout creates a dramatic, modern look and is excellent for hiding dirt in high-traffic areas. Using a brighter or contrasting color can completely change the look of your porcelain and natural stone tile, turning a simple surface into a real design feature.
DIY vs. Hiring a Pro: What’s the Best Choice?
Deciding whether to tackle grout coloring and sealing yourself or to call in a professional is a common crossroads for homeowners. On one hand, a DIY project can feel empowering and save you some money upfront. On the other hand, grout work is detailed, requires a steady hand, and can have a major impact on the look of your entire room. The right choice really comes down to your budget, your timeline, and the quality of finish you’re aiming for. A DIY approach might be a good fit for a small, low-traffic area like a powder room or a laundry room backsplash where a few imperfections won’t be as noticeable.
However, for larger spaces like a kitchen floor, a primary bathroom, or an entryway, the stakes are higher. An uneven application or a color that doesn’t look quite right can be a constant eyesore you’ll notice every day. Hiring a professional team ensures you get a flawless, durable finish that not only looks fantastic but also properly protects your grout from stains and moisture for years to come. It’s about weighing the satisfaction of doing it yourself against the peace of mind that comes with a guaranteed, expert result from a team that does this work day in and day out.
A Simple DIY Guide to Grout Treatment
If you’re feeling adventurous and want to try coloring your grout yourself, the process is fairly straightforward but requires patience. Your first and most important step is to deep clean your existing grout lines until they are completely free of dirt, soap scum, and mildew. Once clean, you must let the grout dry thoroughly—usually for at least 24 hours. From there, you can use a small brush or applicator to carefully apply a grout colorant to the grout lines, wiping away any excess from the tile surface with a damp cloth as you go. It’s a project that demands precision, but it can definitely refresh the look of your tile on a budget.
The Advantages of a Professional Application
While DIY is an option, there’s a significant difference in the quality and longevity you get from a professional application. Experts do more than just “paint” your grout; they use a meticulous process with commercial-grade products that clean, color, and seal in one step. Professionals have the right training, specialized tools, and access to superior sealants that offer better stain resistance and durability than most store-bought options. Gappsi’s expert restoration and sealing services ensure an even, perfect application that penetrates the grout, creating a protective barrier that lasts for years and makes daily cleaning much easier.
Comparing Costs and Warranties
It’s no secret that the initial cost of a DIY grout treatment is lower than hiring a professional. You’re only paying for the materials, which can seem like a great deal. However, it’s important to think about the long-term value. A professionally applied color seal is designed to last for many years, while a DIY job might need to be redone sooner, costing you more time and money down the road. Furthermore, a reputable company will stand behind their work with a warranty, giving you confidence and protecting your investment. That peace of mind, knowing that any issues will be handled without extra cost, is something a DIY project simply can’t offer.
Common DIY Mistakes to Avoid
The biggest mistake homeowners make is failing to clean the grout properly before applying a colorant or sealer. Grout is porous, meaning it easily absorbs moisture and grime. If you seal over dirty grout, you’re just trapping the stains and bacteria underneath, which can cause the sealer to peel and fail quickly. Other common errors include applying the product unevenly, leaving a streaky finish, or accidentally staining the edges of your tiles. Choosing the wrong type of product for your specific tile—like using a sealer meant for ceramic on delicate natural stone—can also lead to disappointing results and potential damage to your beautiful tile.
How to Choose the Right Grout Service
Finding the right professional to handle your grout coloring and sealing can feel like a big task, but it’s the single most important step in getting a beautiful, long-lasting finish. The right team doesn’t just apply a product; they bring expertise that protects your tile and saves you from costly redos down the line. A professional application ensures the job is done correctly from prep to finish, giving you peace of mind and a floor or wall that looks brand new. When you invest in a professional service, you’re paying for their training, high-quality materials, and the skill to get it right the first time.
At Gappsi, our restoration and sealing services are built on decades of experience, ensuring every detail is handled with care. We understand that your home is your biggest investment, and we treat it that way. Choosing a qualified contractor means you can relax and know that your tile will be protected and look fantastic for years to come.
What to Look for in a Contractor
When you start your search, look for a contractor who has proven experience, the right tools for the job, and access to professional-grade sealing products. A true expert will have a portfolio of work they can show you and won’t hesitate to explain their process. They should be knowledgeable about different types of tile and grout and be able to recommend the best products for your specific situation. Experience in related fields, like masonry and tile installation, is a huge plus, as it shows a deep understanding of how these materials work together. A contractor who invests in quality tools and materials is one who is committed to delivering quality results.
Questions to Ask Before You Hire
Before you commit, it’s smart to have a few questions ready. Don’t be shy about asking potential contractors about the specific products they use and their step-by-step process. A key question is whether they use a high-quality color sealer or just a paint. Grout paint is a superficial fix that can easily chip and peel, while a color sealer is a durable, penetrating product designed to bond with the grout. A reputable pro will be happy to explain the difference and tell you why they’ve chosen their products. Also, ask about their preparation process—proper cleaning is essential for the sealer to adhere correctly and last.
Contractor Red Flags to Watch For
Be on the lookout for a few warning signs that might indicate a contractor isn’t the right fit. A price that seems too good to be true is often a major red flag. This can mean they’re cutting corners by using cheap, paint-like products that won’t offer real protection and will likely start peeling within months. Another red flag is a lack of specific experience. Grout color sealing is a specialized skill that requires training and practice to master. If a contractor seems vague about their process or can’t show you examples of past work, it’s best to keep looking for someone with more focused expertise.
Making Sense of Guarantees and Warranties
A good contractor will stand behind their work with a clear guarantee or warranty. Ask them what it covers and for how long. High-quality color seal products are incredibly durable and often come with their own manufacturer guarantees against things like stains and chemical damage, which a professional service should extend to you. Generally, a professional sealing job on new grout can last up to two years or more before needing reapplication, depending on foot traffic and cleaning habits. A solid warranty isn’t just a piece of paper; it’s a sign that the company is confident in its work and committed to your satisfaction.
How to Maintain Your Colored and Sealed Grout
You’ve put in the work to get your grout looking perfect, and now the goal is to keep it that way. Proper maintenance is less about intense scrubbing and more about consistent, gentle care. With the right routine, you can protect your investment and keep your tile looking fresh for years. Think of your sealer as a shield; it’s there to do the heavy lifting, but it still needs a little support from you. A few simple habits can make all the difference, preventing stains and grime from ever getting a foothold and ensuring your grout color stays true and vibrant.
Your Daily Cleaning Routine
The best way to manage grout is with a simple daily routine. For floors, a quick sweep or vacuum removes dirt and debris that can get ground into the grout lines. For walls in kitchens or bathrooms, wipe away splashes as they happen. When it’s time for a more thorough clean, stick to a pH-neutral cleaner and warm water. Gappsi’s restoration and sealing services are designed to make this step easier, as properly sealed grout resists stains and repels moisture, which simplifies your cleaning process significantly. Just a gentle wipe-down is often all you need to maintain that clean, fresh look.
Cleaning Products You Should Never Use
Steer clear of harsh chemicals, as they can do more harm than good. Cleaners containing bleach, ammonia, or acids (like vinegar) will strip away the sealer, leaving your grout vulnerable to stains and discoloration. Abrasive powders or heavy-duty scrub brushes can also wear down the sealer and even scratch your tile. The key is to clean your grout without compromising the protective layer you’ve applied. Always opt for gentle, pH-neutral formulas specifically designed for tile and grout. When in doubt, a simple solution of warm water and a drop of mild dish soap is a safe and effective choice for regular upkeep.
Signs It’s Time to Call a Pro
Even with diligent care, grout can show signs of wear over time. If you notice the color is fading unevenly, or if stains are starting to set in despite your cleaning efforts, your sealer may be wearing thin. Other red flags include grout that is chipping, cracking, or crumbling. Persistent mold or mildew that returns quickly after cleaning is another clear sign that moisture is penetrating the grout, meaning the seal has been compromised. When you spot these issues, it’s best to call in a professional for a home remodeling consultation to assess the damage and recommend the best course of action, which often involves a deep clean and reseal.
A Simple Annual Maintenance Checklist
Set aside a little time once a year to give your grout some focused attention. First, perform a water test: sprinkle a few drops of water onto the grout lines. If the water beads up, your sealer is still working. If it soaks in and darkens the grout, it’s time to reseal. Before you do, give the grout a deep but gentle cleaning to remove any surface grime. This annual check-up is the perfect way to stay ahead of potential problems. Sealing your grout once a year after a deep cleaning ensures it remains protected, vibrant, and easy to maintain for the long haul.
How Long Does Grout Coloring and Sealing Last?
When you invest time and money into refreshing your grout, you want the results to last. While there’s no single expiration date for grout color and sealer, a professional application can last for years. The exact lifespan depends on a few key factors, including the type of product used and where the tile is located in your home. A high-traffic entryway or a steamy bathroom will naturally face more wear and tear than a formal dining room. With the right approach and a little maintenance, you can keep your grout lines looking clean and vibrant for a long time.
What Affects the Lifespan of Your Grout?
Think of grout sealer as a shield. Its job is to protect the porous grout from moisture, dirt, and stains. The effectiveness of this shield depends on a few things. High foot traffic, frequent exposure to water, and the use of harsh cleaning chemicals can wear down the sealer more quickly. The quality of the initial application also plays a huge role. A professionally applied, high-quality sealer will always outlast a hastily done DIY job. Taking the proactive step to have your grout sealed properly is the best way to ensure it resists stains and repels moisture, keeping your floors and walls looking fresh.
How to Make Your Grout Treatment Last Longer
Consistent care is the secret to extending the life of your colored and sealed grout. You don’t need to do anything complicated, just be mindful of your cleaning routine. Stick to pH-neutral, non-abrasive cleaners and avoid acidic products like vinegar or harsh chemicals like bleach, which can break down the sealer. For an extra layer of defense in high-moisture areas like bathrooms, you can apply a fresh layer of sealer every six months to a year. Wiping up spills promptly and sweeping or vacuuming regularly also prevents dirt from getting ground into the grout lines, which helps the sealer do its job.
When to Reapply Your Grout Color or Sealer
How do you know it’s time for a touch-up? Your grout will give you a few clear signs. The easiest way to check is with a few drops of water. If the water beads up on the surface, your sealer is still working. If it soaks in and darkens the grout, the seal has worn away, and it’s time to reapply. You should also look for visible cues, like new stains that are difficult to remove or a dull, faded appearance in the grout color. As a general rule, it’s a good idea to plan on resealing your grout once a year or after any deep cleaning, which is where professional restoration and sealing services can be a huge help.
Is It a Cost-Effective Investment?
Absolutely. Grout coloring and sealing is one of the most cost-effective ways to protect your tile and maintain your home’s appearance. Think of it as preventative maintenance. By shielding your grout from moisture and grime, you prevent cracking, crumbling, and mold growth that can lead to much more expensive repairs or even a full re-grouting project. Unlike a basic clear coat that wears off quickly, professional grout color sealing often uses a durable, epoxy-based formula that penetrates the grout for long-lasting protection. It’s a small investment that preserves the integrity of your entire tiled surface and keeps your rooms looking pristine.
Related Articles
- Bathroom Tile Cleaning and Sealing Archives – Gappsi Group
- Kitchen Tile Cleaning and Sealing Archives – Gappsi Group
- Cleaning & Sealing Archives – Gappsi Group
Frequently Asked Questions
Can I really change my grout from a dark color to a light one? Yes, you absolutely can. A high-quality color sealer is completely opaque, meaning it’s designed to fully cover the existing grout color. This gives you total design freedom to go from a dark, dated grout to a crisp, clean white, or the other way around. It’s one of the most effective ways to completely change the look and feel of your tiled space without the expense of a full renovation.
How long does the grout coloring and sealing process usually take? The exact timeline depends on the size and condition of the area, but most standard projects, like a kitchen floor or a bathroom, can typically be finished within a single day. The most critical part of the process is the thorough cleaning and preparation of the existing grout, which ensures the new color seal bonds properly and lasts for years.
Is this a better option than just re-grouting the whole floor? For grout that is still intact and structurally sound but is just stained or discolored, color sealing is a far more practical choice. Re-grouting is a major, dusty project that involves grinding out all the old grout and installing new material. Color sealing is a much cleaner, faster, and more affordable way to achieve a fresh, uniform look while also adding a durable, protective layer to your existing grout.
Will the color sealer make my tile floors slippery? Not at all. A professional color sealer is formulated to penetrate and bond with the porous grout lines themselves. It is not a topcoat that sits on the surface of your tile. During a professional application, the product is carefully applied only to the grout, and any excess is immediately wiped away from the tile surface, so the natural texture and slip resistance of your tile are not affected.
My grout is brand new. Should I still have it sealed? Sealing new grout is one of the best preventative steps you can take. Grout is naturally porous, so it begins absorbing moisture, spills, and dirt right away. Applying a clear sealer after the grout has had a few days to fully cure creates an invisible shield that stops stains before they can set in. This simple step is key to keeping your new tile and grout looking pristine from the very beginning.


 Understanding the Original Surface: Cambridge Toffee Onyx Pavers
 Step 2: Creating Color Samples for Client Approval
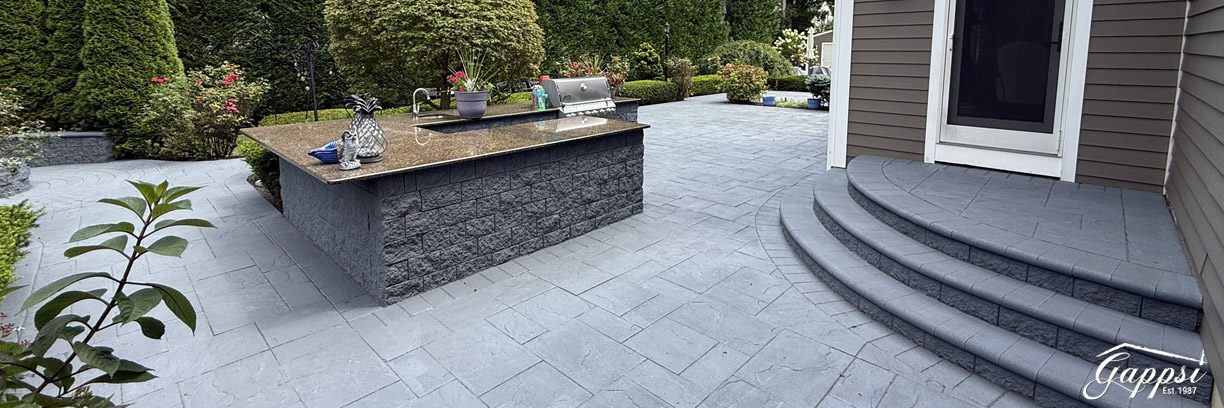 Step 4:
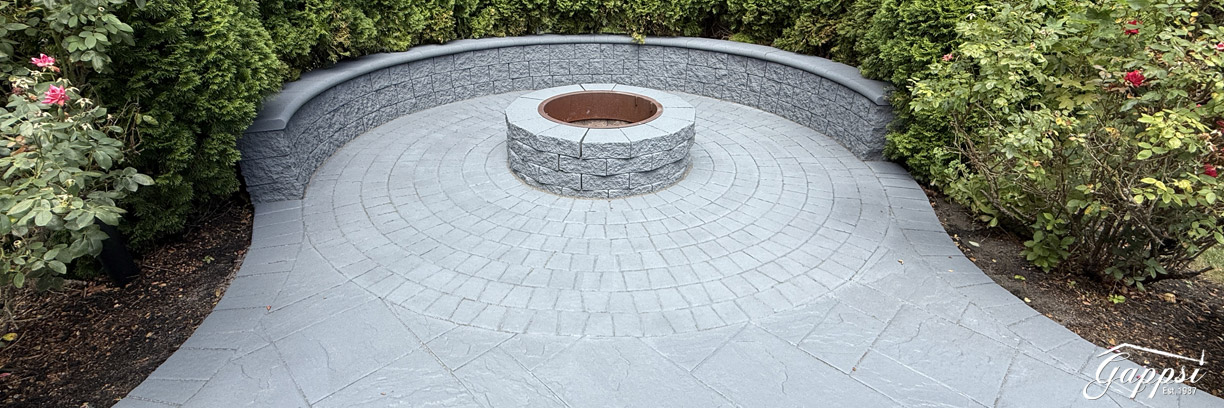
 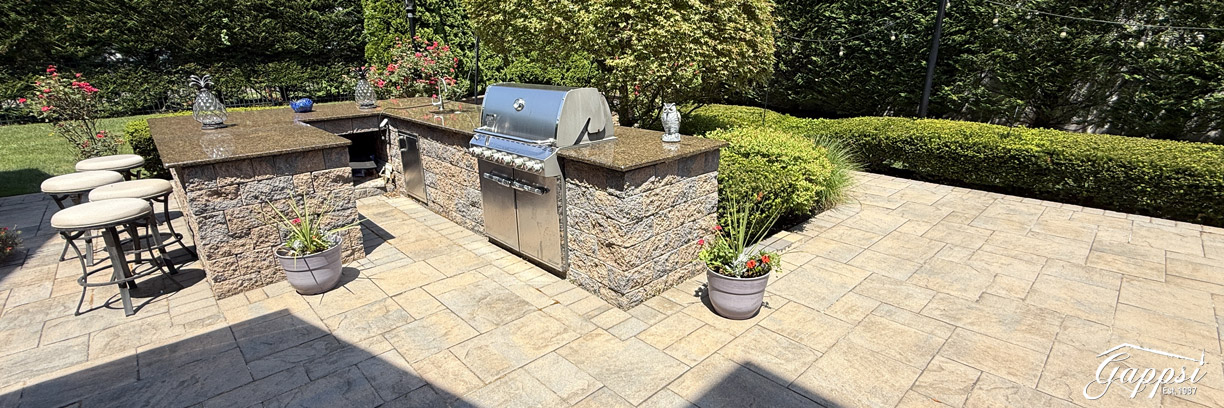 This project showcases what’s possible when homeowners want to update their outdoor living area without tearing out and replacing existing pavers. Through expert staining and sealing, Gappsi delivered a like-new surface at a fraction of the cost of rebuilding.
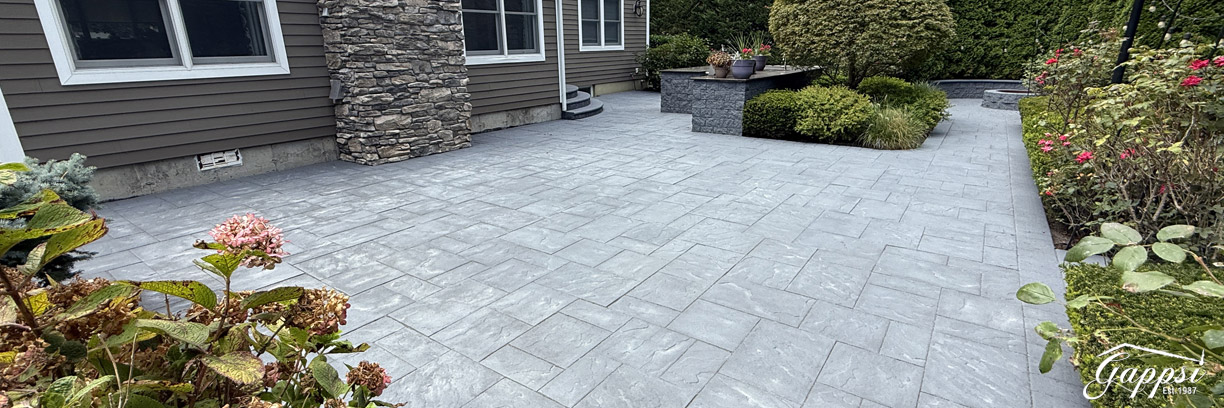 Transform Your Pavers Without Replacing Them