View Gappsi’s YouTube Channel to view Changing the Color of a Nicolock Paver Driveway in East Northport, NY with Professional Paver Staining
A beautiful driveway is one of the first things people notice about a home. Over time, however, even the highest-quality pavers can begin to show their age. Homeowners often expand their driveways to accommodate additional vehicles, but matching new pavers to older ones can be nearly impossible. Differences in manufacturing batches, years of weather exposure, and discontinued color options often result in a driveway that looks mismatched rather than seamless.
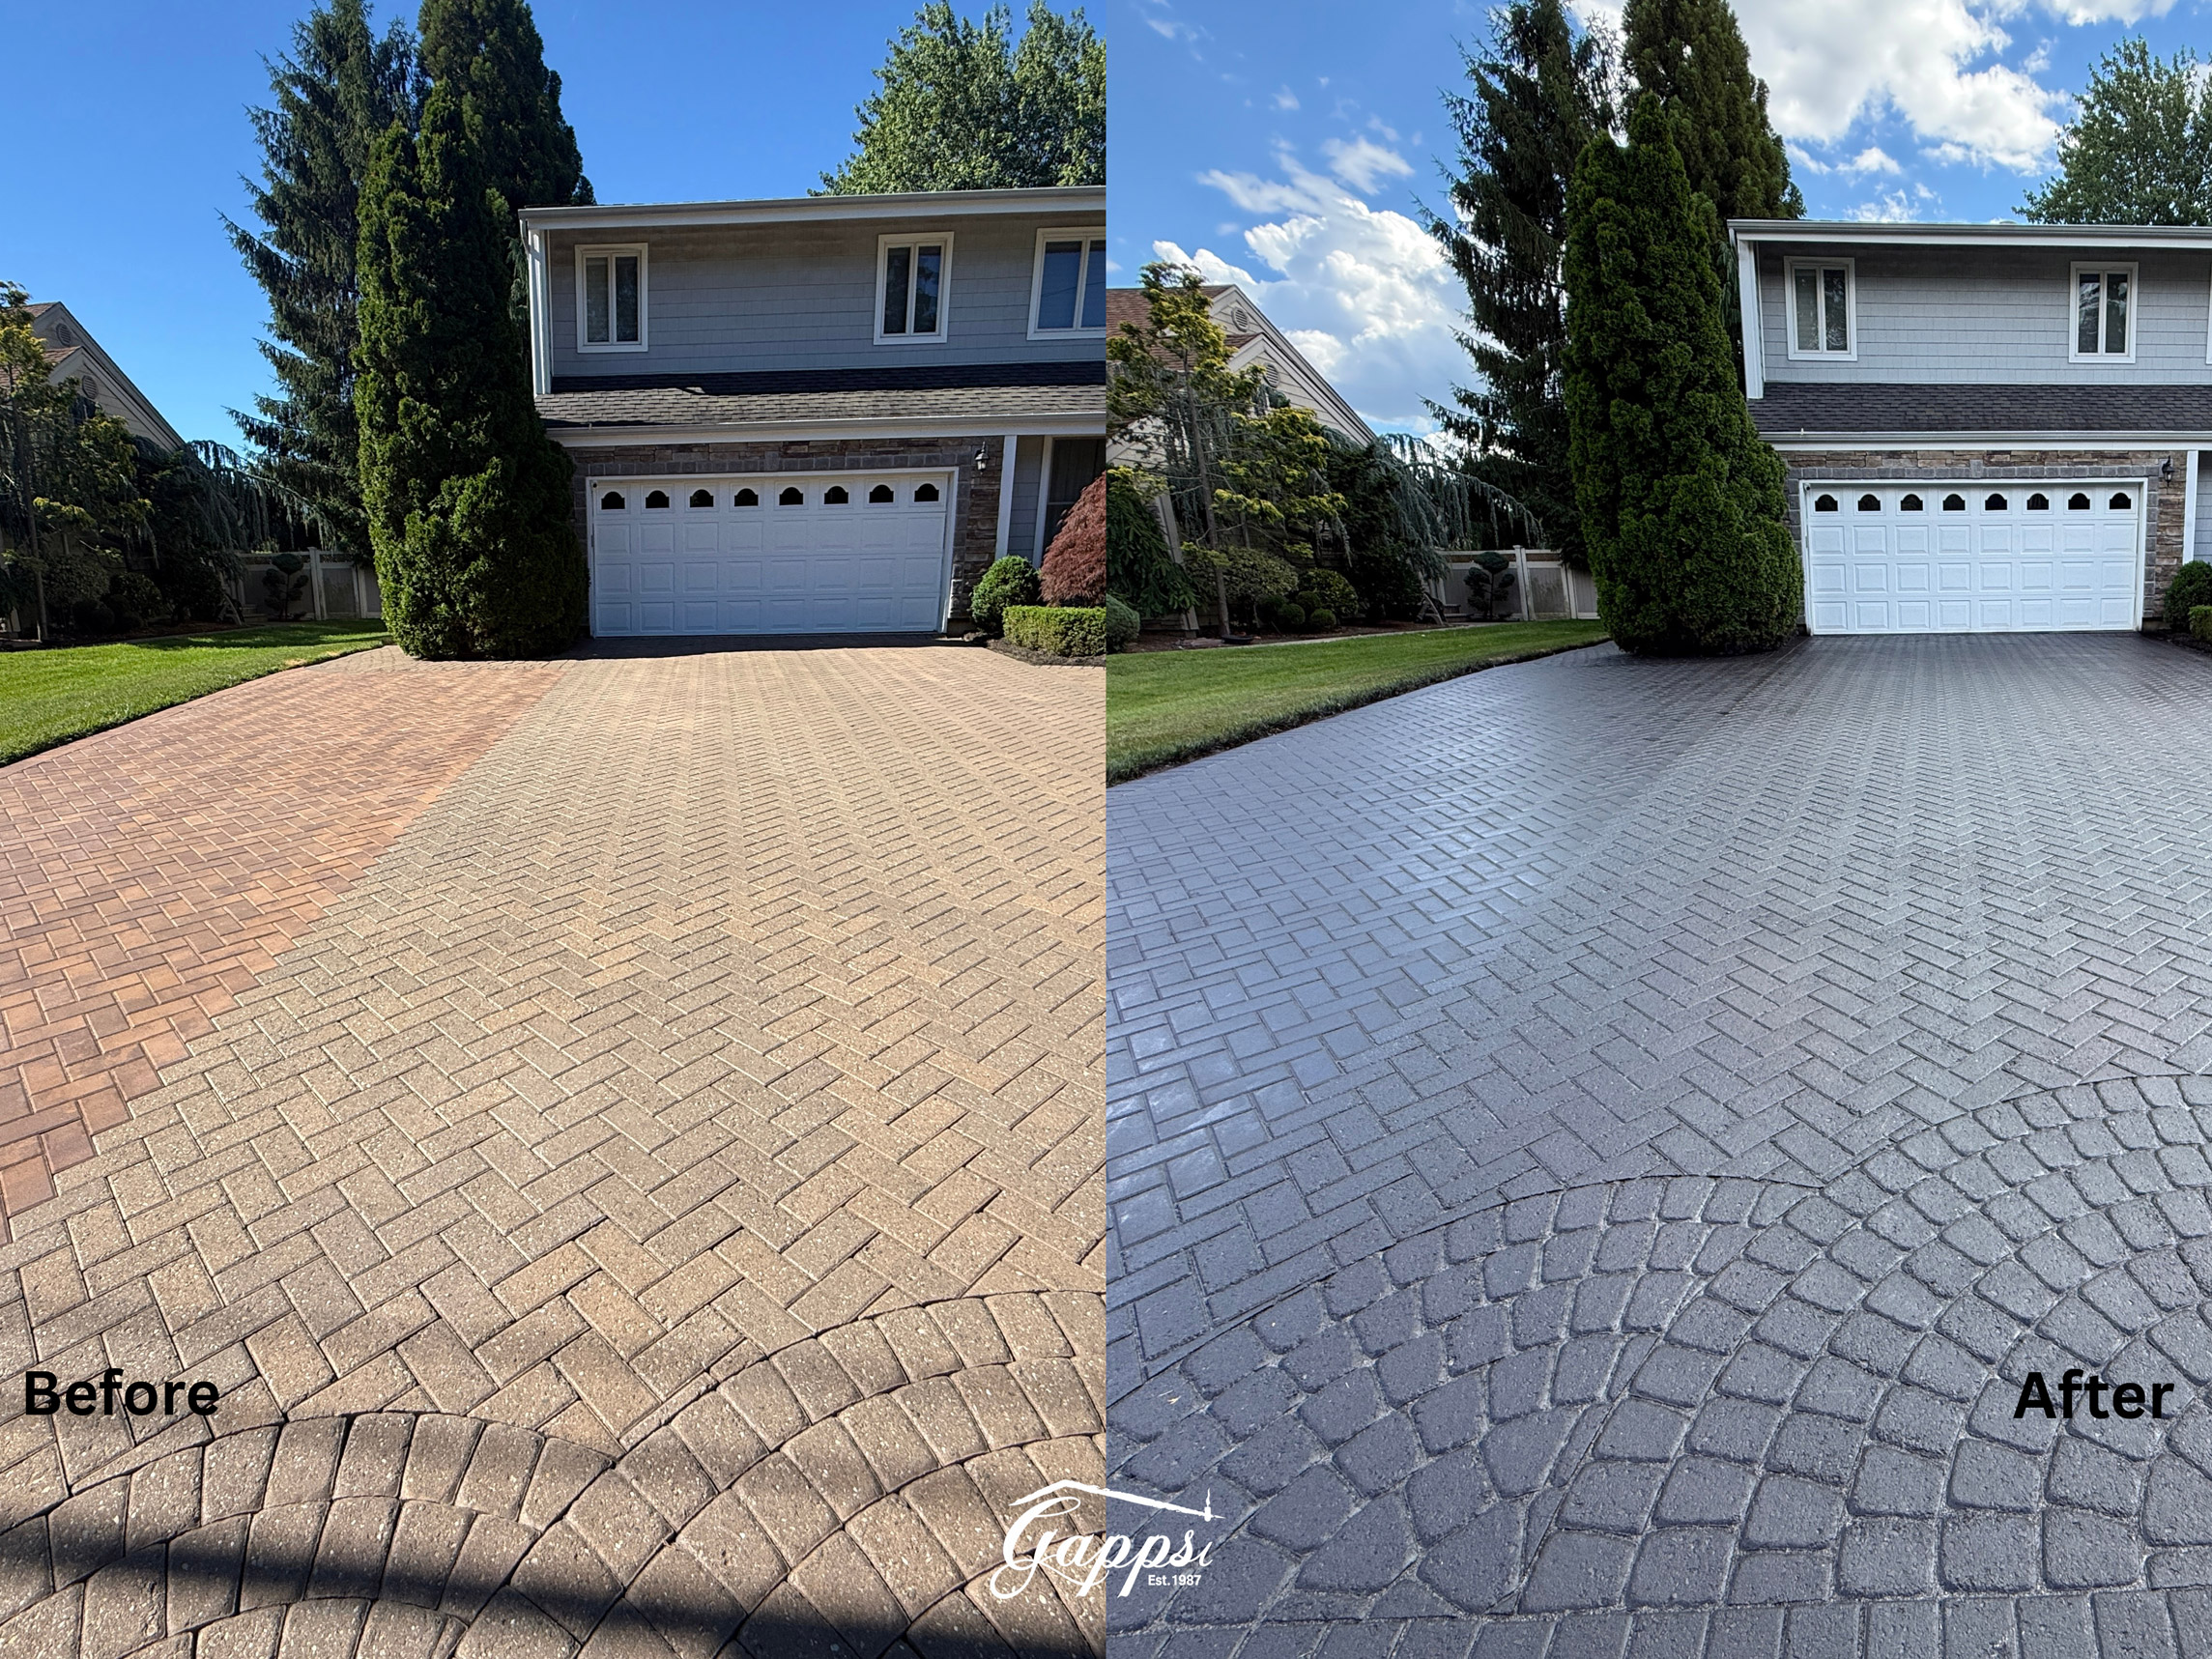
At Gappsi, we specialize in creating custom outdoor living spaces that not only function beautifully but also enhance curb appeal. One of our newest projects involved transforming a Nicolock paver driveway in East Northport, NY, where the homeowner wanted to unify an older driveway with a newly installed extension. Instead of replacing thousands of dollars’ worth of pavers, we used professional paver-staining techniques to completely change the driveway’s appearance, giving it a modern, elegant black finish.
The Challenge: Matching Old and New Nicolock Pavers
This homeowner originally had a Nicolock paver driveway that had served the home well for years. As their needs changed, they decided to enlarge the driveway to create an additional parking space.
While the expansion solved the functional issue, it created a new aesthetic problem.
Although new Nicolock pavers were installed, the color did not match the original driveway. This is a common situation because:
- Older paver colors fade over time from UV exposure.
- Manufacturers occasionally discontinue or modify color blends.
- New production runs often vary slightly from previous batches.
- Years of weathering create natural differences between old and new installations.
The result was a driveway with two noticeably different shades, making the addition stand out rather than blend naturally with the original installation.
Rather than replacing the entire driveway, the homeowner contacted Gappsi to explore a more practical and cost-effective solution.
A Better Alternative Than Replacing the Driveway
Many homeowners assume the only way to achieve a uniform appearance is to tear out the old driveway and install new pavers throughout.
Fortunately, that’s not the case.
Professional paver staining allows homeowners to completely transform the color of existing pavers while maintaining their structural integrity. This process provides several important benefits:
- Eliminates mismatched paver colors
- Refreshes faded surfaces
- Creates a completely new appearance
- Extends the life of existing pavers
- Costs significantly less than replacement
- Reduces demolition waste
- Maintains the original driveway structure
For this East Northport project, paver staining offered the ideal solution.
The Original Plan: A Dark Brown Driveway
Initially, the homeowner selected a rich dark brown finish.
The goal was to create a warm, elegant appearance that would unify both the original driveway and the newly added section. Dark brown is a popular option because it complements many home styles and blends naturally with landscaping.
During planning, we discussed how the new color would create a consistent look while hiding the differences between the old and new Nicolock pavers.
However, as the project progressed, the homeowner envisioned something even more dramatic.
A Design Change That Made a Big Impact
Before the staining process began, the homeowner decided to switch from dark brown to black.
The decision wasn’t made randomly; it was part of a complete exterior design plan.
The home already featured a black roof, and the owners planned to paint both the garage door and front entry door black as well. By changing the driveway to black, they could establish a cohesive color palette throughout the property.
This modern design approach creates strong visual contrast while giving the home a sophisticated, upscale appearance.
Instead of having isolated black elements, every exterior feature now works together:
- Black driveway
- Black garage door
- Black front door
- Existing black roof
- Coordinated trim accents
The result is a home with exceptional curb appeal and a clean, contemporary aesthetic.
More Than Just the Driveway
To ensure the entire entrance looked cohesive, Gappsi stained more than just the main driveway surface.
Additional areas included:
- Front walkway
- Bullnose edging
- Stoop platform
Treating these surfaces together ensured every hardscape element shared the same rich black finish.
Rather than stopping at the driveway, the entire entrance now flows together seamlessly from the street to the front door.
Professional Paver Staining Requires Experience
Many homeowners are surprised to learn that staining pavers is a specialized process.
Unlike ordinary paint, professional paver stains are designed to penetrate and bond with masonry surfaces while allowing the pavers to maintain their natural texture.
Proper preparation is critical to achieving lasting results.
The process generally includes:
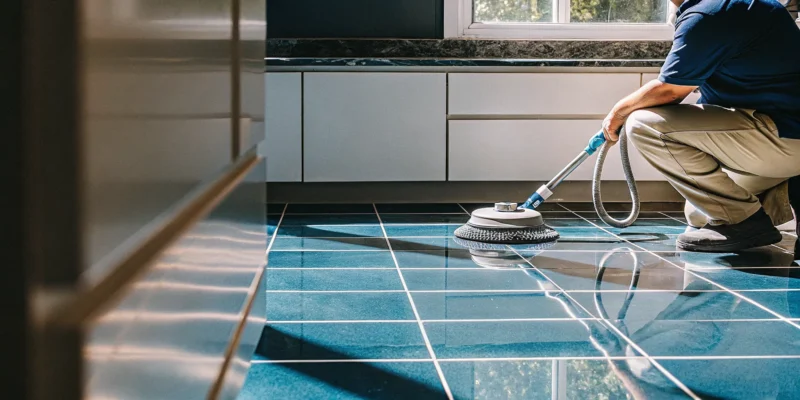
Thorough Cleaning
Every surface must be professionally cleaned to remove. View our page to learn more about cleaning and sealing bricks.
- Dirt
- Mold
- Algae
- Efflorescence
- Previous sealers
- Oils and contaminants
This ensures proper adhesion.
Surface Preparation
Damaged joints or areas requiring repair are addressed before staining begins. Preparation helps ensure a uniform finish across the entire installation.
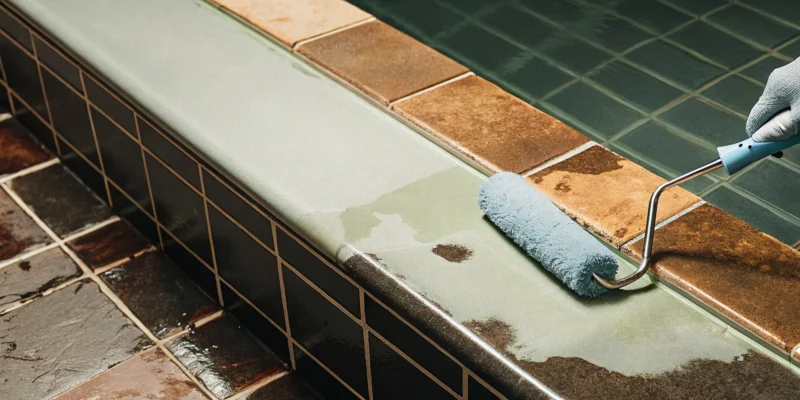
Professional Color Application
Specialized masonry stains are applied evenly across the pavers to achieve complete color consistency. Experienced installers carefully control application techniques to avoid uneven coloring or blotchy finishes.
Protective Sealing
Once staining is complete, the driveway is sealed with a high-quality sealer. The sealer helps:
- Protect against UV rays
- Resist stains
- Enhance durability
- Preserve color
- Improve water resistance
The finished surface maintains its appearance for years with proper maintenance.
Blending Old and New Into One Beautiful Driveway
Perhaps the most satisfying aspect of this project was seeing how effectively the new addition disappeared. Before staining, visitors could easily identify where the driveway had been expanded. After staining, the distinction between the original driveway and the new section virtually disappeared. Everything now looks like one continuous installation. This is exactly what the homeowner hoped to accomplish. Instead of highlighting the addition, the project celebrates it by making the entire driveway appear as though it were installed at the same time.
Why More Homeowners Are Choosing Paver Staining
Replacing an entire paver driveway can be expensive, disruptive, and unnecessary.
Professional staining offers homeowners an opportunity to modernize their property without extensive demolition.
Popular reasons homeowners choose paver staining include:
- Changing outdated colors
- Matching driveway additions
- Refreshing faded pavers
- Increasing home value
- Enhancing curb appeal
- Coordinating with new exterior renovations
- Extending the lifespan of existing hardscapes
As exterior design trends continue moving toward darker architectural colors, black driveways have become increasingly popular for both traditional and contemporary homes.
Another Quality Hardscape Project by Gappsi
This East Northport driveway is another example of how thoughtful design and skilled craftsmanship can completely transform a property’s appearance without requiring a full replacement.
By professionally staining the Nicolock pavers, Gappsi successfully unified the original driveway with its new extension while giving the home a bold, updated look. The addition of matching black accents, including the future garage door and front door, creates a sophisticated exterior design that dramatically improves curb appeal.
The project also included staining the front walkway, bullnose edging, and stoop platform, ensuring every hardscape element complements the overall aesthetic.
Whether you’re dealing with faded pavers, mismatched additions, or simply want to update your home’s exterior, professional paver staining can provide a durable, cost-effective solution that delivers stunning results.
At Gappsi, we specialize in custom hardscape construction, paver restoration, driveway renovations, outdoor living spaces, patios, walkways, pool decks, retaining walls, and professional paver staining throughout Long Island, including East Northport, Northport, Huntington, Smithtown, Commack, Dix Hills, and the surrounding communities.
Our latest paver staining and sealing project in East Northport, NY, demonstrates how expert craftsmanship and premium materials can completely transform an existing driveway into a modern architectural feature that looks as if it were built that way from day one. Whether you’re expanding your driveway or simply ready for a fresh new look, Gappsi can help bring your vision to life while protecting your investment for years to come.
Contact Gappsi Today
📍 Serving all of Long Island, NY — Nassau & Suffolk Counties
🌐 https://www.gappsi.com/
📞 Call now for a free consultation and estimate