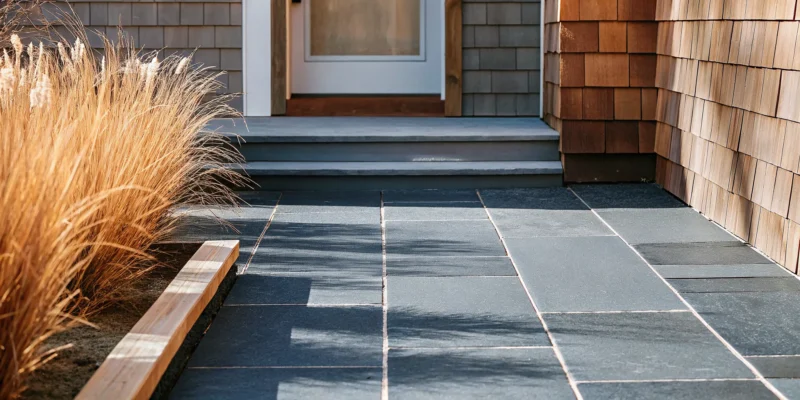
Low-quality paver sealers often peel and trap moisture under the surface of your Long Island patio.
Paver protectors are consumer-grade coatings designed to shield stone surfaces from stains and weather, yet they often fall short of professional sealing standards. While these retail products provide a temporary barrier. They lack the deep penetration and industrial strength required to survive the coastal air and rapid temperature shifts of Nassau and Suffolk counties. Professional sealing from an expert like Gappsi utilizes high-solids resins that bond with the stone to prevent fading, weed growth, and salt damage. This advanced method protects high-end investments from Long Island’s variable climate conditions much better than a standard DIY coat. Choosing the right application ensures your hardscaping remains vibrant and structurally sound for decades rather than just a few seasons.
Many property owners find it difficult to choose between a quick store-bought fix and a long-term masonry solution. You must understand the specific chemistry and application methods involved to make the best choice for your home. We will start by answering the main question: What are paver protectors?
What are paver protectors?
The term paver protectors refers to both the goods you buy and the help you hire to keep your yard safe. Most people use this name when they look for a way to stop stains or fading. It often points to a liquid sealer that you put on top of the stone. But it can also mean a pro team that comes to fix and clean your yard. On Long Island, high-end stone needs more than a quick coat of paint to last a long time.
Experts know how to prep the surface so the shield sticks for a long time. They use power tools to remove dirt and old grime before they start. This deep clean makes the new coat look much better than a quick spray. A good guard will keep your outdoor space looking new for years to come.
Products versus expert help
You can find many DIY cans at a local store that claim to be the best tool for the job. These items are often thin and do not last more than a year. A pro team uses a stronger mix that bonds deep with the stone. This professional sealing vs paver protectors choice is key for your home value. Gappsi uses stone skill to make sure the coat is even and thick. This helps stop weeds and keeps the color bright for many years.
You should also look for products that are safe for the earth. Some old types of sealers use coal tar, which can harm the land and water. The EPA notes that these harmful sealants are a big source of waste in some lakes. Gappsi picks tools that work well without hurting your lawn or the birds and fish in our town.
Why your yard needs a shield
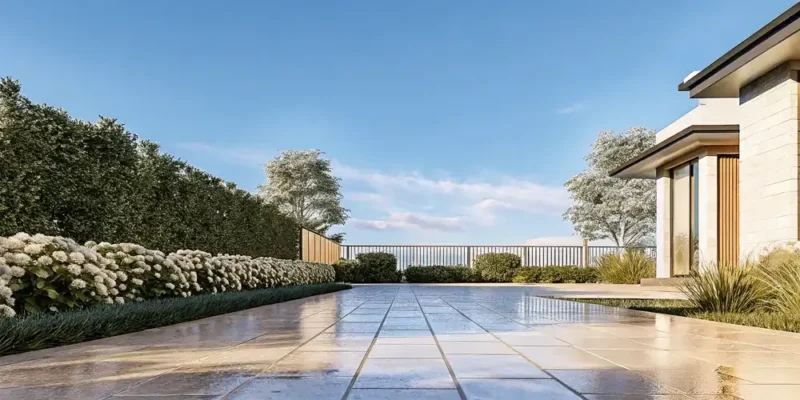
Outdoor stones face a lot of stress from rain, snow, and sun. Most brick pavers sit on a bed of sand that can move or sink over time. If water gets in, it can wash the sand away and make the ground rough. Good drainage and slope are needed to keep water from pooling on your walk. Without a shield, the stone might crack or lose its smooth feel.
Heavy rain can cause the sand base to shift. When this happens, your pavers might become loose or trip you as you walk. Sealers act like glue to keep the sand in place and stop it from washing out. A good guard stops the sun from bleaching the dark hues out of your stone. This is why care is so vital for your yard.
Common types of paver protectors
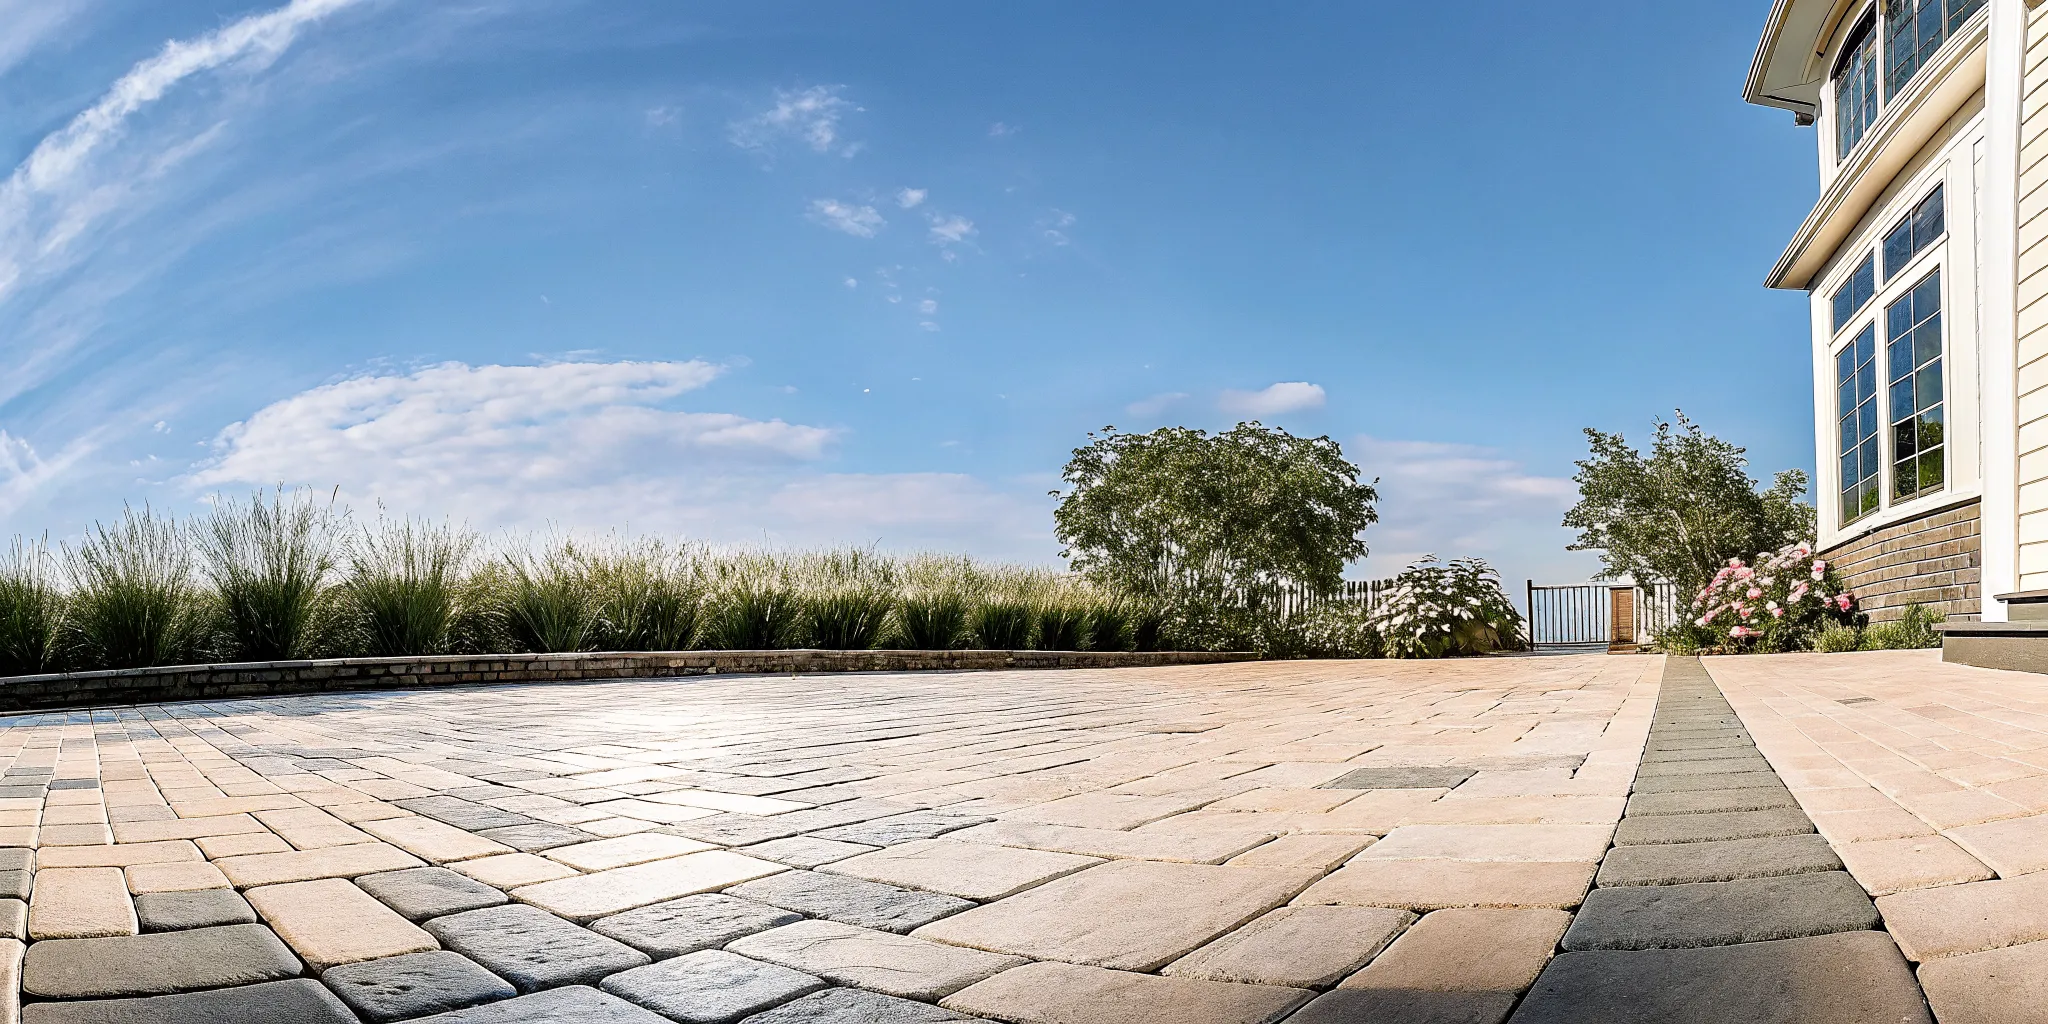
There are two main ways to protect your hardscape. The first is a wet-look or matte sealer put on after the build. These films block oil and dirt from soaking into the pores. The second way is to use stones with modern paver protectors built into the top layer. These brands use special tech to keep the stone strong from the start. Both ways work well to fight the harsh salt and cold on Long Island. You should pick a guard that fits how you use your outdoor space.
Paver protectors vs. professional sealing
Homeowners often face a choice when a patio looks dull. You can buy off-the-shelf paver protectors or hire a pro for a full service. These two paths offer other results for your stone surfaces. While store goods seem easy, they do not give the deep care that high-end stones need to last.
Choosing DIY paver protectors
Buying a bottle of sealer at a home store is a quick fix. These items, often called paver protectors, are made for easy use. You spray or roll the liquid onto the stones after a light wash. This way saves money upfront but often misses the root of most paver problems. Without a deep clean, you might trap dirt and stains under the new layer of film.
Most DIY goods use thin liquid that sits on the top of the stone. They provide a brief shine and basic water strength. But they do not stop weeds from growing in the gaps between pavers. If you do not fix the joint sand first, the work will fail fast. This path is best for small areas or older stones that do not need a perfect look.
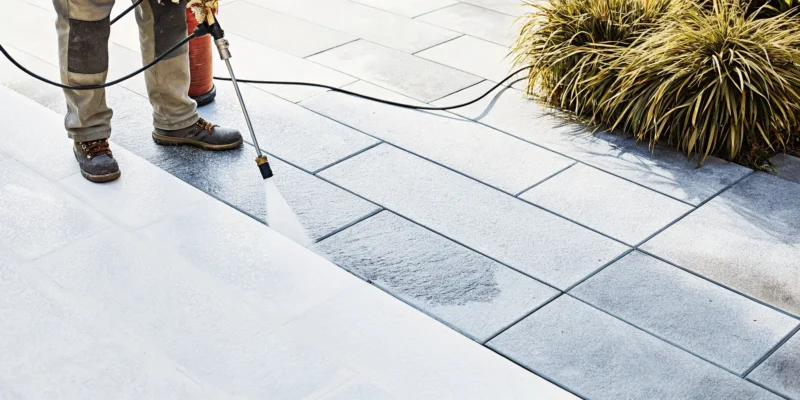
The professional sealing process
A pro service is about more than just a bottle of liquid. It starts with a high-power wash to remove mold, moss, and deep grime. Pros also check the slope of your patio to make sure water runs off well. Proper drainage is key to keep your stones from shifting or sinking over time. You can learn more about professional sealing vs paver protectors to see which fits your home best.
After cleaning, a pro will add new joint sand to lock the stones in place. Then they use a heavy-grade sealant that soaks deep into the pores. This creates a bond that lasts for years instead of months. It keeps the colors bright and stops salt from eating away at the stone. For Long Island homes, this level of care helps stones stand up to the cold winter weather.
Comparing the two approaches
Before you start your project, look at how the two ways stack up. Store-bought goods are fast, but pro services offer a full fix for your yard. You must also watch out for scams from fake workers who use poor items. The EPA warns about fraud where people use cheap sealers to trick homeowners. Choosing a trusted team ensures you get the value you paid for.
| Feature | DIY Paver Protectors | Professional Sealing |
|---|---|---|
| Surface Prep | Basic sweep or hose wash. | Deep power wash and stain removal. |
| Use | User spray or roller. | Commercial grade tools and skill. |
| Finish | Standard shine or matte. | Custom gloss and color boost. |
| Risk | Trapped dirt or uneven layers. | Low risk with a licensed team. |
| Suitability | Small DIY patio projects. | High-end stone work and large areas. |
The best choice depends on your goals and your budget. If you have premium stones, a pro service will protect your money for a long time. They can fix the slope and drainage of your pavers during the prep stage. This keeps water from pooling and causing cracks in the base. Investing in quality care now means fewer repairs for your home later.
Why preparation determines the result
Many homeowners want to use paver protectors to keep their patios looking new. But the secret to a great finish is the work you do before you open the can. If you skip the prep work, the sealer will not stick well. This can lead to peeling or clouding in a few months.
A clean surface helps the coating bond with the stone. The first step is a full check of the area for loose stones or low spots. Pavers sit on a sand base that can shift over time. This shifting can create dips where water collects.
Deep cleaning and surface prep
Experts say you should check the slope of the area to make sure water runs off well. Proper drainage prevents pooling that can hurt the pavement. Cleaning is also more than just a quick rinse. You need to remove dirt, mold, and moss.
If dirt stays on the stone, the sealer will trap it inside. This creates a messy look that is hard to fix later. A deep wash also opens the pores of the stone. This helps the paver protectors soak in deep for a better bond.
Old sealers must also come off before you start. If you put a new coat over an old one, it may not stick. This often causes the surface to look white or flaky. Professional crews use hot water and special soap to strip away old layers.
This step is key for a smooth finish that lasts a long time. Oil or grease spots also need special care. Standard washing may not get them out. You must use a degreaser to pull the oil from the stone.
Treating stains and joints
If you seal over a stain, it stays there forever. Gappsi uses professional tools to find and treat these spots. This is a big part of professional sealing vs paver protectors bought at a store. Next, you must check the joints between the stones.
These gaps are filled with sand to keep the stones in place. If the sand is low, you need to add more. Using the right type of sand is key for strength. Some homeowners use polymeric sand to stop weed growth.
This step helps the patio stay flat and even for years. Patience is also vital when it comes to drying. The pavers must be bone dry before you apply any coating. Any moisture trapped under the sealer can cause white haze.
Drying and product choice
This clouding is a common problem with DIY jobs. It often happens when people rush to finish. Waiting for a full day of sun is the safest move. This makes sure the stone is ready to take the new coat.
Finally, you must pick a product that fits your stone type. Not all paver protectors work the same way. Some are made for clay, while others are for concrete. Using the wrong one can cause a bad result.
A pro knows which sealer will bond best with your specific hardscape. It might leave the surface slick or sticky if you choose the wrong kind. Taking the time to pick right helps your patio stay beautiful.
How Long Island conditions affect paver protection
Long Island weather brings many hard tests for any outdoor stone surface. Local homeowners often look for paver protectors to keep their patios and driveways in top shape. From humid summer days to icy winter nights, these products help block damage from the local climate. Using the right shield can stop the sun, rain, and snow from wearing down your hardscape too soon.
The freeze-thaw cycle
Winter in New York is tough on stone surfaces. Water can get into the small gaps between your pavers and then freeze when the temp drops. As the water turns to ice, it takes up more space and pushes against the stone. This cycle can cause your stones to shift or crack over several seasons. A good barrier keeps water from soaking into the stone, which lowers the risk of this winter damage.
Most stones sit on a sand base that can shift or settle over time. When water gets under the stones and freezes, it moves the sand and makes the surface uneven. This often leads to trips or pools of water. Applying a coat of sealant helps lock the sand in place and keeps the whole system stable during the coldest months of the year.
Managing water and debris
Wet weather is a common part of life on the island. Keeping your stone surfaces dry is key to a long life for your patio. Experts say you should have a clear gradient or slope so water can run off the site. Without a way for water to leave, it will pool and cause the sand under your stones to wash away. This ruins the base and makes the stones tilt.
Organic debris like leaves can also leave dark stains if they sit too long on wet stones. In shaded areas, moisture stays on the surface and leads to moss or weeds. You can compare professional sealing vs paver protectors to see which one works best for your yard. A thick coat makes it hard for stains to sink in, so you can just wash them away with a hose.
Coastal salt and moisture
Homes near the bay or the sound face salt air every day. This salt can act like sandpaper and wear down the top layer of your pavers. Damp air also makes it easy for mold to grow in the joints between the stones. This can make the surface slippery and unsafe to walk on when it rains.
A strong shield creates a barrier that makes it much harder for salt and moisture to take hold. It seals the pores of the stone so the salt cannot get deep inside. This keeps the colors of your stones bright and fresh for many years. It also stops weeds from taking root in the sand joints, which keeps your patio looking clean and new.
How to choose the right protection approach
Choosing the best way to protect your outdoor space depends on your time and goals, so many people look at retail paver protectors to save money. But an expert service often provides better care for your stone or brick. To make the best choice, you must look at your yard and think about your own skill level. Gappsi helps people on Long Island make this choice.
Surface state and stone checks
Before you buy any tools, look closely at your driveway or walkway. Pavers are often set on a sand base that can move and settle over time, causing the stones to shift. Retail paver protectors cannot fix a shifting base. If your stones are not flat, you may need an expert team to reset them before any sealant goes on.
You must also know what kind of stone you have. Some stones absorb liquids fast, while others are very dense. Using the wrong product can trap moisture or cause a white haze. Gappsi provides expert paver work and hardscaping care to ensure your stones get the exact product they need.
A step by step decision path
Here is a simple sequence to help you choose between a DIY project and hiring a pro team. This path will guide you through the most important factors for your yard.
- Know your stone type. Different stones need exact types of sealants to avoid long-term damage or bad stains.
- Check the current state. Look for weeds, moss, deep oil stains, or stones that have started to shift out of place.
- Pick your desired finish. Decide if you want a flat matte look, a soft satin sheen, or a deep wet look for your yard.
- Review your yard drainage. Proper slope design is needed to ensure water runoff and prevent pooling (Oregon State Extension).
- Test a small area. Put a tiny bit of the sealer on a hidden spot to make sure you like the final color and grip.
- Think about long term care. Plan how much time and effort you want to spend cleaning and resealing the surface every few years.
Risk factors and safety choices
Safety is another point to think about when you look at paver protectors. Some strong sealants have harsh toxins that can harm your health or the local wildlife. For example, coal-tar sealcoat has high levels of toxins that are bad for humans and nature (U.S. Environmental Protection Agency). An expert team knows how to use safe, green products that protect your yard without these risks.
You should also watch out for quick scams. Some bad workers use weak, watered-down sealers and then demand extra cash for fake fixes. Working with a trusted local firm ensures you get real results and a safe warranty.
When professional sealing is the safer choice
Many homeowners try to use off-the-shelf paver protectors to fix a worn patio. But if your old sealer is peeling or turning white, a new coat might not stick. This often means the old product has failed. You may need a pro to strip the old layer first. Expert teams can find these issues before you waste money on more DIY products. These experts know which chemicals work best for each stone type.
Signs of coating failure and deep stains
Deep stains from oil or rust can also be hard to clean. If you use the wrong soap, you might hurt the stone. A professional team knows how to remove tough spots without damage. They use strong tools that most people do not have at home. This helps keep your patio looking new for a long time. They can also help when you do not know what kind of material you have.
Uneven color is another sign that you need an expert. Sometimes a DIY job leaves dark spots or streaks on the ground. These marks are hard to fix once they dry. A pro can blend the color to make the whole area look even. They use high-grade tools to apply the product in a smooth way. This ensures that your home looks its best from every angle.
Solving drainage and joint issues
Water that sits on your patio can cause big problems. Proper slope is key so water runs off your stones. If you see water pooling, your base might be sinking. Experts can fix the sand base to stop this ponding. According to Oregon State University, a good gradient keeps water from hurting your pavement. This protects your hardscape from long-term damage.
Joint loss is another sign you need help. If the sand between your pavers is gone, weeds will grow. You might also see the stones shift and move. Pros can use special tools to fill these gaps the right way. They help you choose between professional sealing vs paver protectors for the best results. This work keeps your stones stable for many years to come.
Protecting your property from hazards
Some cheap sealers can be bad for your health and the area around your home. Products made with coal tar often have high levels of bad chemicals. These can hurt people and the earth. The U.S. Environmental Protection Agency warns that these sealants can pollute local lakes. A pro team will use safe products that do not have these big risks. They care about the safety of your family and pets.
You should also watch out for scams that target homeowners. Some bad workers say they are inspectors to get more money from you. They might use weak products that do not work well or last long. Choosing a firm with a long history in Long Island helps you avoid these traps. Expert crews give you peace of mind and real results that stay strong through every season. This keeps your home safe and beautiful for a long time.
How to maintain protected pavers
After you use paver protectors, you want the results to last for a long time. Keeping your stone or brick patio in top shape does not take much work, but it does need care. Small steps can stop big problems later. You should look at your patio often to find any changes. This helps you keep the look and feel of your home for many years. Regular care is key to a fine yard.
Visual check of your stone
Start by looking at the stone for water. Water should run off the top and not sit in one spot. If you see pools of water, it might mean the ground has moved or the slope is wrong. A good slope is needed to keep water from hurting the stone or the base. Check the gaps between stones too. If the sand is low, weeds can grow and push the stones out of place.
Look for salt or white spots on the surface. These can show up after rain or snow. They often come from the stone itself. A good sealer helps stop this, but you still need to check. If you find cracks, you may need to fix them before the cold hits. You can even do repairs in freezing weather if you use the right units and sand. Catching these spots early keeps the whole patio safe.
Routine cleaning and care
Cleaning your patio is the best way to keep it bright. Use a soft broom to sweep away leaves, dirt, and seeds. This stops mold and moss from growing in the shade. If you need to wash it, use a garden hose and a mild soap. Do not use a high-power sprayer too close to the stone. It can strip away the sealer or the sand between the stones. A gentle wash once a month is often enough to keep it looking new.
Avoid harsh soaps or other things that can hurt the area. Some low-cost paver protectors might react poorly to strong acids. You should also stay away from coal-tar products. These can have high levels of toxins that are bad for people and the earth. Simple, safe soaps are mostly all you need to keep things clean. Always test a small spot before you wash the whole patio.
Long term care
Most paver protectors do not last forever. You will need to check how well the sealer is working as time goes on. If water stops beading on top and starts to soak in, it is time for a new coat. High-use spots like paths or driveways will wear down faster than a patio. Watching these spots helps you know when to call a pro for help. This is part of a good care plan for any home.
Choosing professional sealing vs paver protectors from a store can change how often you need to work. Experts use tools that go deep into the stone. They offer help to keep your stones safe for the long run. By checking your patio each year, you ensure it stays strong through the Long Island winters. Proper care helps your home stay in good shape for the years to come.
Frequently Asked Questions
Is there a downside to sealing pavers?
Sealing pavers has few downsides if you use the right product and apply it well. Low-quality sealers can trap moisture or peel. This often leads to a cloudy look that is hard to fix. Using a professional sealing service helps avoid these issues. Experts know which sealer works best for your stone type and the local weather.
What is the difference between paver protectors and professional sealing?
Consumer-grade paver protectors are simple coatings you can buy at a store. They usually sit on top of the stone and do not last long. Professional sealing services use stronger products that soak deep into the pavers. These professional sealers provide a much better shield against stains, fading, and salt. They also last many years longer than DIY protectors.
What can I cover pavers with to prevent stains?
To prevent stains, you should use a high-quality sealant or paver protector. These products form a clear layer that stops oil, grease, and dirt from soaking into the stone. Professional sealing is the best way to keep your patio clean. According to Gappsi, professional-grade products offer much more protection than basic items found in local hardware stores.
How often should I seal my pavers on Long Island?
Most experts suggest sealing your pavers every three to five years. Long Island has cold winters and hot summers. This harsh weather can wear down stone and sealers quickly. According to the Gappsi Group, taking care of your stone helps it last much longer. Sealing helps keep the sand in the joints and stops weeds from growing between the pavers.
Are you ready to protect your Long Island stone patio right now?
Skipping the seal for your stone now leads to deep stains and marks that are very hard to fix after just one bad winter year. If you choose to wait, the total price of care will go up as the harsh storms hurt the stone and the sandy joints today. Taking care of your home this month keeps your yard looking its best and stops you from spending more on a very costly new patio.
Ready to request a consultation or visit the Smithtown showroom? Contact our masonry team to set up your free check and see how our experts can help you save both time and money today.