
View Gappsi’s YouTube Channel to view How to Remove Brown Spots from Bluestone Copings and Patios with Sealer Stain
Bluestone is one of the most popular natural stone materials used for pool copings, patios, walkways, and outdoor living spaces throughout Long Island and the Northeast. Its durability, timeless appearance, and natural color variation make it a favorite among homeowners and designers alike. However, over time, many bluestone installations develop unsightly brown or rust-colored spots that disrupt the stone’s clean, elegant look.
If you are dealing with blotchy discoloration on your bluestone coping or patio, you are not alone. This is a common issue, and the good news is that it can be effectively corrected. In this article, we explain why brown spots form on bluestone and how applying a professional-grade sealer stain can restore uniformity while preserving the stone’s natural beauty.
Why Bluestone Develops Brown Spots
Bluestone is a natural sandstone that contains iron deposits. When bluestone is exposed to moisture, oxygen, and seasonal temperature changes, those iron deposits can oxidize. This oxidation process is what causes the brown, orange, or rust-like staining that appears on the surface.
At first, homeowners may notice that the discoloration fades or lightens during dry periods. Unfortunately, once moisture returns, whether from rain, pool water, or humidity, the spots often reappear. Traditional cleaning methods may temporarily improve appearance, but they rarely solve the problem in the long term because the iron content remains within the stone.
Without proper treatment, these blotchy spots can spread and make even a high-end patio or pool area look aged and poorly maintained.

Why Cleaning Alone Is Not Enough
Many homeowners attempt to address brown spots with pressure washing, acid cleaners, or iron removers. While these methods may temporarily improve appearance, they do not prevent future oxidation. In some cases, aggressive cleaning can actually damage the stone’s surface, making it more porous and more susceptible to staining.
To truly correct iron-related discoloration in bluestone, the solution must do two things:
- Create a more uniform appearance across the stone surface
- Seal the stone to reduce moisture penetration and future oxidation
This is where a professional sealer stain application becomes the most effective and lasting solution.
Using a Sealer Stain to Restore Bluestone
Rather than trying to fight the natural characteristics of bluestone, a sealer stain works with the stone. The goal is not to “paint” the surface, but to enhance and unify the existing color while sealing it against moisture intrusion.
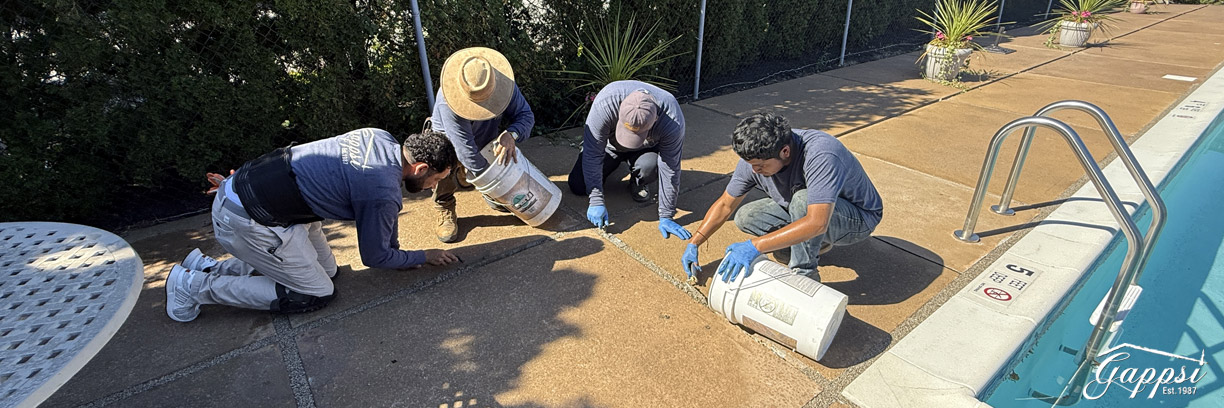
In this project completed by Gappsi in Stony Brook, NY, we applied a high-quality sealer stain specifically formulated for natural stone. The bluestone coping contained iron-related discoloration that had faded and returned multiple times. The objective was to make the coping appear uniform while maintaining the natural bluestone’s authentic look.
The Application Process to Remove Brown Spots from Bluestone- View our Stone & Tile Cleaning Services
Achieving professional results requires patience, proper materials, and a multi-step application process.
Step 1: Surface Preparation
Before applying any stain or sealer, the bluestone must be thoroughly cleaned and dried. This ensures proper adhesion and allows the stain to penetrate evenly into the stone.
Step 2: First Coat Application
The first coat of sealer stain is applied using a combination of brushes and rollers. Brushes help work the product into the stone’s natural texture and joints, while rollers allow for smooth, even coverage across larger surface areas.
At this stage, the stone begins to take on a more consistent appearance, but additional coats are necessary for optimal results.
Step 3: Multiple Coats for Uniformity
The process is repeated at least three times. Each coat builds depth, enhances color consistency, and improves sealing performance. Applying multiple thin coats rather than a single heavy coat ensures the stone absorbs the stain naturally, without looking artificial.
This layered approach is critical for eliminating blotchy-looking brown spots while preserving variation.
Step 4: Final Sealing and Curing
Once staining is complete, the bluestone is fully sealed. This final step locks in the color and provides long-term protection against moisture, oxidation, and environmental exposure.
The Final Results
After completing the staining process, the transformation is immediate and impressive. The brown spots and uneven discoloration are eliminated, and the bluestone coping appears clean, cohesive, and refreshed.
What makes this method particularly compelling is that the stone does not look painted. The color is more uniform, yet it still displays natural variation throughout the surface. The finished result resembles the stone’s inherent color rather than a surface-applied pigment.
This balance is essential for homeowners who want their outdoor space to look refined without sacrificing the authenticity of natural stone.
Benefits of Sealer Staining Bluestone
Applying a professional sealer stain offers several long-term advantages:
- Eliminates blotchy brown and rust-colored spots
- Creates a more uniform, upscale appearance
- Preserves natural stone character and variation
- Seals the stone against moisture intrusion
- Reduces future oxidation and discoloration
- Extends the life of bluestone installations
- Enhances curb appeal and property value
For pool copings and patios, sealing also helps protect against water absorption, freeze-thaw damage, and staining from pool chemicals or organic debris.
A Recent Bluestone Staining Project in Stony Brook, NY
This bluestone coping restoration is one of Gappsi’s latest color-stain projects, completed in Stony Brook, NY. The homeowner wanted a solution that would permanently address recurring brown spots without replacing the stone or compromising its natural appearance.
By carefully selecting a sealer stain and applying multiple coats with precision, we were able to completely transform the coping. The finished surface now looks cohesive, elegant, and protected, while still unmistakably bluestone.
Is Sealer Staining Right for Your Bluestone?
If your bluestone patio, pool coping, or walkway shows signs of iron staining, blotchy discoloration, or uneven coloring, sealer staining may be the ideal solution. It is especially effective for natural bluestone that has recurring brown spots that cleaning alone cannot fix.
Professional application is key. The right products, techniques, and number of coats make all the difference between a natural-looking enhancement and an artificial finish.
Bluestone is a premium material that deserves a solution that respects its natural beauty. Removing brown spots from bluestone copings and patios is not just about aesthetics; it is about protecting your investment.
With the right sealer stain application, you can restore uniformity, eliminate discoloration, and enjoy a clean, natural-looking outdoor space for years to come. If your bluestone has lost its original appeal, a professional staining and sealing process can bring it back to life beautifully and permanently.
Contact Gappsi Today
📍 Serving all of Long Island, NY — Nassau & Suffolk Counties
🌐 www.gappsi.com
📞 Call now for a free consultation and estimate!

 Understanding the Original Surface: Cambridge Toffee Onyx Pavers
 Step 2: Creating Color Samples for Client Approval
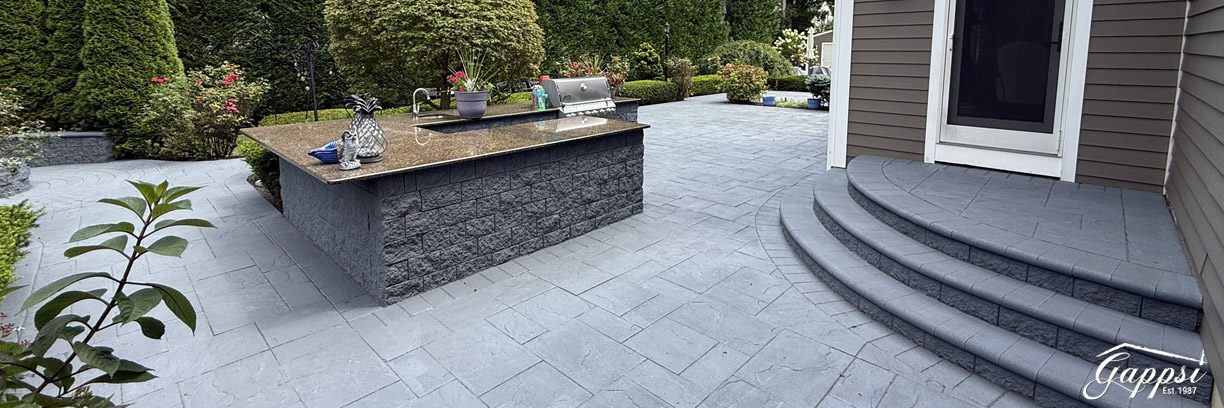 Step 4:
 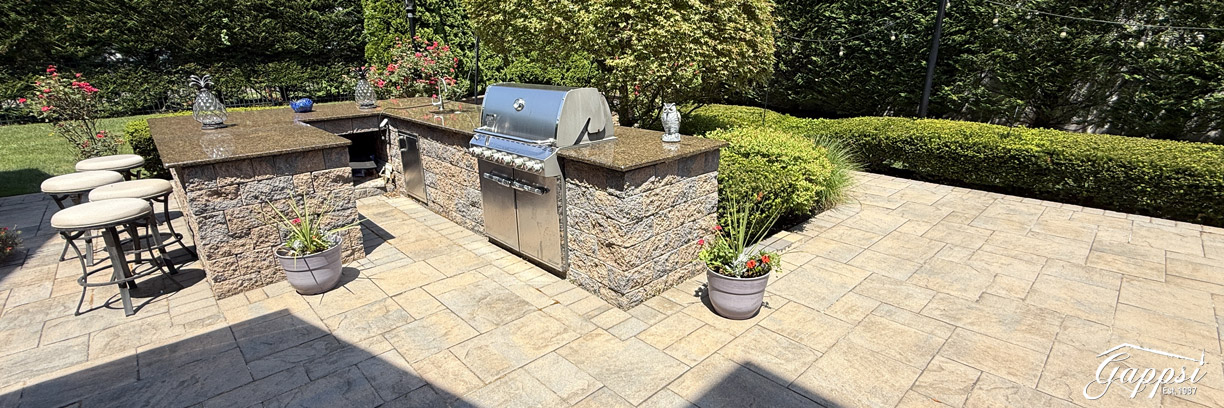 This project showcases what’s possible when homeowners want to update their outdoor living area without tearing out and replacing existing pavers. Through expert staining and sealing, Gappsi delivered a like-new surface at a fraction of the cost of rebuilding.
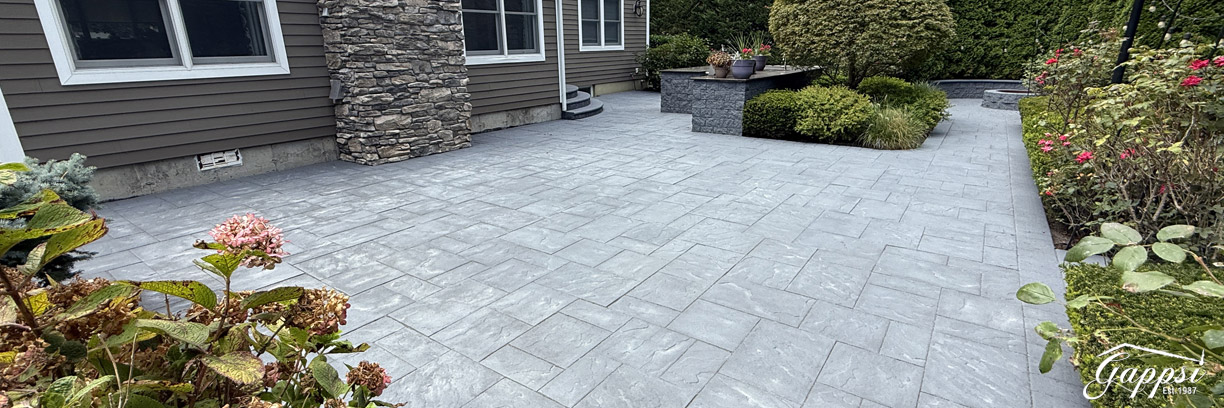 Transform Your Pavers Without Replacing Them
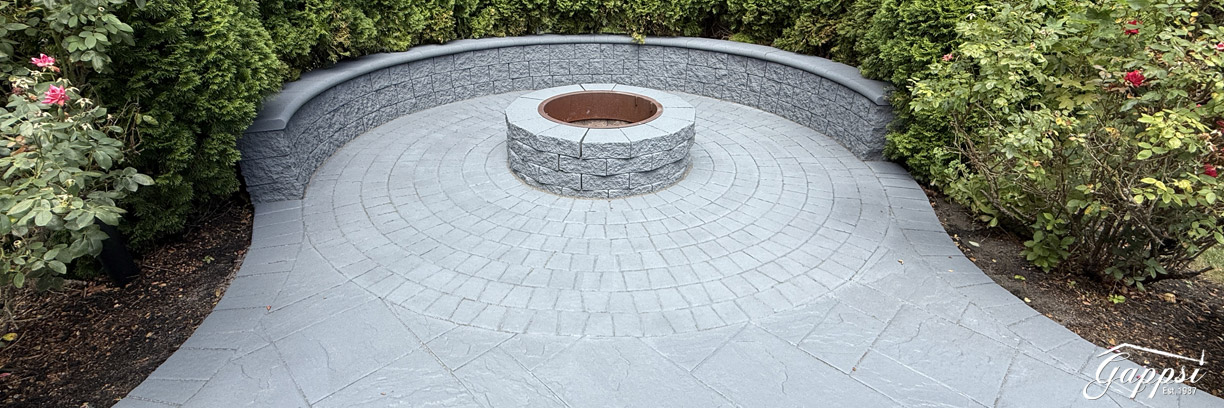
 Unfortunately, over time, the polymeric sand did not hold up as expected. Despite claims from the manufacturer that it would withstand weathering and movement, the sand began to crack, wash out, and deteriorate.
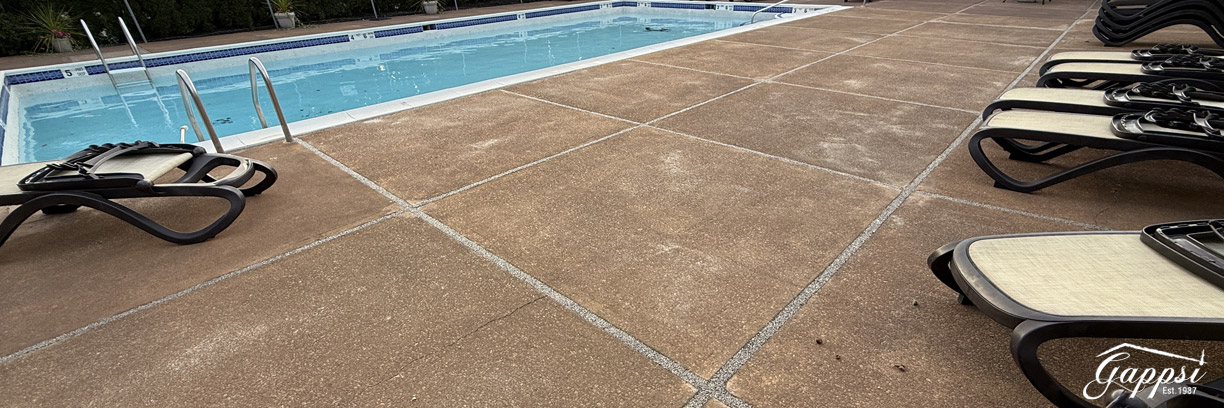 Why Urethane Resin is Superior to Polymeric Sand
 Imported Italian Quality, Installed by Gappsi
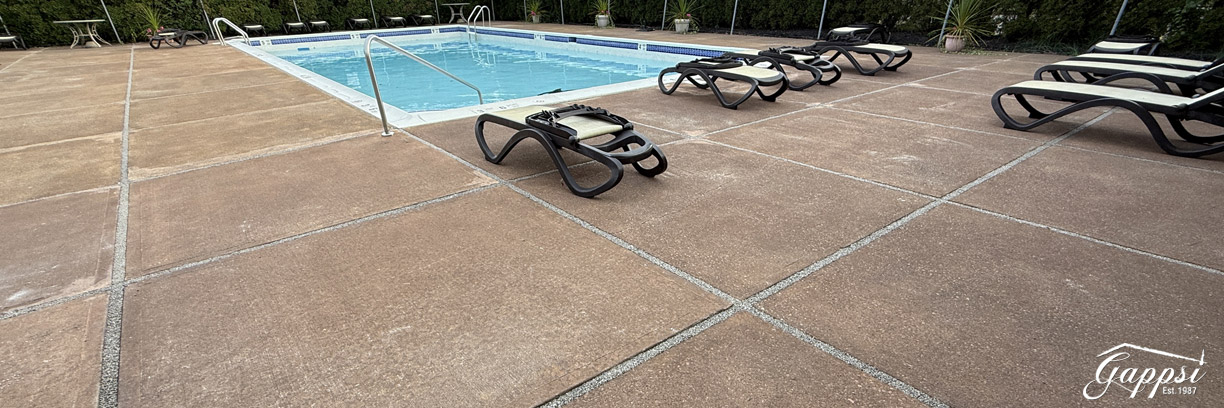 Contact Gappsi for Your Next Project
 Can a poor application of driveway sealer be corrected? Depending on the severity of the problem, it may require saturation, aggressive scrubbing, and repeated applications to re-emulsify the sealer.
 Whiting happens when your pavers have been sealed with a xylene or acrylic (solvent-based) sealer or sealed during imperfect weather conditions or application. The trapped moisture is caused by hydrostatic pressure, which brings the moisture up through the pores of the pavers and traps it under the sealer. Once your pavers have “turned white”, there is only one way to rectify the problem. The sealer must be completely stripped off and re-sealed with the correct type of sealer. When a failed coating needs professional correction, Gappsi’s
 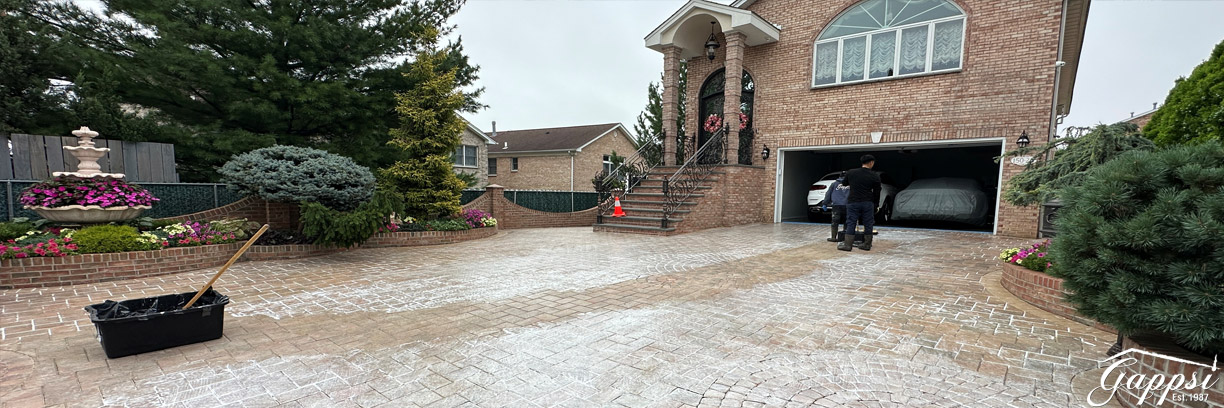 Removing and Stripping Old Sealant Off Driveway Pavers
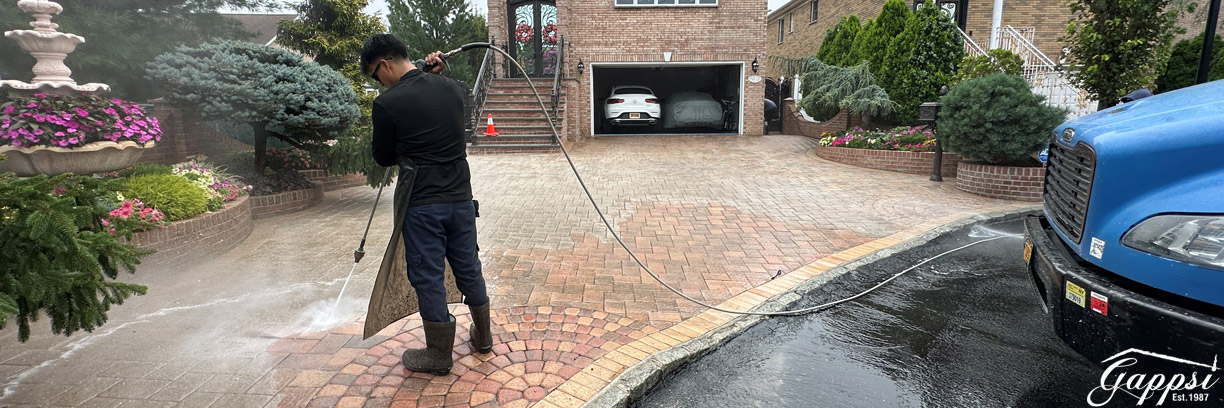 What type of sand material fills the joints between pavers?
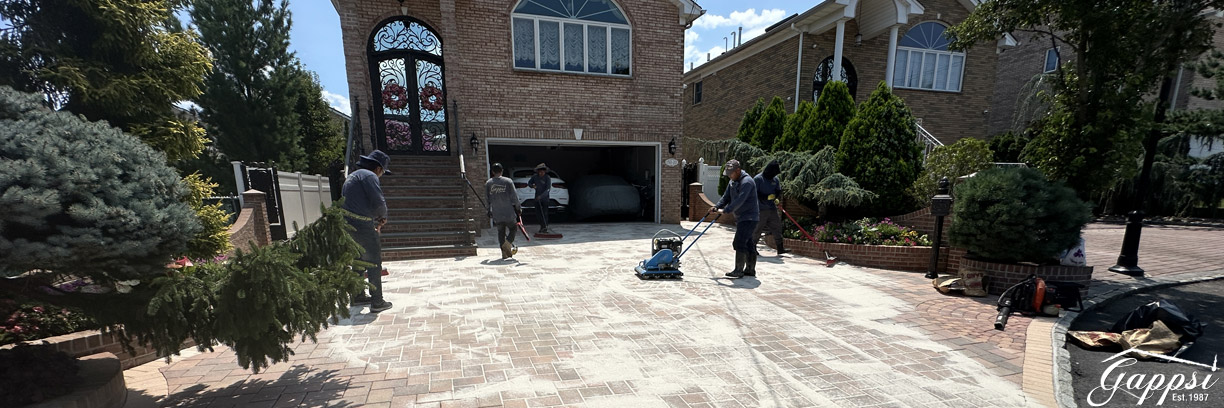 What is the best sealer for concrete pavers?
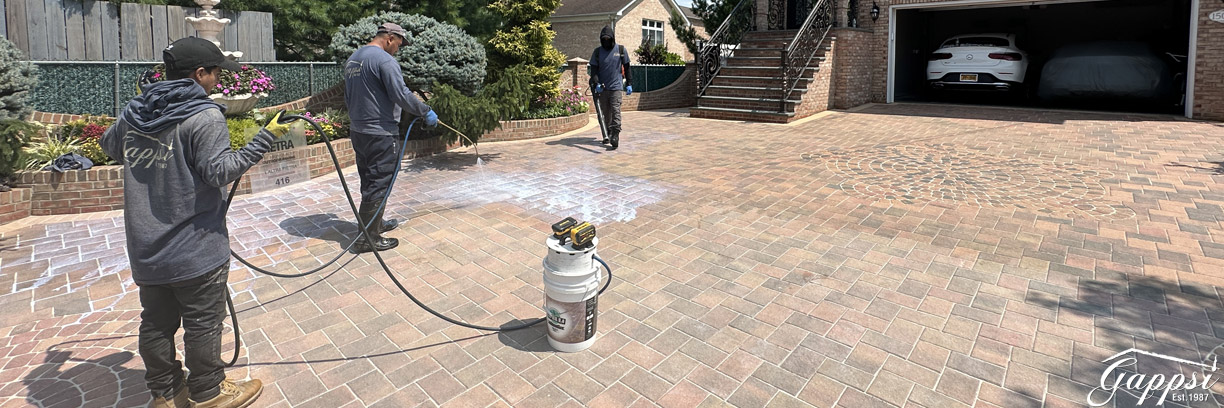 The sealer creates a very strong bond to the paving stone surface and over the sand particles in between the joints.
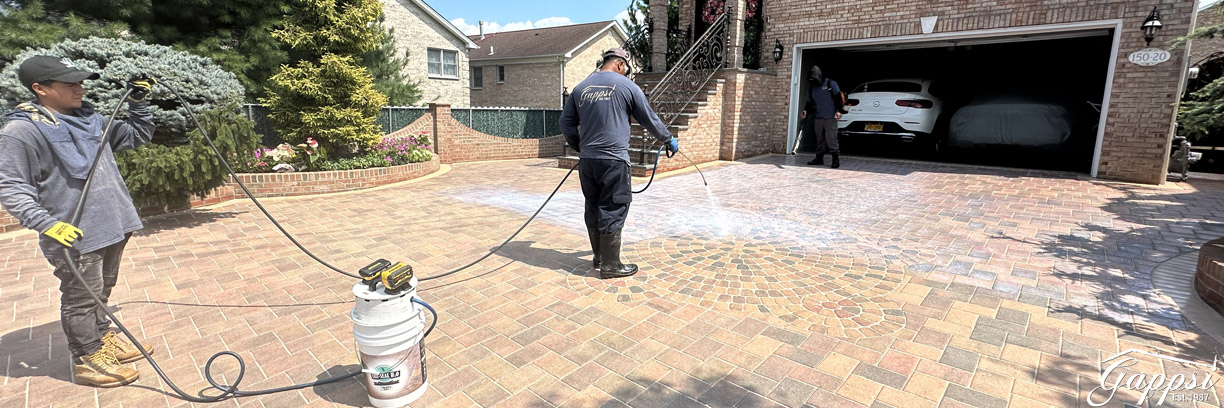 The best sealers for paving stones are water-based urethanes
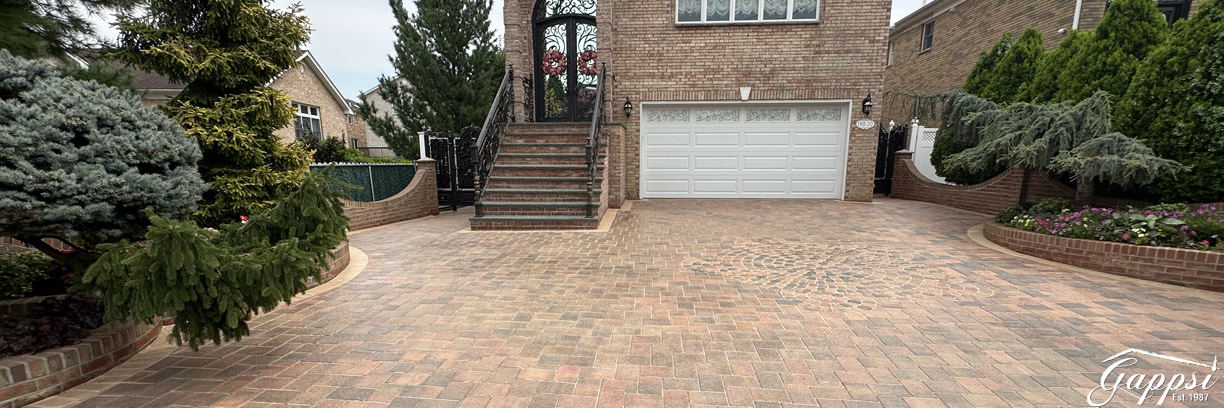 Gappsi brought back the color of the stones to look better than they did when they were originally installed. The colors are very vibrant and uniform now that the sealer is applied correctly. You can see the color variations of the Bayberry Blend, the shades of gray, beige, and peach color even after 20 years.