


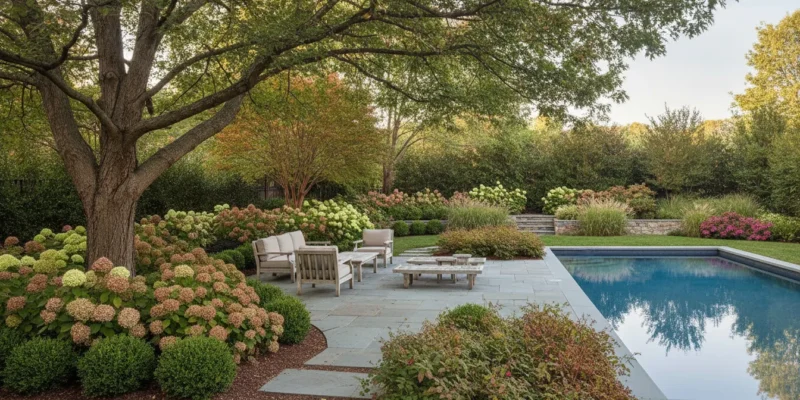
Planting around a Long Island pool or patio is not simply a matter of choosing attractive greenery. Nassau and Suffolk properties can present compact planting areas, changing grades, coastal exposure, drainage concerns, and mature-size limits. These conditions affect plant health and the way an outdoor room feels. The right plan considers those conditions before a shovel reaches the soil. Contact Gappsi through our contact page
That coordinated approach starts with understanding why professional planning can be a better fit than treating each planting as an isolated task.
What Makes a Tree Planting Service a Better Fit for Long Island Yards?
Planting a tree is not simply a matter of choosing a species and digging a hole. On a Long Island property, the planting plan needs to work with the home’s architecture, existing grades, patios, pools, walkways, and the space available for future growth. A coordinated professional approach helps homeowners make these decisions before a tree becomes difficult to move or begins competing with nearby features. Site-specific selection is one of the clearest advantages. Professional tree planting guidance considers the local climate, soil conditions, and available space when matching a tree to a property. Davey describes this as placing the right tree in the right place for local climate and soil conditions: professional tree selection guidance. That evaluation can also account for the intended role of the planting, such as creating privacy screening, softening a masonry wall, framing a view, or adding structure beside an outdoor room. Timing is another practical consideration. The best planting season depends on local climate conditions and the specific species. A professional can help determine when installation is appropriate rather than relying on a universal calendar. This matters when planting is part of a larger project, because grading, irrigation, hardscape construction, and plant installation need to be sequenced thoughtfully. The goal is not to force every part of the yard to happen at once. It is to make each phase support the next one. Gappsi approaches planting as part of a broader design-build process. Its scope includes 3D landscape design, grading, planting installation, tree supply and installation, privacy screening, irrigation, and integrated hardscape planning. That coordination gives the planting plan a direct relationship to the rest of the yard. For example, tree placement can be considered alongside pool circulation, patio edges, drainage paths, and the sightlines from the house instead of being treated as an isolated add-on. This approach is especially useful for homeowners in Nassau and Suffolk Counties planning a substantial backyard update. A single coordinated plan makes it easier to discuss the intended function of each planting, the space available at maturity, and how the landscape should relate to the built elements. It also gives the homeowner one design conversation for the connected outdoor environment rather than separate decisions that may conflict later. Contact Gappsi through our contact page
How Should You Choose Trees and Shrubs for a Long Island Property?
The right planting plan begins with the property, not a catalog photograph. Long Island sites can vary by slope, exposure, soil type, compaction, available light, drainage, and the amount of space around a home, patio, or pool. UMass Extension recommends evaluating these conditions, along with hardiness zone and soil nutrient availability, before choosing plant material. Review the full site-evaluation guidance when planning a new bed or screening area. That evaluation helps connect the planting design to the way you use the property. A tree near a patio may provide shade and structure, while a shrub grouping can soften a masonry edge or create privacy along a boundary. Near a pool, the design should account for circulation, sightlines, maintenance access, and the relationship between the planting beds and hardscape. Gappsi incorporates planting into broader landscape planning, so trees and shrubs can support the same layout as the patio, pool, and outdoor living areas. Explore Long Island landscape planning for a coordinated approach.
Use the site and the plant’s mature form as your starting point
Before selecting a species, assess the conditions that will remain after installation. Then compare each candidate’s mature characteristics with the intended function. A plant that fits its location at installation may become crowded, shade nearby beds, or interfere with views as it grows. UMass Extension identifies growth habit, ultimate size, maintenance needs, pest and disease resistance, function, and potential invasiveness as important selection considerations.
- Mature size and growth habit: Allow room for the eventual height, width, canopy, and root zone instead of choosing only for the plant’s current appearance.
- Sun and exposure: Match the plant’s light requirements to the conditions at the planting location, including changes caused by buildings, fences, and existing trees.
- Soil and drainage: Consider soil type, compaction, pH, nutrients, and how water moves through the bed. A low area beside a retaining wall may require a different selection than a well-drained raised site.
- Maintenance: Account for pruning, watering, leaf cleanup, pest monitoring, and access. Choose a level of upkeep that fits the household and the rest of the landscape.
- Privacy and screening: Use the desired sightline, screening height, bed depth, and mature spread to guide the layout rather than placing plants at an arbitrary interval.
- Seasonal interest: Combine foliage, structure, flowering, and other seasonal characteristics to keep the landscape engaging beyond one short bloom period.
There is no universal list of guaranteed choices for every Nassau or Suffolk County property. A thoughtful tree planting service should review the site, clarify the purpose of each planting area, and select material that suits the conditions and the design. That process protects sightlines, preserves usable space, and helps the landscape mature as part of one cohesive outdoor setting.
Planting Depth and Spacing: What Prevents Early Problems?
Correct placement is more than setting a tree in a hole and filling around it. A new tree may have only 5% to 20% of the fine absorbing roots found on an established tree of the same size. So the planting process should protect the remaining root system while giving it room to recover. Colorado State University Extension explains why transplant shock matters, especially when the root ball is disturbed or the tree is installed at the wrong grade. For a Long Island property, the installation sequence should also account for utilities, compacted soil, drainage, mature canopy, and nearby patios or pools. Use this checklist as a practical framework for coordinating a tree planting service with the rest of your outdoor plan:
- Mark utilities before any digging. Call 811 before breaking ground so underground electric, gas, water, sewer, and communication lines can be located. Seattle’s tree guidance recommends calling at least two days before digging and marking the proposed planting area in white. Confirm the marked route against your design, then adjust the tree location if needed. This safety step applies whether the work is performed by a homeowner or a professional crew.
- Find the root flare. Locate the point where the trunk visibly widens and the first structural roots begin. Do not use a graft union or a small root emerging from the trunk as the reference point. The root flare should sit slightly above existing ground level because roots need oxygen. Colorado State Forest Service guidance on locating the root flare provides the right visual distinction.
- Inspect the root ball. Remove or correct circling and crossing roots when appropriate, and keep the root ball intact during handling. The goal is to establish roots outward, not leave a constricting pattern against the trunk.
- Set the hole depth and width to the root ball. The root ball should rest on firm, undug soil so settling does not cause the tree to sink or tilt. Digging too deep is a common planting error and can contribute to trunk-girdling roots and early decline. The hole should provide room for the root ball to be positioned correctly and for roots to move into the surrounding soil, rather than simply creating a narrow underground cavity.
- Plan spacing around mature growth. Place trees and shrubs according to their expected canopy, root zone, privacy function, and relationship to structures. Avoid invented one-size-fits-all spacing rules. Instead, evaluate the available space, light, drainage, slope, compaction, and soil conditions, as recommended by UMass Amherst’s planting guidance. This is especially important when framing an outdoor living area. Gappsi’s outdoor living design approach can coordinate planting locations with paths, seating, and hardscape edges.
- Support establishment without changing the grade. Backfill carefully, keep soil off the trunk, and provide the watering and follow-up care appropriate for the species and site. Watch for settling, leaning, drainage problems, or stress during establishment. Correcting a depth issue early is far easier than managing decline after roots and trunk tissue have been affected.
How Do Grading and Drainage Affect New Plantings?
Water movement is one of the most important site conditions to address before installing trees and shrubs around a Long Island patio or pool. Gappsi approaches planting as part of the larger landscape plan, coordinating topsoil grading, ground preparation, drainage, irrigation, and planting installation rather than treating each task as a separate project. Grading shapes how rainwater and irrigation move across the property. A well-planned grade can guide water away from structures and hardscape while allowing planting areas to receive the moisture they need. The goal is not simply to move as much water as possible. It is to create a site where water does not routinely collect around a root ball, wash soil away from a bed, or leave newly installed plants competing with saturated soil.
Why does drainage matter during establishment?
New trees and shrubs are adjusting to a disturbed root environment, so the planting bed must support consistent care. Water that remains trapped around the roots can reduce the air available in the soil. At the other extreme, runoff can carry away topsoil and leave roots without dependable moisture. Before choosing plant material, review the site conditions. The University of Massachusetts Amherst outlines key factors including slope, soil type, compaction, light, drainage, available space, and soil nutrients in its site evaluation guidance for trees and shrubs. That evaluation is especially relevant beside a pool or patio. Masonry, coping, walkways, and other hard surfaces change where water travels. A planting bed placed along those edges needs to work with the surrounding grade, not create a low spot that receives uncontrolled runoff. Drainage planning can also help preserve clean bed edges and reduce the need for repeated soil correction after heavy rain. 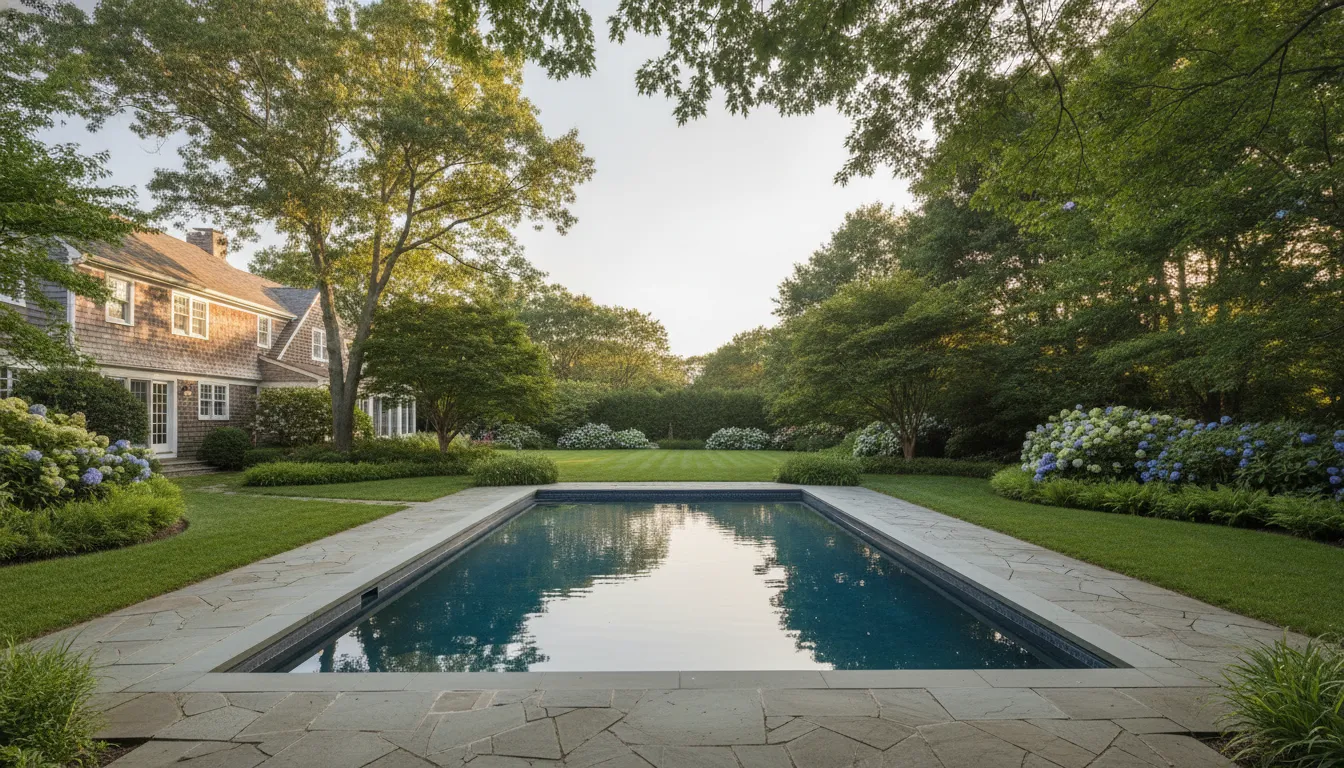
How are grading and irrigation coordinated?
Grading and irrigation should be planned together. Grading establishes the basic movement of water, while irrigation supports the planting areas after installation. Gappsi can coordinate both with the planting design, including the placement of trees and shrubs that frame outdoor rooms, screen selected views, or soften a hardscape transition. This coordinated approach helps the landscape relate to the patio or pool instead of appearing added after construction. For a property-wide plan, review Gappsi landscape design and planting to see how grading, drainage, irrigation, and planting can be considered alongside the rest of the outdoor design.
Using Plantings to Frame Patios, Pools, and Outdoor Rooms
Planting design gives a hardscape project a sense of proportion and connection. Rather than placing trees and shrubs wherever space remains, an integrated plan uses them to define edges, soften masonry, guide movement, and shape views across the yard. On Long Island, that plan should account for the relationship between the planting bed, the pool deck, patio, grading, drainage, and the mature size of each plant. Plantings should support how the space is used. A layered bed can make a patio feel more private without closing it in. A carefully positioned canopy can provide shade near an outdoor seating area, while lower shrubs preserve sightlines around a pool. The CDC notes that strategic tree placement can enhance curb appeal, provide shade, and reduce cooling costs. Read the CDC guidance on strategic tree placement. 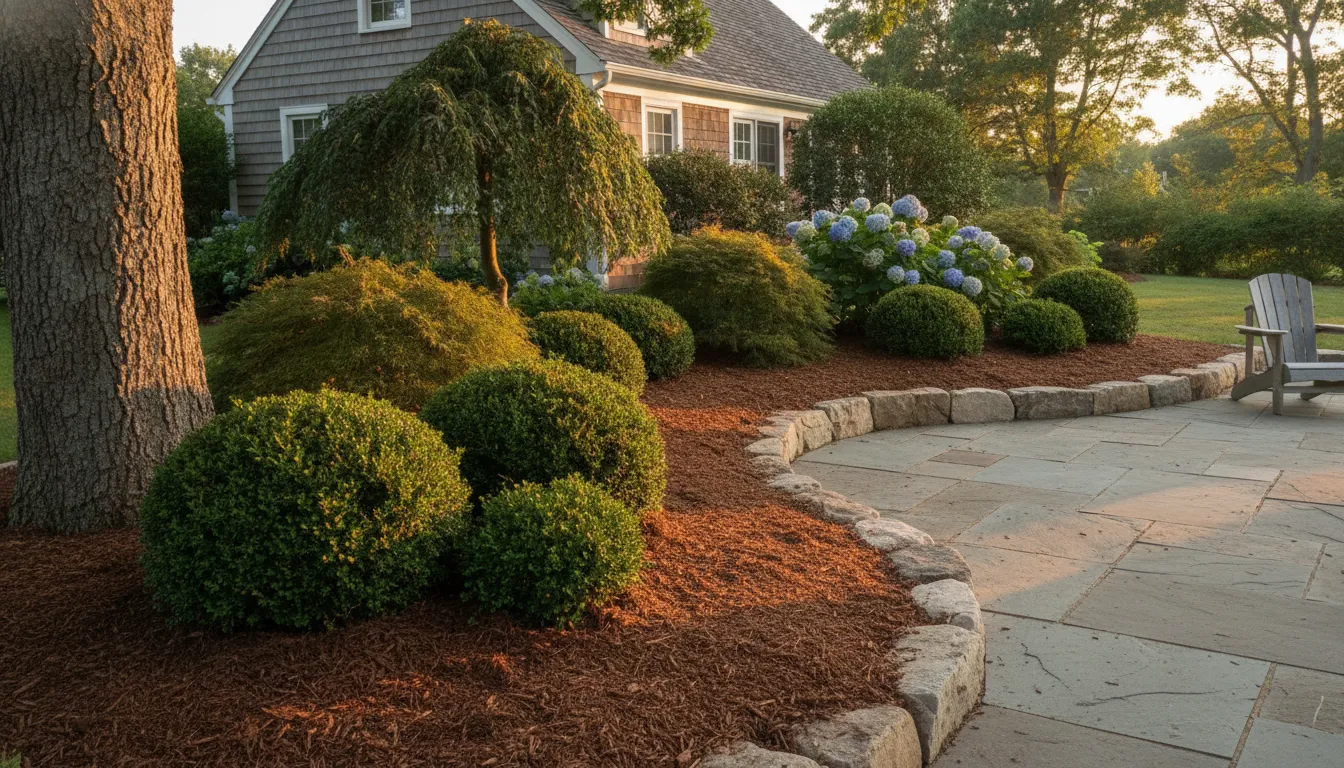
| Setting | Planting role | Planning priority |
|---|---|---|
| Patio. | Soften bed edges and shape privacy. | Preserve seating space, views, and access. |
| Pool. | Frame the water and connect it to the yard. | Coordinate mature size, maintenance, drainage, and circulation. |
| Boundary. | Build layered screening and define the property line. | Match plants to available space, exposure, and growth habit. |
| Entry. | Guide arrival and emphasize the home approach. | Balance visibility, scale, and year-round structure. |
Coordinate the planting plan with the hardscape
Gappsi approaches planting as part of the broader design-build process. Its landscape planning can integrate 3D landscape design, grading, planting installation, tree supply and installation, privacy screening, irrigation, and hardscape planning. That coordination matters because a tree canopy, privacy screen, or planting bed should be considered alongside paving lines, retaining conditions, drainage paths, and the clearances needed for pool equipment and outdoor circulation. For example, a pool landscape may need openness near the water and stronger screening at the property boundary. A patio may benefit from planting that creates enclosure while leaving room for furniture and maintenance. The best arrangement is not simply the densest one. It is the one that fits the site and the way your household uses the room. Explore custom pool planning as part of a connected backyard design, or discuss the broader plan with a Long Island landscape team serving Nassau and Suffolk Counties.
What Does Professional Tree Planting Include After Installation?
Installation is only one part of a successful planting project. After the tree or shrub is in the ground, a professional team reviews how the new material relates to the surrounding landscape, including the grade, drainage, irrigation, hardscape, and future canopy. That final review helps ensure the planting is not treated as an isolated feature, especially when it sits near a patio, pool, walkway, or outdoor room. On Long Island properties, this coordination matters because the planting bed may be connected to several other systems. Gappsi can align planting installation with grading and irrigation planning, so water movement and access are considered alongside the placement of trees and shrubs. The goal is a landscape that functions as one design, rather than a collection of unrelated improvements. Explore Gappsi landscape design and planting for more information about that broader approach.
What watering guidance should homeowners receive?
Newly installed plants need clear, property-specific watering guidance. The right approach depends on the species, season, soil, exposure, root-ball condition, and whether an irrigation system serves the bed. A professional review can explain where water should be applied and how to observe the soil and plant for signs that conditions need attention. It is better to follow guidance based on the actual site than to rely on a fixed schedule that may not suit every planting location.
How are mulch and bed finishes handled?
A finished planting bed should protect the root zone while fitting the design of the property. Mulch can help moderate soil conditions and give the bed a defined appearance, but it should be placed carefully around the plant. Keep the trunk and root flare visible rather than piling material against them. The surrounding finish may also include a clean bed edge or a transition to pavers, lawn, or another landscape material. These details affect both appearance and long-term observation of the planting.
What does establishment monitoring involve?
Monitoring means checking the new planting as it settles into its location, watching for changes in soil moisture, stability, foliage, and overall condition. It also provides an opportunity to identify conflicts with irrigation, drainage, foot traffic, or nearby construction before they become harder to address. Professional tree planting does not guarantee a particular result. It gives homeowners a clearer process for supporting the plant during establishment and responding to site conditions as they develop. Contact Gappsi through our contact page
Frequently Asked Questions
How do I choose the right trees and shrubs for my Long Island property?
Start with the site, not the plant catalog. Review sun exposure, soil type, drainage, slope, available space, and mature size, then match those conditions to the plant’s growth habit, maintenance needs, function, and resistance to local pests. This approach helps a planting work with your patio, pool, privacy goals, and existing grade. The University of Massachusetts lists these factors as core parts of a tree and shrub site evaluation: site evaluation guidance.
How deep should a newly planted tree be?
The root flare, where the trunk begins spreading into roots, should remain visible and sit slightly above finished ground level. The root ball should rest on firm, undisturbed soil so it does not settle and tilt. Planting too deeply can restrict oxygen around the roots and contribute to trunk-girdling roots, a known cause of decline. Colorado State University explains the importance of locating the root flare and setting proper planting depth in its tree-planting guidance.
How far should trees be spaced from patios, pools, and structures?
Spacing depends on the selected species’ mature canopy and root-ball size, along with utilities, sightlines, drainage, and the maintenance access required around the hardscape. A planting plan should leave room for mature growth rather than spacing trees by their nursery size. Near a pool or patio, the goal is to frame the space without blocking circulation, interfering with equipment, or creating a future conflict with paving and structures.
What should happen before digging for a tree planting project?
Underground utilities should be located before any hole is excavated. Call 811 before digging, and allow the required marking time for your area. This applies whether the homeowner or a professional crew is doing the work. Colorado State University recommends calling before you dig, while Seattle’s tree guidance advises calling 811 at least two days before planting: digging safety guidance.
Ready to Plan Your Long Island Planting?
A coordinated planting plan can help connect trees, shrubs, patios, pools, grading, and the rest of your outdoor space. Gappsi can discuss the right planting approach for your property and how each element should work together. Contact Gappsi through our contact page to talk through tree and shrub planting, grading, and a coordinated Long Island landscape plan.