


DIY hydroseeding may suit a homeowner who wants to establish grass over a prepared area and can manage both the application and the follow-up care. It takes more planning than spreading dry seed. The result depends on suitable soil, an even application, weather, and moisture management while seedlings establish.
Contact Gappsi through our contact page to discuss your lawn project
What does DIY hydroseeding involve?
Hydroseeding applies a liquid mixture, often called a slurry, over prepared soil. Depending on the product, the mix may contain grass seed, water, mulch or fiber, and other ingredients listed by its manufacturer. The carrier helps distribute seed across the surface, while the mulch ingredient can cover and protect it. Products and equipment are not interchangeable, so the label and machine instructions should guide the mix, application, and care.
The method can be useful when spreading dry seed across a broad area would be difficult. But spraying slurry does not correct poor grading, compacted soil, unsuitable growing conditions, or drainage problems. Seed-to-soil contact, suitable site preparation, and reliable aftercare are still essential parts of the job. Consider the entire process before choosing a method, not only the time it takes to apply the mixture.
Is your yard a practical fit for DIY hydroseeding?
Walk the site before buying supplies or renting equipment. Look at its area, shape, slope, soil, access, drainage, and water supply. Also consider whether you can complete preparation and application in the same suitable weather window, then keep up with care after the job is done.
- Area and shape: Measure the actual ground to be seeded. Narrow strips, islands, and irregular edges can take more time to cover evenly than a simple rectangle.
- Access: Check whether the equipment and hose can reach the entire area without crossing finished paving, garden beds, or other surfaces you need to protect.
- Soil condition: Identify compacted, rocky, bare, or recently disturbed places. These may need different preparation before any seed is applied.
- Slope and drainage: Notice where water collects or flows. Runoff may carry slurry away from a slope or move soil toward drains and finished surfaces.
- Watering capacity: Make sure you can reach all areas and follow the moisture instructions for the product and seed.
- Timing: Check the seed blend’s planting guidance and local conditions. Do not start if weather or access will make application and follow-up care unreliable.
A modest, accessible area with prepared soil may be manageable for a homeowner who can follow the directions closely. A steep, large, uneven, or hard-to-reach site increases the chance of missed coverage or runoff and may make the equipment harder to operate. If the lawn is part of a larger outdoor plan, review relevant backyard project examples and think about how new grass will meet patios, paths, or planting areas. For a wider improvement scope, browse Gappsi’s landscaping project information.
How should you prepare before applying hydroseed?
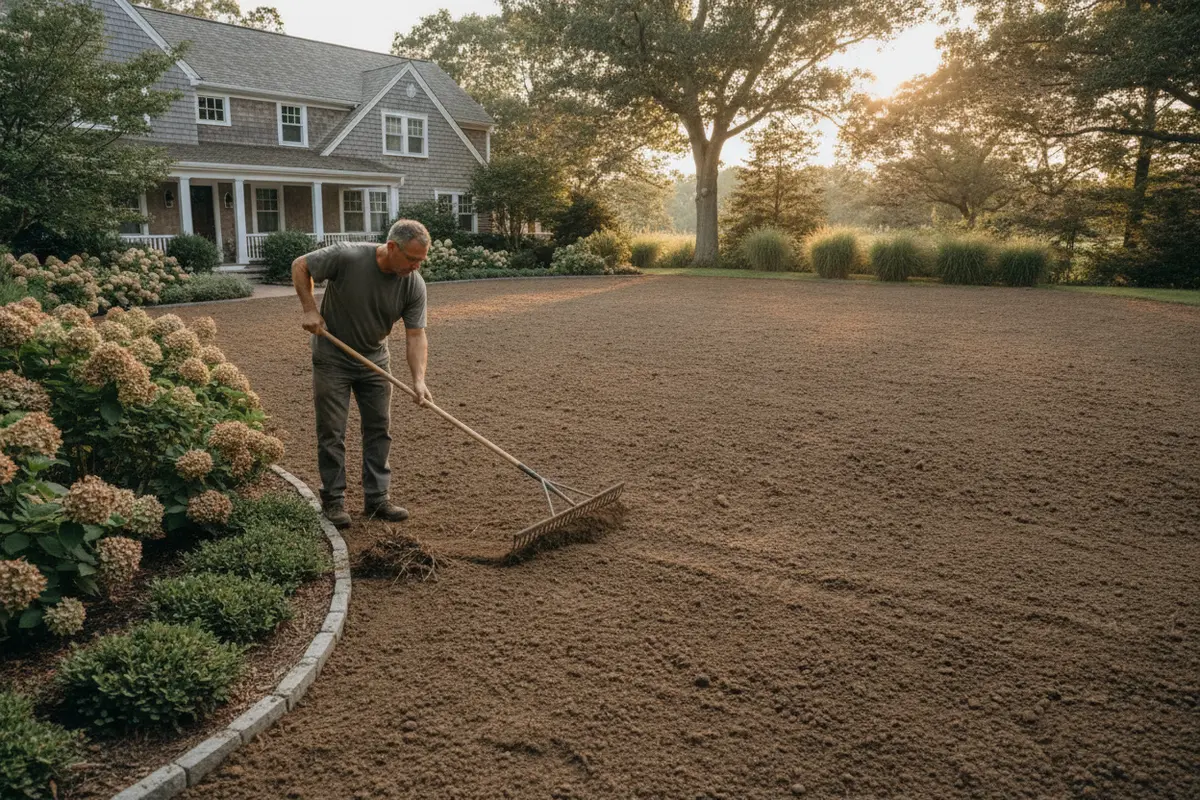
Preparation is often the most labor-intensive stage. Start with the ground, not the sprayer. Remove sticks, stones, construction debris, and unwanted vegetation that could block contact between the slurry and soil. If the site has been disturbed, determine whether the exposed material is suitable growing soil. A slurry is not a substitute for correcting surface conditions.
- Measure and mark the site. Note the dimensions, edges, slopes, obstacles, and places where runoff may occur. Compare the measured area with the coverage stated on the product label. Include irregular sections rather than estimating by eye.
- Clear the surface. Remove loose debris and vegetation that would sit between the seed and soil. Protect nearby beds, paving, drains, and other areas that should not receive slurry.
- Prepare the ground. Loosen or level the soil as appropriate for the site and the seed directions. Avoid leaving a compacted, slick surface that sheds water. Do not create new grading or drainage problems while correcting the surface.
- Check the flow of water. Address obvious low spots and runoff paths before seeding. Keep drainage structures open, and do not redirect water toward a building or neighboring property.
- Choose a suitable seed product. Select a blend for the site conditions and follow any soil preparation guidance supplied with it. If you are uncertain about the seed or soil, get advice before mixing the batch.
- Protect adjoining work. Cover or mark finished surfaces, planting beds, and edges. If the project includes a patio or walkway, consider its boundaries and access before soil work begins. Gappsi’s patio project examples can help you think through that transition.
Do not assume fertilizer, soil amendments, or other materials belong in every mix. Product formulas differ. Follow the label rather than adding ingredients or changing dilution without direction. For projects that involve substantial grading or construction near paved areas, coordinate the sequence with the relevant hardscape planning so heavy work does not disturb a newly prepared lawn.
What equipment and materials could the job require?
The setup depends on the size of the area and the product. A small packaged product may be designed for a compatible handheld sprayer, while a larger area may require a purpose-built machine. Before purchase or rental, verify that the equipment can handle the product and that its mixing, agitation, nozzle, and cleaning instructions match. Do not assume that a household sprayer will work with every slurry.
| Approach | When it may fit | What to plan for |
|---|---|---|
| Dry seed | Small, accessible, straightforward areas | Even spreading, good soil contact, and protection from movement |
| DIY hydroseeding | A prepared area within the product and equipment coverage | Compatible equipment, mixing directions, measured coverage, and regular aftercare |
| Professional application | Large, steep, irregular, or difficult-to-access sites | Site review, access, scope, timing, and clear care instructions |
| Sod | A project where a covered surface is wanted immediately | Handling and fitting sections, soil preparation, and establishment care |
Use the label to calculate the amount needed. Underestimating coverage can leave thin patches; making a batch too strong or changing its recipe can cause a different problem. Plan equipment cleaning before you start and follow both the machine manual and product directions. Keep children and pets away from the work area for the period specified by the product manufacturer. If you will be digging or grading, check utility-location precautions before disturbing the ground.
How can you apply hydroseed evenly?
Read all product and equipment instructions before mixing. Confirm the machine is suitable, you know how to control the spray, and you can reach the whole site safely. If the instructions call for agitation, keep the mixture moving as directed. Work in manageable passes and maintain a steady pace so you do not leave bare strips or repeatedly drench the same place.
Where practical, test the spray on a small part of the prepared area. Check whether the slurry is flowing as expected, whether the nozzle is clogging, and whether the material lands in clumps or spreads evenly. Make adjustments only within the product and equipment directions. If the flow is inconsistent, pause and resolve the cause rather than improvising with dilution or an unsuitable machine.
Think about direction and boundaries before you begin. Wind can carry spray onto nearby planting or paving, and water can move material downhill. Work carefully around edges and protect drains. If later work is planned nearby, such as masonry construction or a pool patio, sequence the work so deliveries and foot traffic do not cross freshly seeded soil. Gappsi’s project examples may also help you consider how different outdoor areas connect.
What early care does a hydroseeded lawn need?
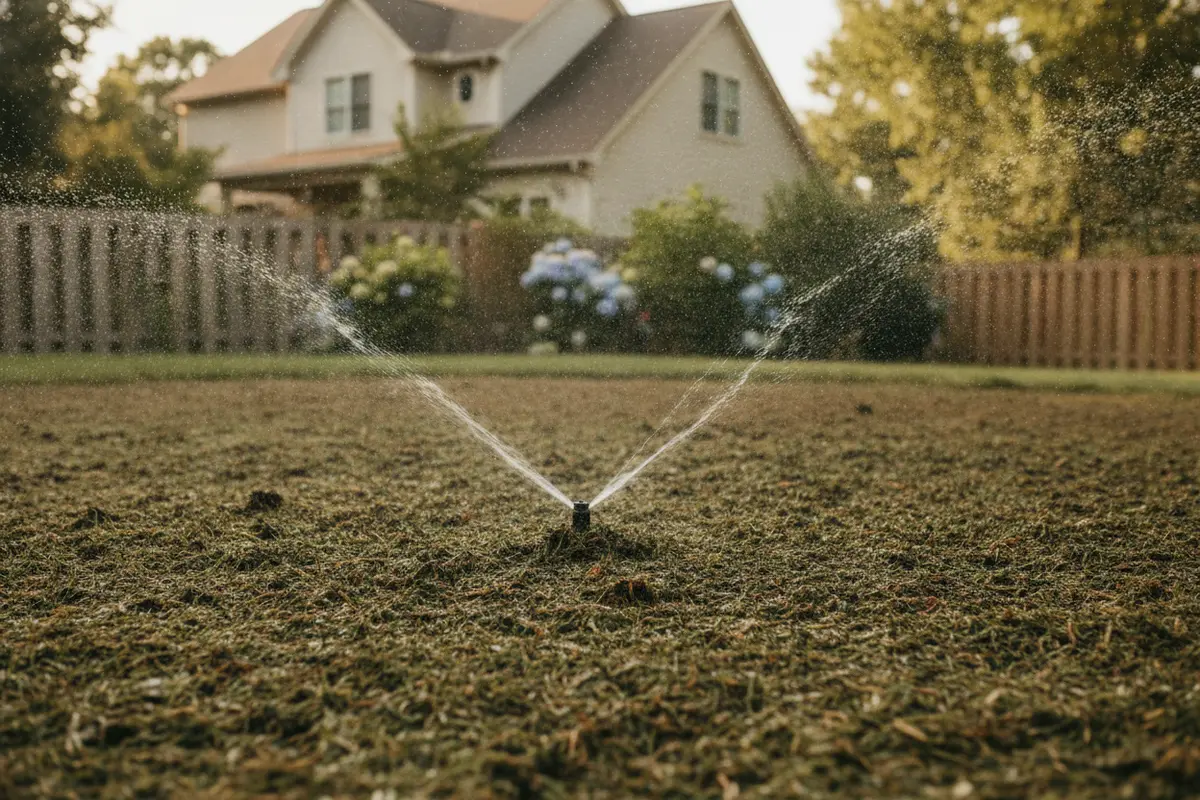
Watering is a central part of early care. The right schedule depends on the seed, weather, soil, slope, and product directions. Follow the instructions for maintaining moisture without creating standing water or runoff. Check more than one part of the site: sunny, exposed edges may dry at a different rate from sheltered or lower areas.
- Use a gentle spray pattern that does not displace the slurry or expose seed.
- Check the soil surface across the area and follow the product’s guidance when deciding whether it needs water.
- Watch slopes, edges, and low spots for washout, pooling, or movement of material.
- Keep people, pets, and equipment off the seeded area as directed.
- Follow seed and product instructions for mowing and later feeding. Do not mow just because one patch appears taller than another.
Make a simple care log. Record the application date, product, weather, watering, and what you observe. If an area looks bare or uneven, check for possible causes before adding more seed. Ask whether coverage was thin, water moved the mix, the surface dried, or traffic disturbed the area. Follow the product directions for any corrective work instead of applying extra material at random.
Rain and wind deserve attention both during application and afterward. A forecast does not by itself tell you how the site will behave; consider the product guidance, slope, and drainage. If rainfall could wash material away or you cannot keep up with care, wait for a more dependable window. Soil protection matters beyond the lawn itself. The USDA Natural Resources Conservation Service provides soil and conservation resources that can help homeowners understand why managing exposed soil and runoff is part of site planning.
How does DIY hydroseeding compare with dry seed and sod?
Each approach has trade-offs. Dry seed can be simple for a small, uncomplicated patch, but it still needs suitable soil contact and protection. Hydroseeding distributes a wet mixture over a prepared area, which can be convenient for broader coverage, but it requires compatible equipment and careful aftercare. Sod provides a covered surface when installed, but handling, fitting, and establishment care still take planning.
Compare the methods using your actual site rather than assuming one is best. A broad, open area with reliable water access may make hydroseeding worth considering. A tiny repair may not justify equipment and mixing. A steep site with runoff may call for a different installation plan or expert assessment. If the area is part of a larger landscape, account for adjoining features such as a dog run or retaining wall so the lawn edge, drainage, and work sequence are considered together.
What problems should DIY homeowners watch for?
Common problems begin before application: debris left on the soil, poor surface preparation, a mistaken coverage estimate, or drainage that was not considered. During application, a clogged nozzle, inconsistent pace, wind, or repeated passes over one strip can make coverage uneven. Later, letting the surface dry, watering forcefully, or walking over the area may interfere with establishment.
- Skipping the site review: Identify soil, slope, access, and drainage issues before choosing a method.
- Guessing quantities: Measure the area and use the stated coverage instead of judging by how much material remains in the container.
- Changing the mix: Follow the product’s specified proportions and equipment guidance; do not add ingredients without direction.
- Applying too quickly: Use manageable passes and inspect coverage as you go.
- Ignoring conditions: Delay work when weather or site conditions make application or follow-up unreliable.
- Expecting an instant lawn: Seed establishment takes time, and timing varies with seed and conditions. Use the product guidance rather than assuming every area will change at once.
If you cannot get a steady application or keep the site appropriately moist, stop and reassess. It is better to identify a limitation before applying the full batch than to discover it after the material is spread. For broader changes involving outdoor structures or landscape construction, look at relevant site project information and decide whether the lawn work needs to be coordinated with other parts of the property.
When is it worth asking for project guidance?
Consider asking for help when the area is large, steep, hard to access, or affected by drainage or soil concerns. Input may also be useful if the lawn is one element in a larger renovation that includes patios, pool areas, retaining features, or other construction. Before you contact a contractor, write down the area dimensions, site conditions, access limitations, desired timing, and what preparation has already been done. Clear details make it easier to discuss the scope and sequence.
Gappsi serves Long Island homeowners with outdoor design and construction work. Review the property-side project ideas as you define your own scope, and think through whether equipment, deliveries, or later construction could affect the area. Contact Gappsi through our contact page to discuss your Long Island outdoor project.
Contact Gappsi through our contact page to discuss your project plans
Frequently Asked Questions
Can I hydroseed a lawn myself?
It may be manageable if the area, equipment, product directions, and aftercare needs are within your capacity. Assess soil, access, slope, and water availability first. If you cannot apply the mixture evenly or maintain the recommended care, reconsider the approach.
How long does hydroseed take to grow?
Timing varies with the seed blend, weather, soil, and care. Follow the product and seed guidance, and expect establishment to take time rather than assuming every part of the lawn will appear at once.
Can hydroseed go over existing grass?
That depends on the condition of the existing lawn and the product directions. Dense or unhealthy turf can prevent the seed from reaching soil, so assess and prepare the area as instructed rather than automatically spraying over it.
What if rain is forecast?
Check the product and equipment guidance and consider the site’s slope and drainage. If rain could move the slurry or make application unsafe, wait for a more dependable window.
Is hydroseeding better than sod?
Neither method fits every site. Compare area, access, desired timing, preparation, installation effort, and aftercare before choosing.
Plan your next step
Contact Gappsi through our contact page to discuss your outdoor project.
DIY hydroseeding is most practical when you can prepare the site, apply the mixture consistently, and provide the care it needs while grass establishes.