


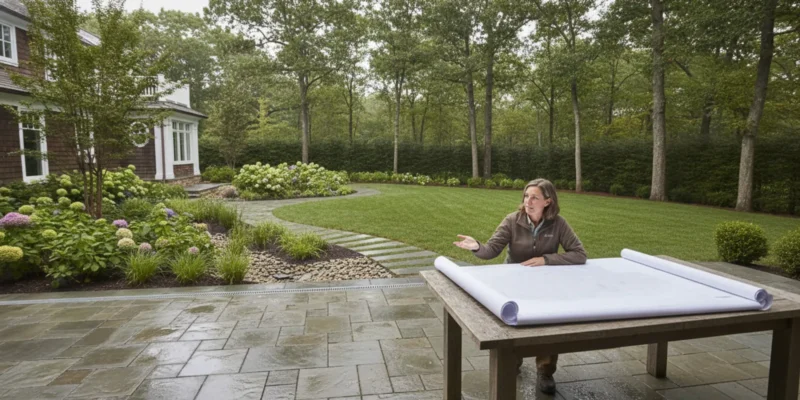
Drainage should be planned as part of the landscape, not added after patios, planting beds, and lawn areas are in place. For landscape design drainage Long Island homeowners should begin by understanding where rainwater comes from, how it moves across the property, and where it can safely go. A coordinated plan can reduce persistent wet areas, protect outdoor features, and make the yard more comfortable to use.
Contact Gappsi through our contact page to discuss your landscape project
Posted by Gappsi Group
Why should drainage be part of landscape design on Long Island?
Every landscape project changes the ground in some way. A new patio replaces permeable soil with a hard surface. A raised planting bed changes local grades. A retaining wall can interrupt the path water used to follow. Even a lawn renovation can create a shallow dip that collects runoff. Drainage belongs in the early design conversation because each decision affects the others.
Long Island properties vary. Some have broad, gently sloping lawns; others include tight side yards, mature trees, existing paved areas, or low spots near a house. Soil, existing grades, roof runoff, neighboring elevations, and the location of underground utilities all affect what solutions are suitable. A design that works on one lot may not fit another.
The useful goal is not simply to make water disappear. It is to manage runoff in a controlled way, avoid sending it toward a building or neighboring property, and keep the intended use of the yard intact. Rules for discharging or redirecting water can vary by municipality and site conditions. Before construction, confirm applicable requirements and any needed approvals with the appropriate local professionals or authorities.
How do you identify drainage patterns before drawing the plan?
Start with observations during and after rain. Note where water enters the property, the direction it travels, how quickly it drains, and where it remains. Look at the downspouts, paved areas, garden edges, and transitions between the house and lawn. A photo taken during a storm can reveal a flow path that is hard to see on a dry day.
Walk the yard from the house outward. Record recurring puddles, muddy paths, soil erosion, exposed roots, water marks, and areas where mulch or gravel has shifted. Ask household members which spaces become difficult to use after rain. A wet spot that is only an occasional nuisance calls for a different response from water that repeatedly collects beside a foundation or crosses a walkway.
- Trace roof runoff: identify each downspout outlet and whether water splashes, pools, or flows toward a low area.
- Mark the high and low points: note ridges, swales, depressions, and changes in slope, even when they look subtle.
- Check hard surfaces: observe whether driveways, walks, and patios shed water toward planting areas, doors, or the lawn.
- Look beyond property lines: consider where runoff originates and where a proposed change could send it. Do not assume a neighbor’s yard is an acceptable outlet.
- Record seasonal clues: note whether the issue appears after heavy rain, snowmelt, irrigation, or a long wet period.
These notes are a starting point, not a substitute for measuring grades or diagnosing a persistent water problem. If water is entering a basement, affecting a foundation, or moving across several properties, seek qualified site-specific advice before selecting a landscape feature as the fix. For general stormwater and water-quality context, the U.S. Environmental Protection Agency provides resources about runoff and its effects.
A useful first drawing can be simple: show the house, paved surfaces, property boundaries, known low spots, downspouts, and observed flow arrows. This gives the designer and homeowner a shared picture of the problem. It also helps separate a grading issue from a roof-drainage or surface-drainage issue.
Which drainage approaches can fit into a landscape plan?
The right approach depends on the source and volume of water, the available elevation change, soil and site conditions, and local requirements. Often, the design combines several measures rather than relying on one feature. The following comparison is a planning aid, not a construction specification.
| Approach | What it does | Planning considerations |
|---|---|---|
| Grading and swales | Shapes the ground to guide surface water along an intended route. | Requires adequate space and carefully coordinated elevations; preserve safe, usable slopes. |
| Catch basin and piping | Collects surface water at a low point and conveys it to an approved destination. | Confirm outlet, capacity, access for cleaning, and local requirements before installation. |
| Permeable surface | Allows some rainfall to pass through a purpose-designed paving assembly. | Subbase, soil conditions, maintenance, and intended use matter; not every site is suitable. |
| Rain garden or planted basin | Provides a planted area designed to receive and manage a portion of runoff. | Needs suitable location, overflow planning, plant selection, and room away from sensitive structures. |
| Downspout adjustment | Changes where roof water is released or routed. | Do not direct water toward foundations, neighboring lots, or an unapproved outlet. |
Grading is often the starting point because the land’s shape determines where surface water travels. A shallow swale can be integrated into lawn or planting areas, while a carefully placed berm may redirect flow. Both need to fit the site’s elevations and must not create a new problem at the lower end.
Subsurface collection systems can help where surface grading alone is not practical, but installing a pipe without planning its outlet is not a complete drainage solution. The outlet must be legal, functional, and maintainable. The system also needs access for inspection and cleaning. A landscape plan should show how these technical components relate to the visible yard.
Some homeowners consider permeable paving or planted areas to manage rain where it falls. These choices should be assessed for the actual soil, site layout, expected use, and maintenance. A porous-looking material does not automatically provide infiltration; the layers beneath it are part of the system. Likewise, a rain garden should not be treated as a universal answer for a severe or persistent drainage problem.
When the project includes a retaining wall, the design needs to consider water behind and around the wall as well as the surface appearance. A wall changes how ground and runoff meet. Make sure the plan addresses drainage provisions appropriate to the wall, its location, and its engineering requirements.
How should drainage coordinate with patios, paths, and driveways?
Hardscape elevations must be coordinated with the surrounding ground. A patio should shed water away from the house and toward a planned receiving area, not create a new low point at a doorway. Walkways should remain comfortable to use, and water should not be left to run across a route where it can create standing water or wash out adjacent soil.
For a patio project, decide early where the surface water will go, how its edge meets the lawn or garden, and whether steps or borders affect the path. Paver joints and base construction do not remove the need for a deliberate grade. If the patio is part of a broader hardscape plan, coordinate its elevations with retaining features, planting beds, and nearby paving.
Driveways and front walks can collect or redirect substantial runoff simply because of their area and slope. In a driveway design, consider how runoff approaches the garage, front entry, street, and side yard. Do not assume water can be routed onto a public way or adjoining parcel. For a pool setting, the relationship between paved deck, planting, and lawn should also be considered together with the broader pool patio layout.
Material selection also has a role, but it is one part of the drainage plan. Surface texture, joint design, and the structure below the paving should be chosen for the intended use and site conditions. Where a paved area is already installed, maintenance such as paver cleaning and sealing can help care for the surface, but sealing is not a remedy for incorrect grading or a blocked drainage route.
Ask Gappsi about coordinating drainage with your landscape and hardscape plans
How can planting support a drainage plan?
Planting helps a drainage plan function as a complete landscape rather than a collection of pipes and basins. Plants can soften a swale, define a route, and make a receiving area feel intentional. Their placement should still reflect actual wetness, sunlight, soil, and maintenance needs. Choose plants for the conditions the site can provide, not just for appearance in a photograph.
Keep plant crowns and sensitive roots in mind when locating areas that receive runoff. A planting bed should not hide a cleanout or block access to a catch basin. Avoid piling soil against siding or covering components that need to remain visible. The designer should consider mature plant size and the space needed to inspect and maintain drainage features.
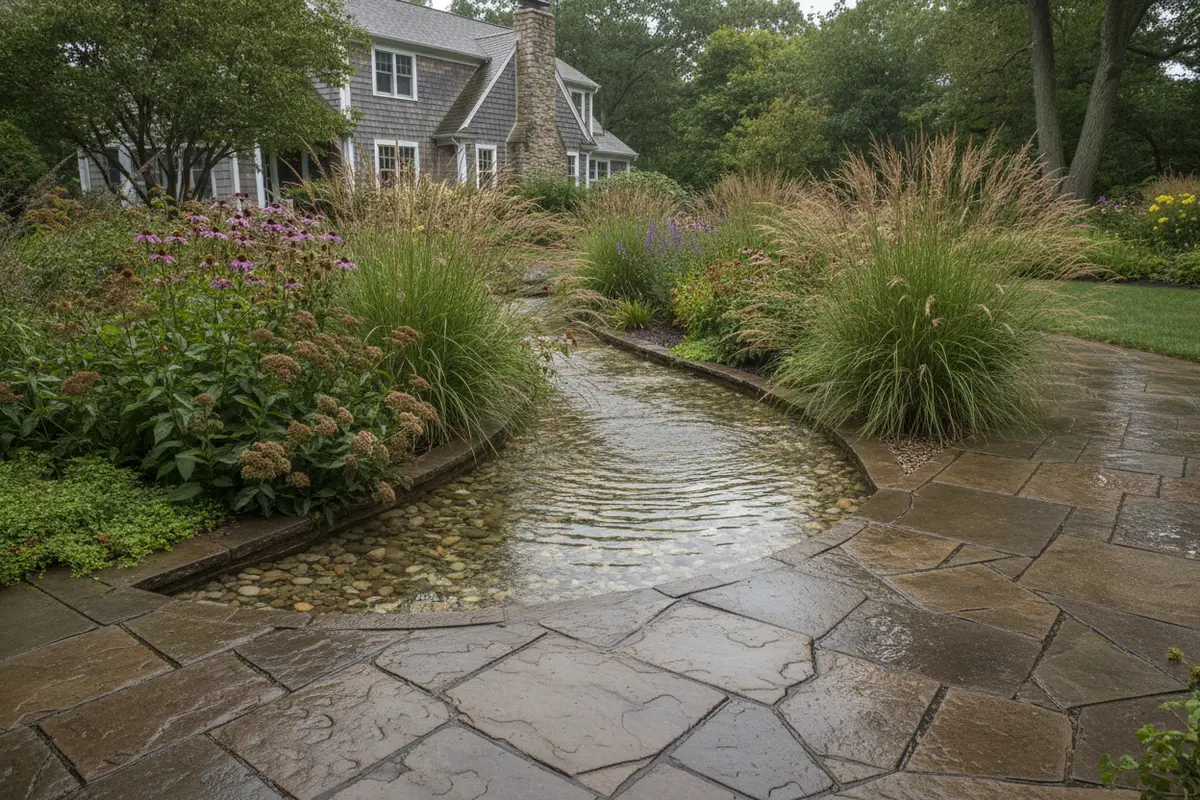
In many designs, drainage can be made visually quiet. A shallow swale may follow a lawn edge; a basin may be planted as a garden feature; or a collection point may sit beside, rather than in the middle of, a main walking route. The details depend on grades, function, and the character of the property. For connected outdoor spaces, explore how the drainage plan relates to the overall backyard design.
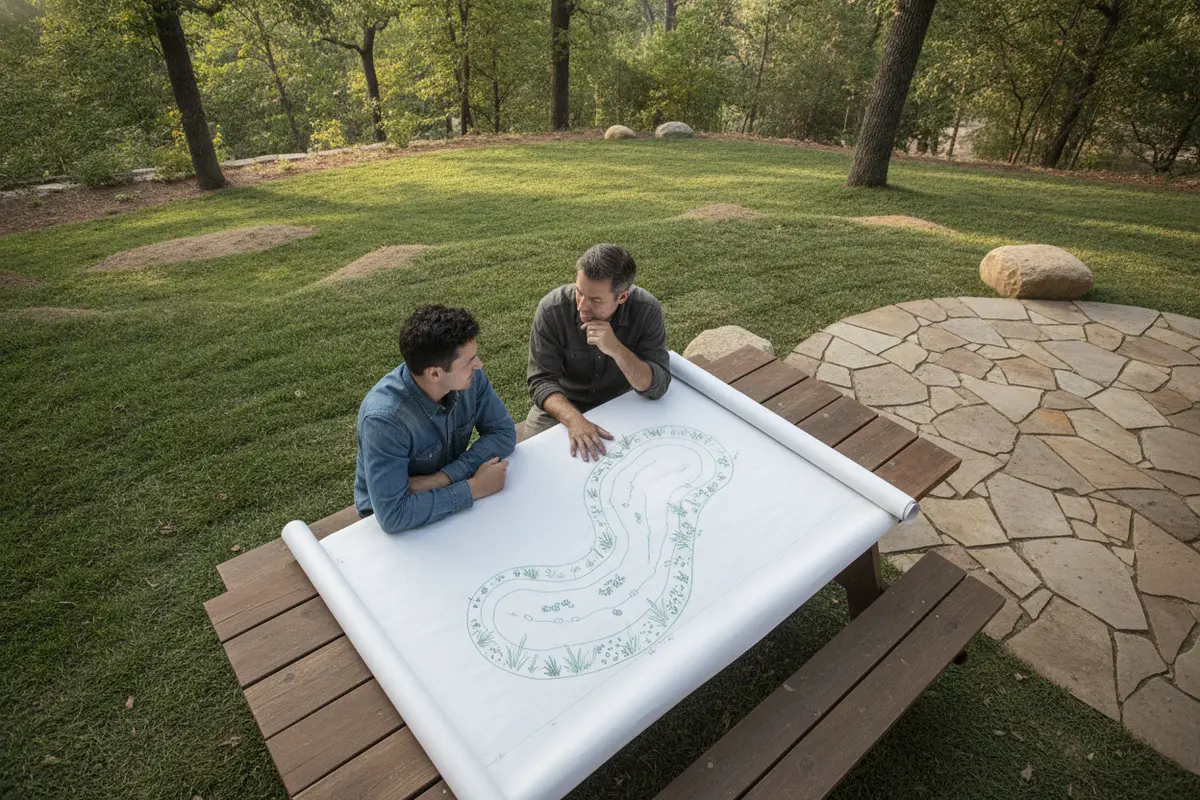
Make the water path legible on the plan. Show where roof runoff enters, how surface water travels, where it is collected or dispersed, and what happens during overflow. A clear drawing makes it easier to review how plant beds, lawn, walls, and paving fit together.
What should homeowners review in a drainage proposal?
A useful proposal explains the observed problem and connects each proposed measure to a cause. Ask the designer or contractor to show existing and proposed elevations, the direction of surface flow, the location of collection points, and the destination for any piped water. If the issue is uncertain, ask what additional survey, soil evaluation, or specialist input is needed before construction.
- Site conditions: Are property boundaries, structures, paved areas, downspouts, utilities, and relevant low points shown?
- Water route: Is it clear where water comes from, how the system moves or stores it, and where it goes?
- Overflow: What happens during rainfall that exceeds the system’s intended capacity?
- Coordination: Do proposed grades work with doors, steps, walls, paving, plant beds, and lawn transitions?
- Maintenance: Can basins, drains, and outlets be accessed and kept clear?
- Approvals: Have local requirements and any needed permits or engineering review been identified?
- Limits: Does the proposal explain what the work is designed to address and what conditions may require additional investigation?
Ask how the work will be sequenced. Drainage infrastructure and rough grading generally need to be planned before final paving and planting, so finished surfaces do not have to be disturbed later. At the same time, the installer needs to protect existing trees, utilities, and structures during excavation.
Written details matter. Confirm which elevations or features are included, what materials are specified, where outlets terminate, and who is responsible for coordinating any required reviews. Avoid relying on a verbal promise that a particular drain will solve all water issues without a site-specific explanation.
How does drainage maintenance protect the design?
Even a well-planned system needs occasional attention. Leaves, sediment, soil, and plant debris can block inlets or cover openings. After major storms, look for changes in flow, displaced mulch, new erosion, or water that remains longer than it did before. Clear visible debris from accessible grates, and arrange appropriate service if a drain is blocked or damaged.
Keep a simple seasonal record. Note when a low area stays wet, when a catch basin fills with sediment, or when water appears in an unexpected place. If you change a planting bed, add a shed, extend paving, or alter a downspout, reassess how that change affects the original water route. Small modifications can redirect runoff in ways the initial landscape plan did not anticipate.
Surface care is not the same as drainage repair. For example, cleaning and sealing a paved area may help maintain the finish, but it will not correct an outlet that is blocked or a grade that directs water toward a structure. If the underlying cause is unclear, have the site reviewed before adding another drain or covering the affected area.
Frequently Asked Questions
Should drainage be designed before or after choosing a patio?
Plan drainage and patio elevations together, before construction. The surface material and layout affect runoff, but the surrounding grades and outlet route determine whether water can move safely. Finalizing a patio first can leave fewer practical options for managing water.
Can a rain garden fix every wet lawn?
No. A rain garden may suit some sites, but it depends on factors such as soil, available space, water source, overflow path, and distance from structures. Persistent or severe water problems need site-specific evaluation rather than a one-feature solution.
Does installing a drain solve standing water?
Not by itself. A drain needs a suitable location, a clear route, a workable outlet, and ongoing access for maintenance. The cause of the standing water should be identified first so the collection system is designed for the actual conditions.
Can landscape changes send runoff to a neighboring property?
Do not assume that is acceptable. The design should account for property boundaries and local requirements, and should not create an unintended drainage impact elsewhere. Confirm the appropriate route and approvals with qualified local professionals or authorities.
Contact Gappsi through our contact page to plan your landscape project
Plan drainage with the whole landscape in mind
Good landscape drainage starts with observation, clear grading, and a defined water route. When drainage is coordinated with planting, paving, walls, and the way you use the yard, the finished design can address wet areas without treating them as an afterthought. Share your site observations and project priorities with the design team before construction begins.