View Gappsi’s YouTube Channel to view Outdoor Commercial Dog Run Installation in Patchogue, NY with Pet-Friendly Synthetic Turf
Providing a safe, clean, and enjoyable outdoor space for dogs has become an essential amenity for residential communities. As more pet owners seek communities that accommodate their four-legged family members, professionally designed dog parks and dog runs have become a valuable investment. Gappsi recently completed an outdoor commercial dog run installation in Patchogue, NY, for a gated residential community, creating a durable, attractive, and low-maintenance recreational area that both residents and their pets can enjoy year-round.
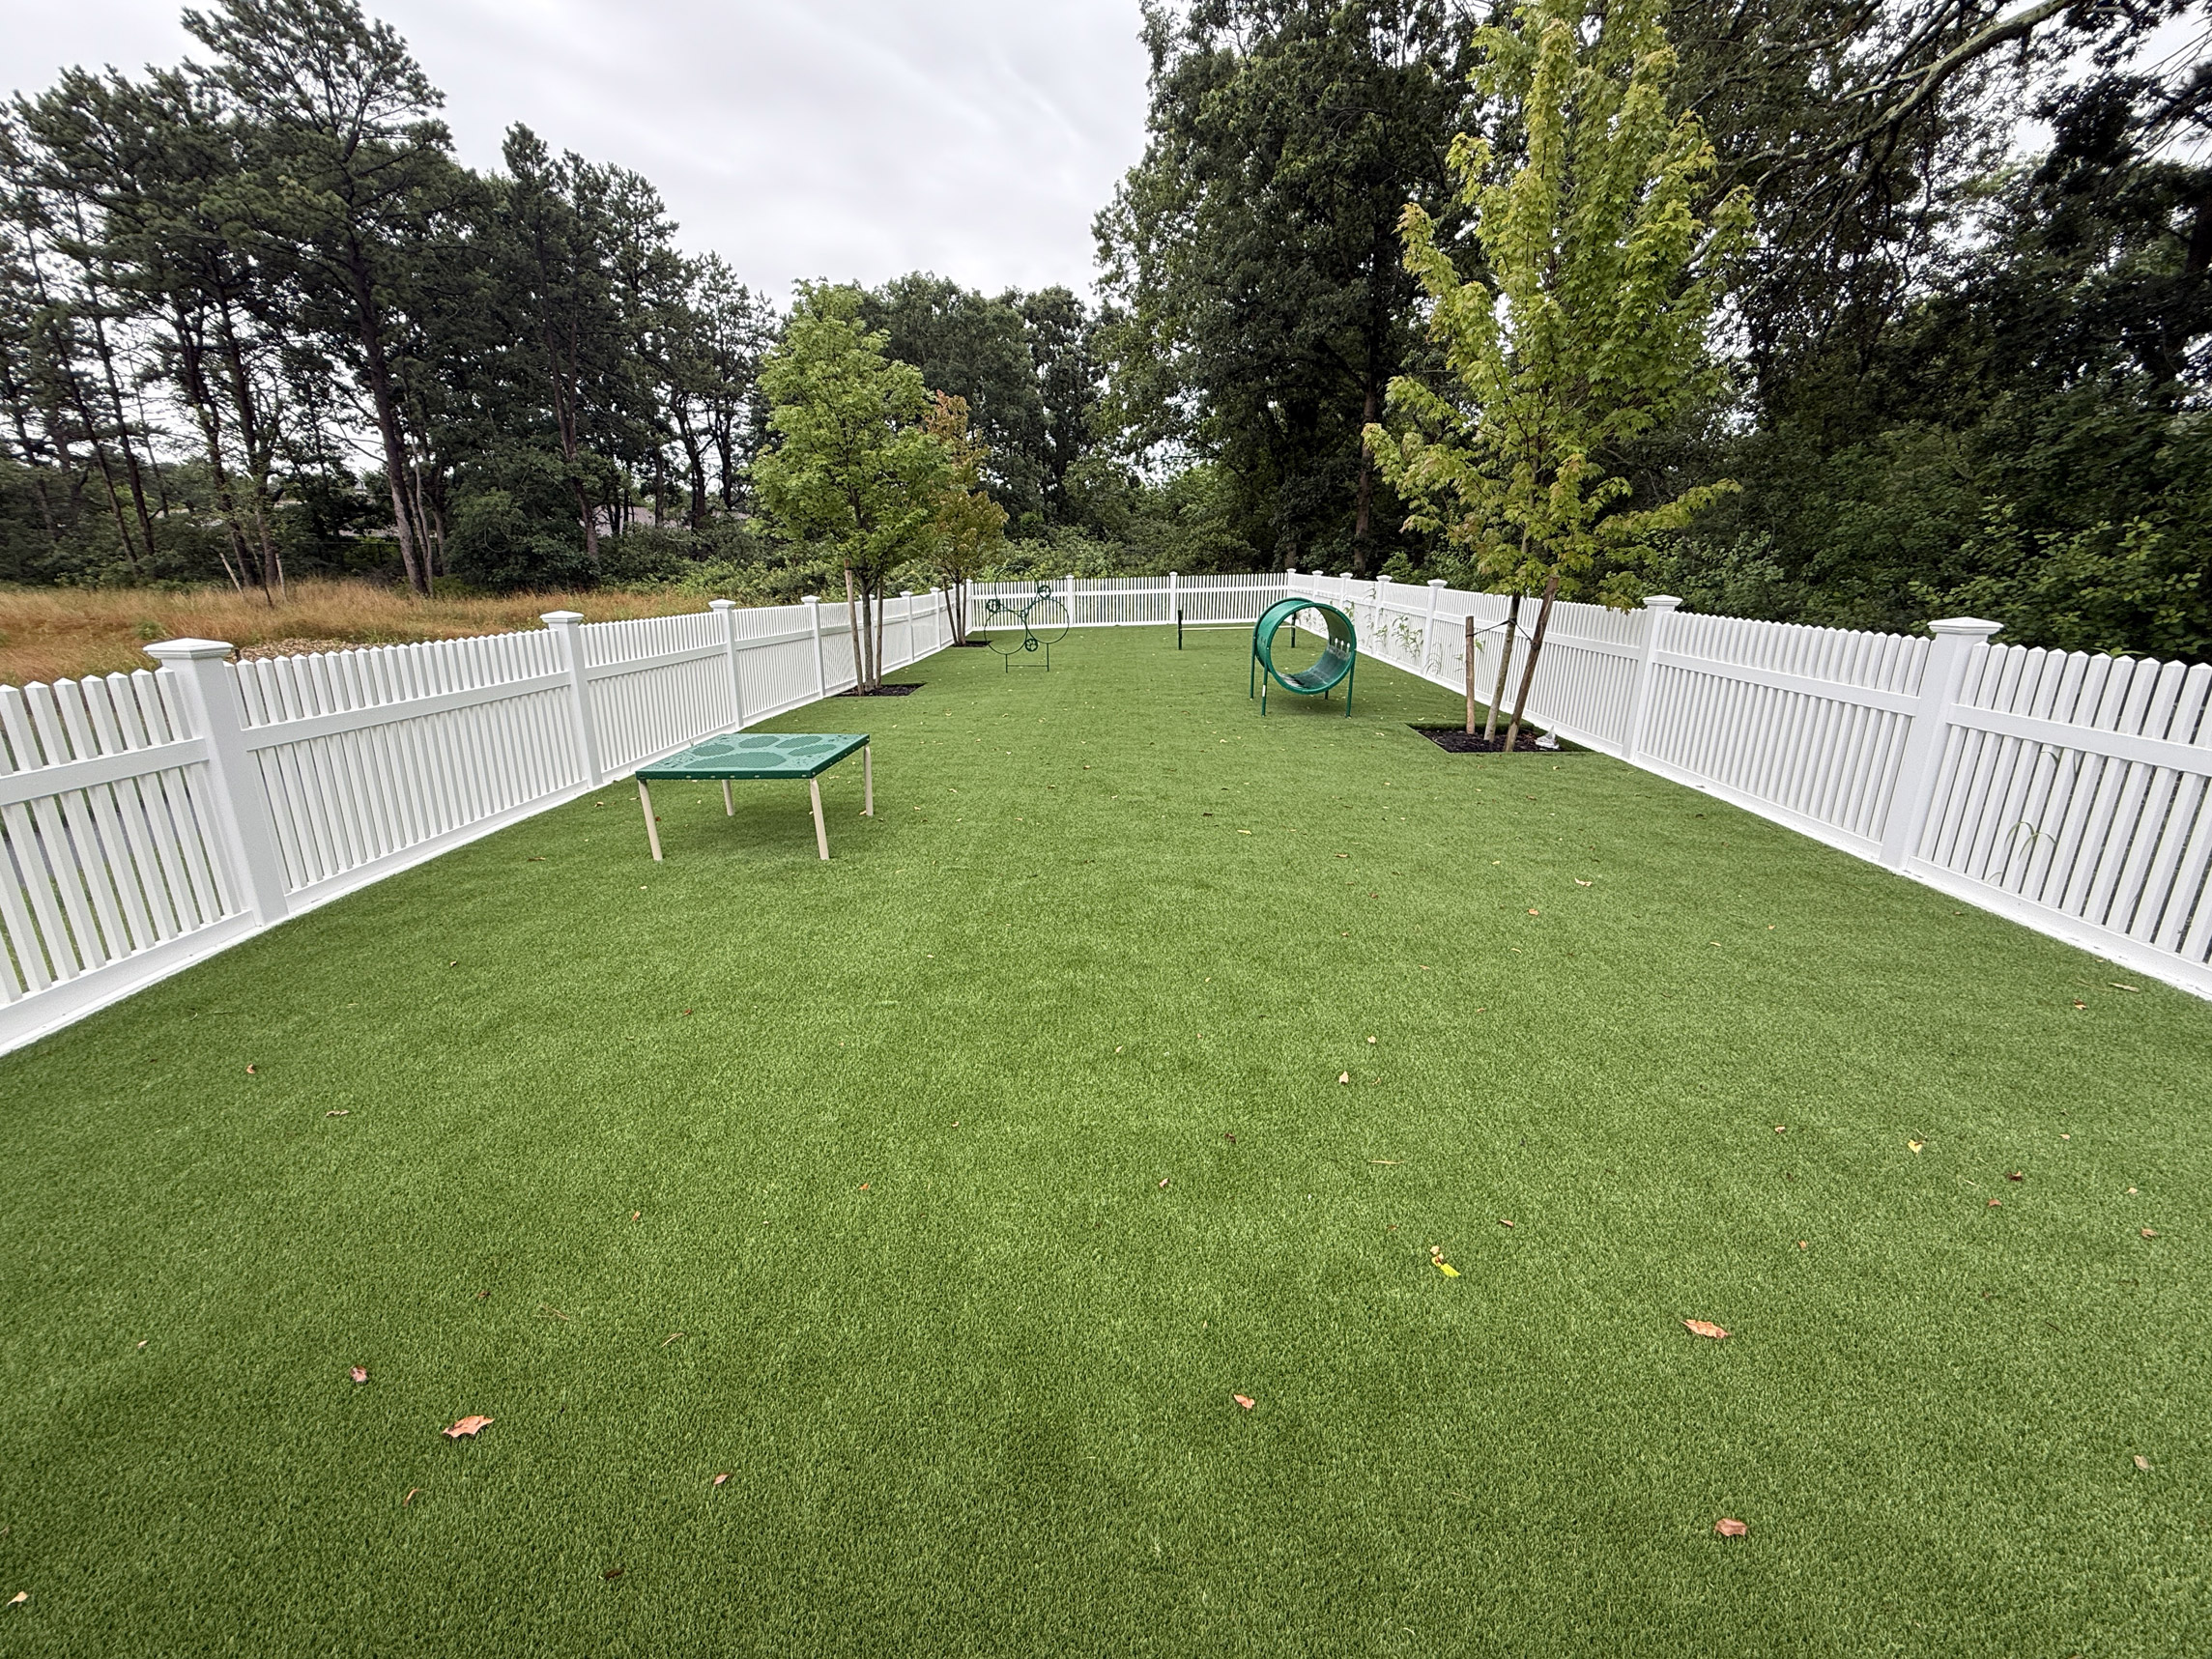
This custom-designed dog run incorporates premium materials, proper drainage, pet-friendly synthetic turf, secure fencing, and engaging activity features that provide a safe environment while minimizing maintenance. Every aspect of the installation was carefully planned to maximize durability, cleanliness, and long-term performance.
A Custom Dog Run Designed for Community Living
The residents of this gated community wanted a dedicated outdoor area where dogs could safely exercise, socialize, and play without damaging surrounding landscaping. Rather than relying on natural grass, which often becomes muddy, uneven, and difficult to maintain, the community chose a professionally installed synthetic turf dog run.
The result is a beautiful recreational area that remains clean, functional, and attractive throughout every season while reducing ongoing maintenance costs.
Because the dog run is shared by many residents, safety and durability were the primary priorities during both the design and construction phases.
Secure Vinyl Picket Fencing
One of the most important components of any commercial dog park is proper containment. Gappsi installed an attractive vinyl picket fence around the entire perimeter of the dog run.
Vinyl fencing offers several advantages over traditional wood fencing:
- Won’t rot or splinter
- Requires virtually no maintenance
- Resists weather damage
- Easy to clean
- Long-lasting appearance
- Safe for pets
The clean white fencing also complements the surrounding landscape while providing excellent visibility throughout the park.
Double-Gated Entry for Maximum Safety
To further improve safety, Gappsi designed and installed a double-gated entrance system. Double-entry gates create a small enclosed transition area where owners can safely remove leashes before entering the main play area. This significantly reduces the risk of dogs escaping whenever another resident enters or exits the dog run.
This professional safety feature is commonly found in high-quality commercial dog parks and is especially important in multi-family residential communities where multiple dogs may be entering and leaving throughout the day.
Premium Pet-Friendly Synthetic Turf Installation
The highlight of this project is the installation of premium pet-friendly synthetic turf specifically engineered for commercial dog run applications. Unlike traditional artificial grass designed for landscaping, pet turf is manufactured with features that accommodate frequent pet use while maintaining a clean and sanitary surface.
Some of its advantages include:
- Extremely permeable drainage
- Short pile height
- Easy cleanup
- Odor reduction
- Durable fibers
- Comfortable surface for pets
- Mud-free environment
- Attractive appearance year-round
The shorter turf fibers make waste cleanup quick and simple while preventing debris from becoming trapped within the grass.
A Specialized Drainage System
One of the most critical elements of a successful dog run installation lies beneath the surface. Proper drainage prevents standing water, unpleasant odors, bacteria buildup, and muddy conditions. For this Patchogue installation, Gappsi first prepared the site with a professional drainage base using high-quality drainage gravel. Above the gravel base, bluestone chips were installed to create a stable foundation before laying the synthetic turf.
This layered construction provides several important benefits:
- Excellent water drainage
- Stable walking surface
- Reduced settling
- Long-term durability
- Improved sanitation
Whenever it rains, water quickly filters through the synthetic turf and into the drainage base below instead of pooling on the surface. The result is a dog run that naturally rinses itself during rainfall, helping maintain a cleaner environment with less maintenance.
Reinforced Turf Edges for Maximum Durability
Commercial dog runs experience heavy daily use, especially along the perimeter where dogs often run, dig, or scratch. To protect the edges of the turf system, Gappsi installed a durable Azek border around the entire dog run. The synthetic turf was securely fastened to the Azek border using a two-inch Azek frame that firmly locks the turf in place. This reinforcement serves several purposes:
- Prevents turf movement
- Protects edges from lifting
- Discourages digging damage
- Extends turf lifespan
- Creates a clean finished appearance
By securing the turf around the perimeter, the installation remains stable even under constant use by active dogs.
Trees Provide Future Natural Shade
Creating a comfortable outdoor environment means planning not only for today but also for years to come.
As part of the landscaping plan, Gappsi planted three trees throughout the dog run.
As these trees mature, they will provide valuable shade during the warmer months, making the space more enjoyable for both pets and their owners.
Natural shade also helps reduce surface temperatures while enhancing the overall appearance of the community.
Fun Activity Features for Dogs
A great dog park should do more than simply provide open space. To encourage exercise, stimulation, and socialization, Gappsi installed several dog activity features throughout the play area.
These play elements help:
- Keep dogs physically active
- Reduce boredom
- Encourage healthy exercise
- Improve social interaction
- Create a more engaging environment
Activity equipment transforms an ordinary fenced area into a true recreational destination for pets.
Low Maintenance and Easy to Clean
One of the biggest advantages of synthetic turf dog runs is the dramatic reduction in maintenance compared to natural grass. There is:
- No mowing
- No watering
- No mud
- No reseeding
- No fertilizer
- No pesticides
Routine maintenance generally involves removing pet waste, occasional rinsing if needed, and periodic brushing to maintain the turf’s appearance. Since the turf is highly permeable, rainwater naturally helps flush the surface clean while carrying moisture into the drainage system below. This makes synthetic turf an excellent long-term investment for commercial properties.
Benefits for Residential Communities
Installing a professionally designed dog run offers significant benefits for homeowners associations, apartment complexes, condominiums, and gated communities.
Some of these benefits include:
- Increased property value
- Attractive community amenity
- Cleaner common areas
- Reduced lawn damage
- Happier residents
- Better pet safety
- Lower landscape maintenance costs
- Year-round usability
Pet-friendly amenities have become increasingly important for today’s homebuyers and renters, making professionally built dog parks an excellent investment.
Why Choose Gappsi for Commercial Dog Run Installation?
Gappsi specializes in designing and building custom outdoor recreational spaces throughout Long Island. Every project is tailored to the property’s specific needs while using premium materials that deliver lasting performance.
From site preparation and drainage to synthetic turf installation, fencing, landscaping, and finishing details, every phase of construction is completed with precision and attention to detail.
For this commercial dog run in Patchogue, NY, the result is a safe, attractive, and highly functional outdoor space that residents and their dogs can enjoy every day. With premium pet-friendly synthetic turf, a secure double-gated entry, reinforced Azek borders, proper drainage, shade trees, and interactive play features, this installation provides the perfect combination of safety, durability, and low-maintenance performance.
Whether you’re planning a dog park for a condominium complex, apartment community, homeowners association, municipal park, or commercial property, Gappsi has the expertise to create a custom solution built to last for years while enhancing the beauty and functionality of your outdoor space.
Contact Gappsi Today
📍 Serving all of Long Island, NY — Nassau & Suffolk Counties
🌐 https://www.gappsi.com/
📞 Call now for a free consultation and estimate