Building a custom backyard cooking space is one of the most rewarding home improvements you can make on Long Island. Adding a dedicated space for grilling and dining helps you get the most out of your backyard during the warm spring and summer months.
Ready to build your dream outdoor kitchen? Call (631) 543-1177 for a free design consultation.
An outdoor kitchen Long Island project typically costs between $15,000 and $40,000 for a mid-range setup, while custom masonry builds with granite countertops and stainless steel appliances can exceed $100,000. This home improvement significantly increases your property value by creating a versatile living and entertainment area. To plan your build, you must select materials that can withstand local coastal weather. Map out utilities like gas and electric lines, and acquire the necessary town building permits. Working with an experienced design-build contractor ensures your layout integrates smoothly with your yard while meeting local zoning codes.
Before you begin choosing your grill model or picking out stone veneer styles, you must understand the financial commitment and local regulations involved in this project. Knowing how to budget for your build will help you make smart design choices that fit your backyard. The path begins with our outdoor kitchen cost breakdown.
How Much Does an Outdoor Kitchen Cost on Long Island?
Planning an outdoor kitchen Long Island project requires a clear view of your budget. The final price depends on design choices, material selection, and utility runs. While a simple grill island keeps costs low, an expansive custom cooking space with multiple appliances and utility connections represents a major home investment. Knowing how these features impact your overall budget helps you make informed decisions for your backyard space.
Key Cost Drivers for Your Yard
The total cost of your backyard build depends on several key choices:
- Base materials like concrete pavers, concrete structures, or natural stone veneer affect the starting price.
- Utility hookups for water, gas, and electric lines require professional installation and permits.
- Appliance selection from a simple built-in grill to a full suite with refrigerator, pizza oven, and sink.
According to a study on Town of Islip building codes, fixed outdoor kitchens need structural permits, and gas lines require specific plumbing permits, which add to planning fees.
Long Island Outdoor Kitchen Budget Tiers
To help you plan, we break down local construction budgets into three main tiers:
| Budget Tier | Price Range | Common Features | Primary Materials |
|---|---|---|---|
| Basic. | $5,000 – $15,000. | Built-in grill, single access door, small counter. | Concrete pavers, stucco, basic stainless steel. |
| Mid-Range. | $15,000 – $40,000. | Grill, small refrigerator, built-in storage, side burner. | Natural stone veneer, granite countertops, pavers. |
| Premium. | $40,000 – $100,000+. | Multiple grills, pizza oven, sink, bar seating, fridge. | Bluestone, travertine, premium granite, custom stone. |
Key takeaway: Most Long Island homeowners end up in the mid-range bracket. Where they spend $15,000 to $40,000 on a fully functional outdoor kitchen with stone veneer, granite counters, and quality appliances.
Return on Investment and Home Value
While building a custom kitchen requires an upfront investment, it adds lasting value to your home. Beyond the daily enjoyment of cooking outside, a built-in kitchen makes your property more attractive to future buyers. Data compiled by This Old House shows that homeowners can recover up to 80% of their outdoor kitchen construction costs in added home equity. Investing in durable, weather-resistant materials ensures your backyard kitchen remains a valuable asset for many years to come.
What Is the Best Location and Layout for an Outdoor Kitchen?
Finding the best spot for your outdoor kitchen Long Island is the first step toward a successful build. You must look at how the cooking space connects to your house and the surrounding yard. Placing the cooking zone close to your home makes utility hookups easier and reduces your construction costs. This setup also keeps food prep simple by letting you walk quickly between your indoor and outdoor spaces.
Functional Zone Planning
A good layout groups your activities into clear, logical work areas. You should set up four main zones:
- Hot zone for your grill and cooktop.
- Cold zone for your refrigerator and drinks.
- Wet zone for your sink and cleanup.
- Dry zone for your prep counters.
Grouping functional areas into logical zones creates a more efficient and enjoyable layout, as noted in our outdoor kitchen planning guide. Keeping your refrigerator away from the direct heat of your grill also prevents wear on the motor and saves power.
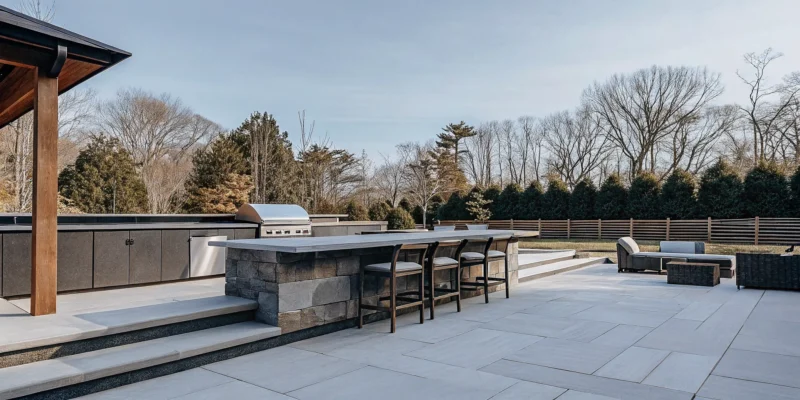
Layout Options for Your Yard
The size of your yard and how you plan to use it will help you choose your layout:
- Linear kitchens. Work best in tight spaces or against a wall, keeping all appliances in a single line.
- L-shaped plans. Offer separate areas for cooking and prep, perfect for corners with room for bar seating.
- U-shaped plans. Create a complete, self-contained kitchen with plenty of counter space for larger yards.
You can find the right style for your home in our Long Island outdoor kitchen layout guide.
Wind Direction and Smoke Management
Local weather patterns must guide where you place your appliances. Long Island winds can carry smoke and heat right toward your outdoor dining table or back inside your house. Position your grill so that the prevailing summer breeze carries smoke away from your main seating areas. If you plan to place your kitchen under a pavilion or pergola, you must install a vent hood. Proper ventilation is critical for outdoor kitchens, particularly those that are covered or partially enclosed, to ensure the safe dissipation of heat and cooking fumes.
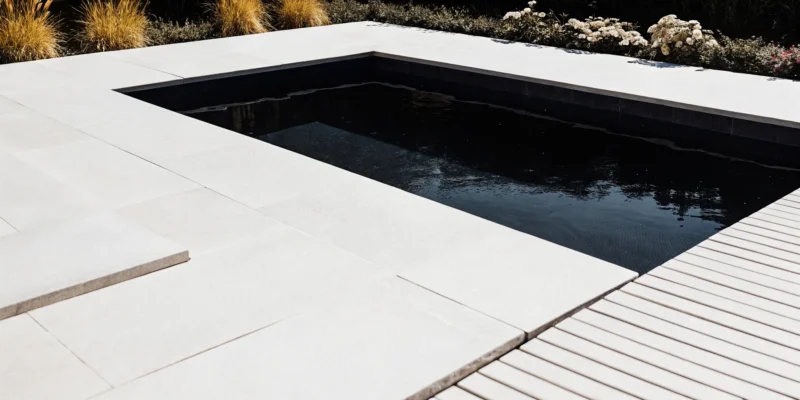
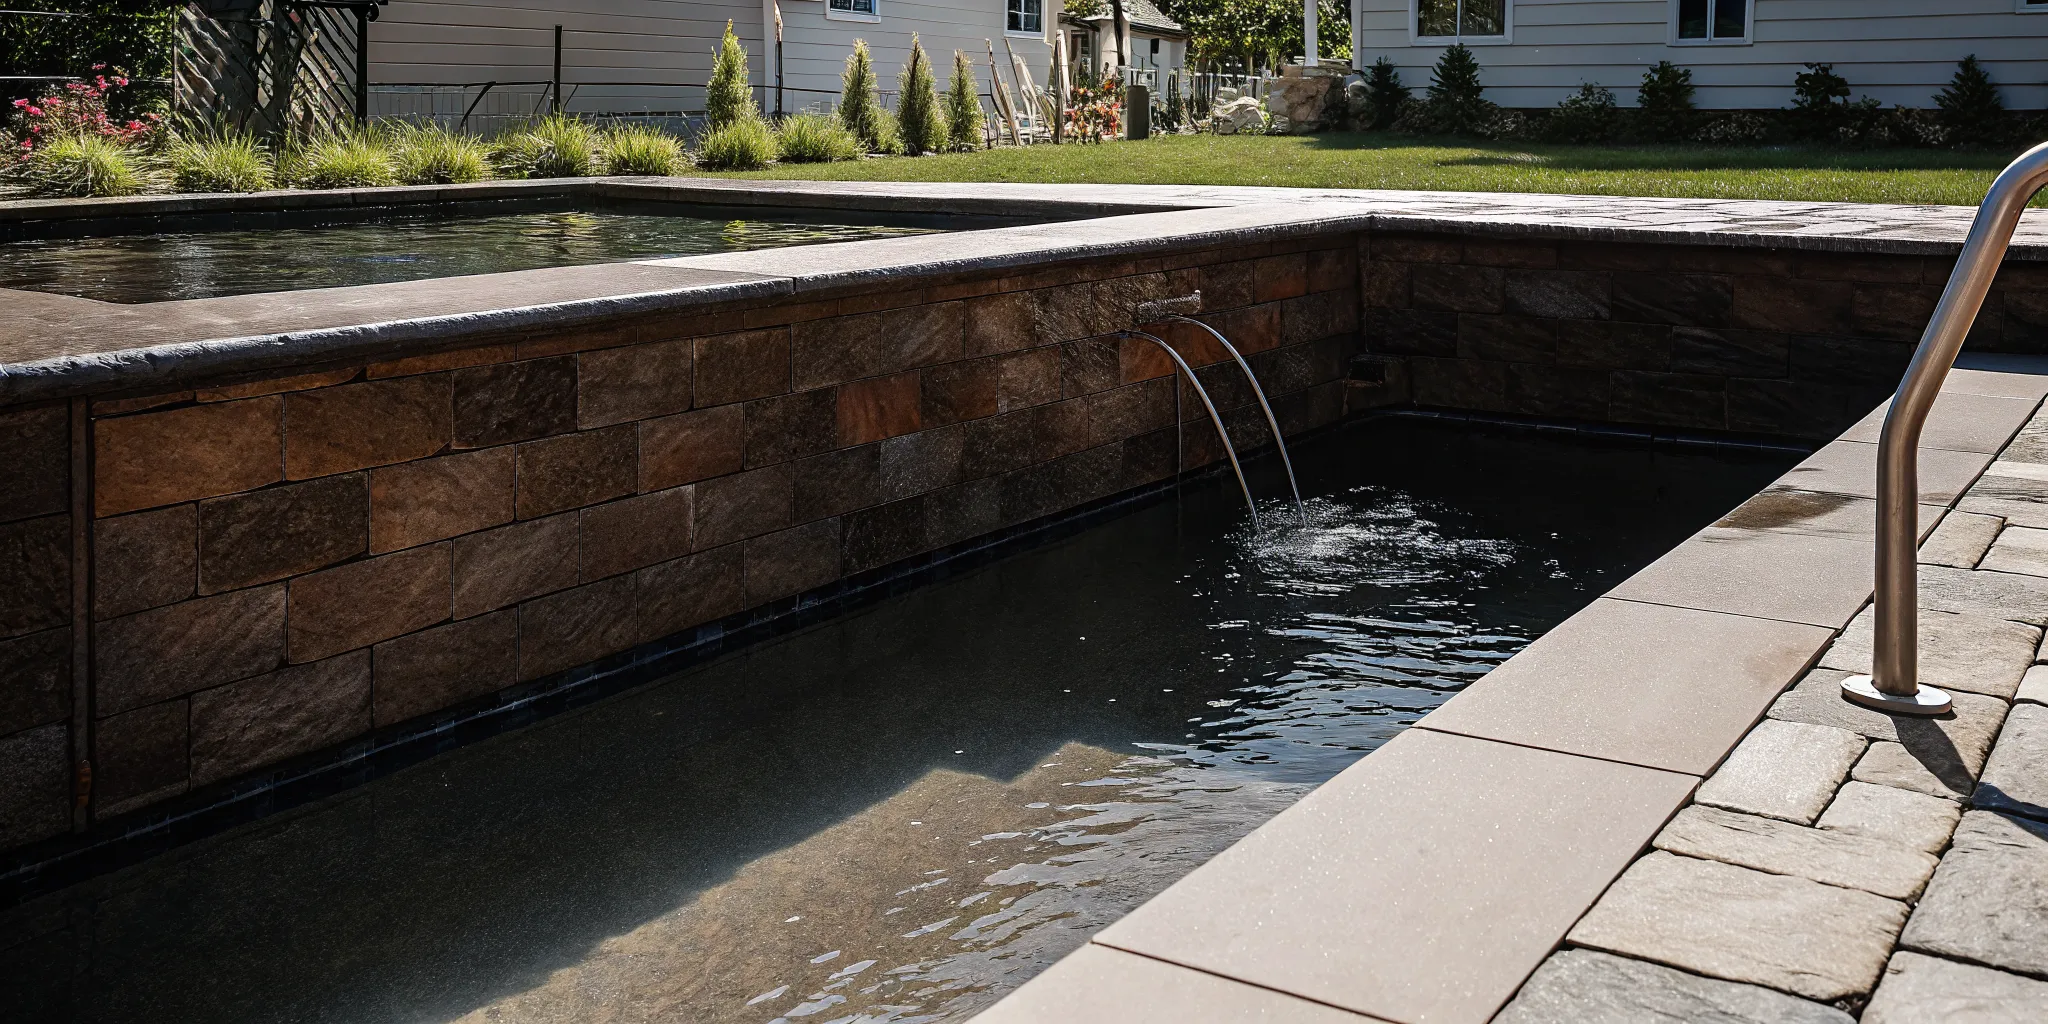
Poolside Safety Considerations
If you are building your kitchen near a swimming pool, safety must come first:
- Keep cooking elements far enough from the pool edge to prevent accidents.
- Choose non-slip pavers for your flooring to ensure safe footing with wet feet.
- Equip all electrical components with GFCIs for safety, as recommended by electrical guidelines on nih.gov.
Water and electricity are a dangerous mix , always protect your system with professional-grade ground fault protection.
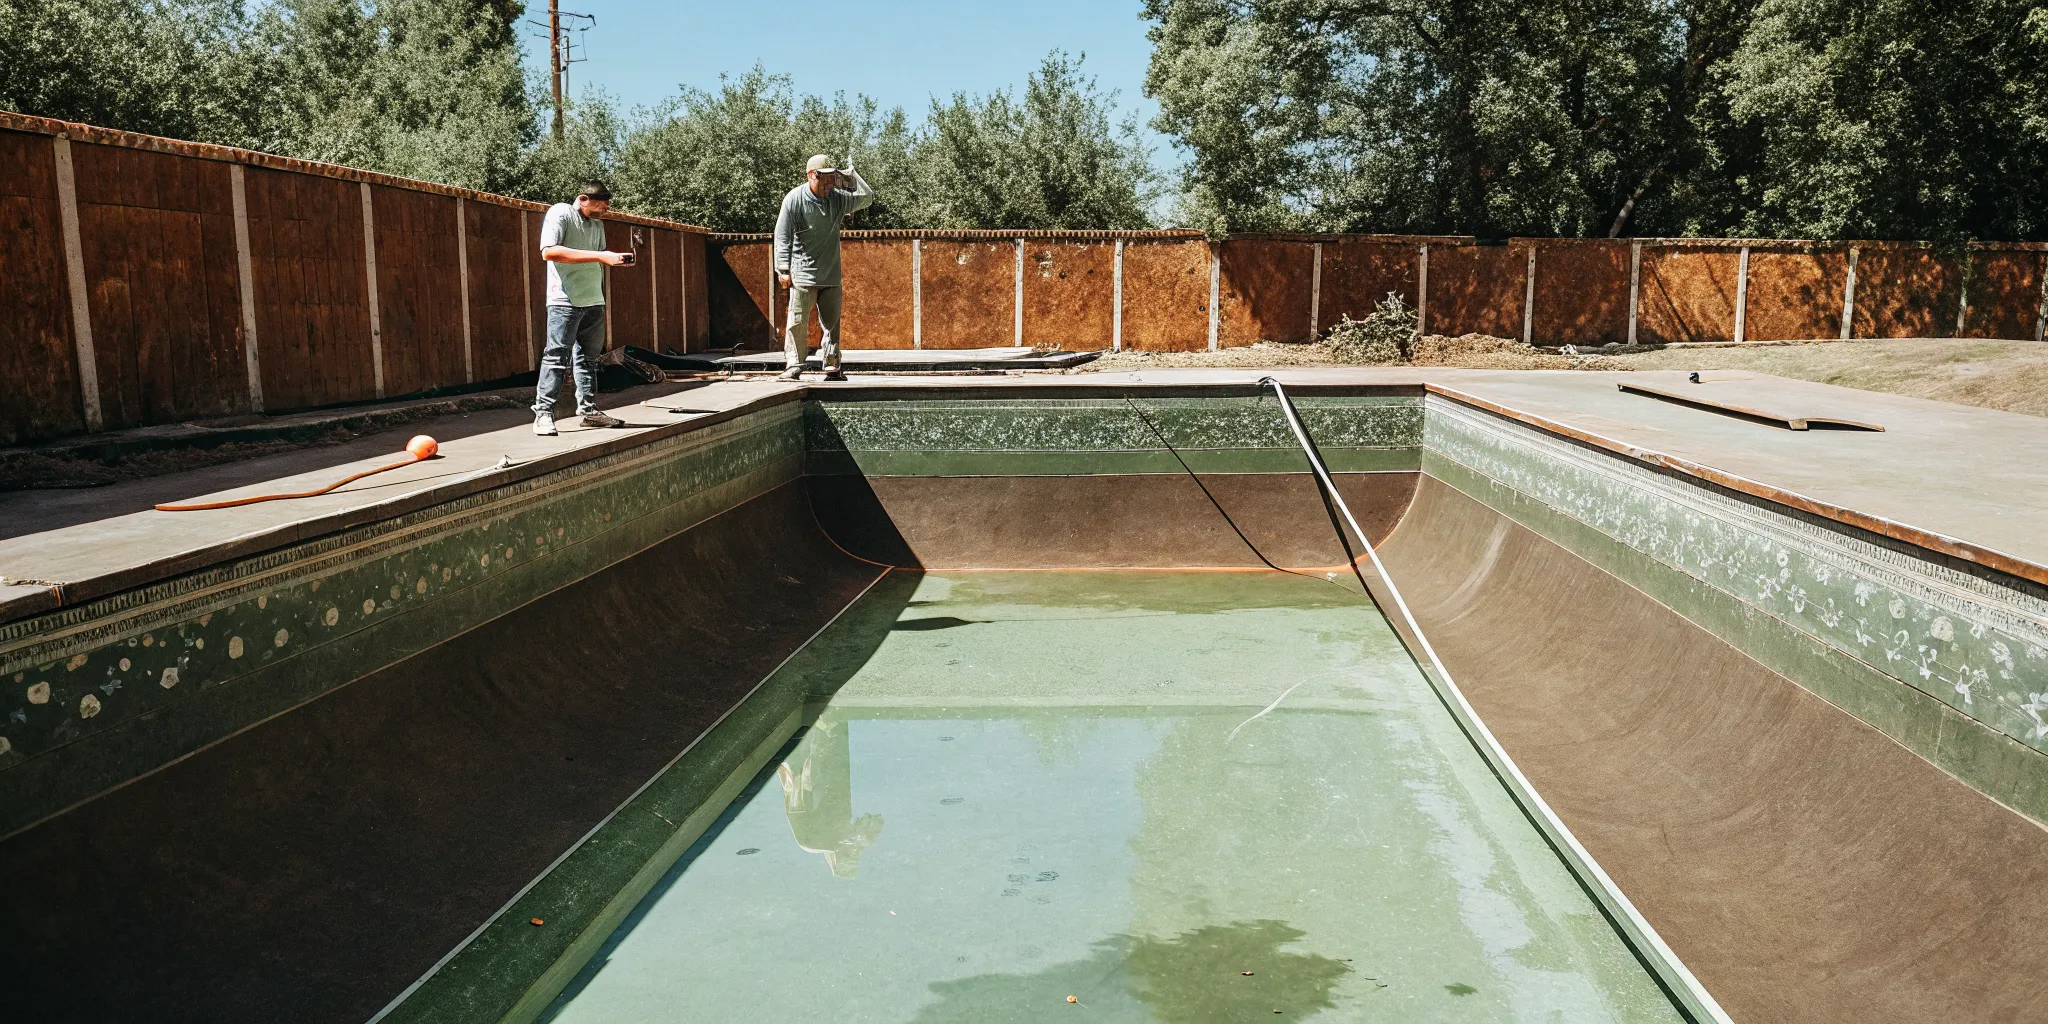
Selecting Materials That Last in Long Island Weather
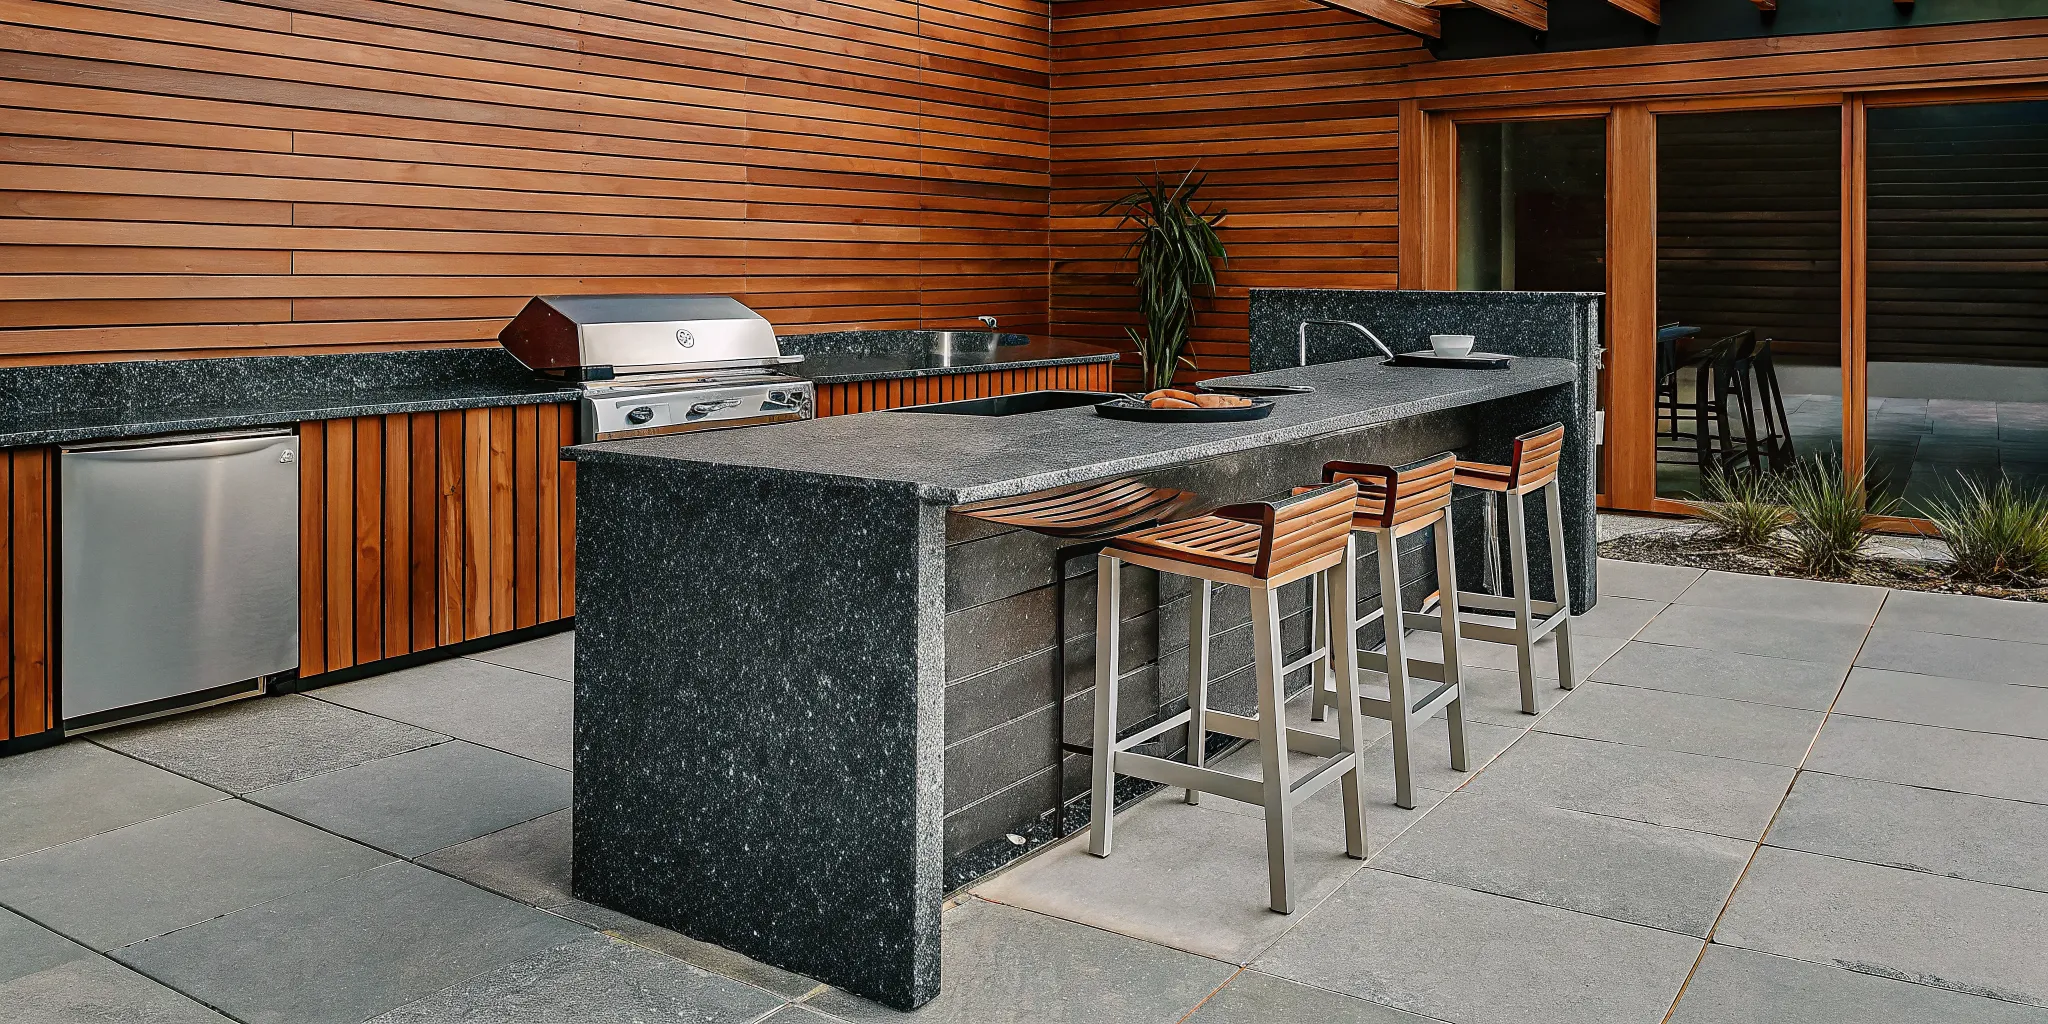
Choosing the right building products is the most important decision for a custom outdoor kitchen Long Island project. The local climate brings hot, humid summer days and freezing winter nights. This freeze-thaw cycle can crack weak stone, rot wood framing, and ruin poor countertops. Selecting durable masonry and weather-resistant metals ensures your investment lasts for decades.
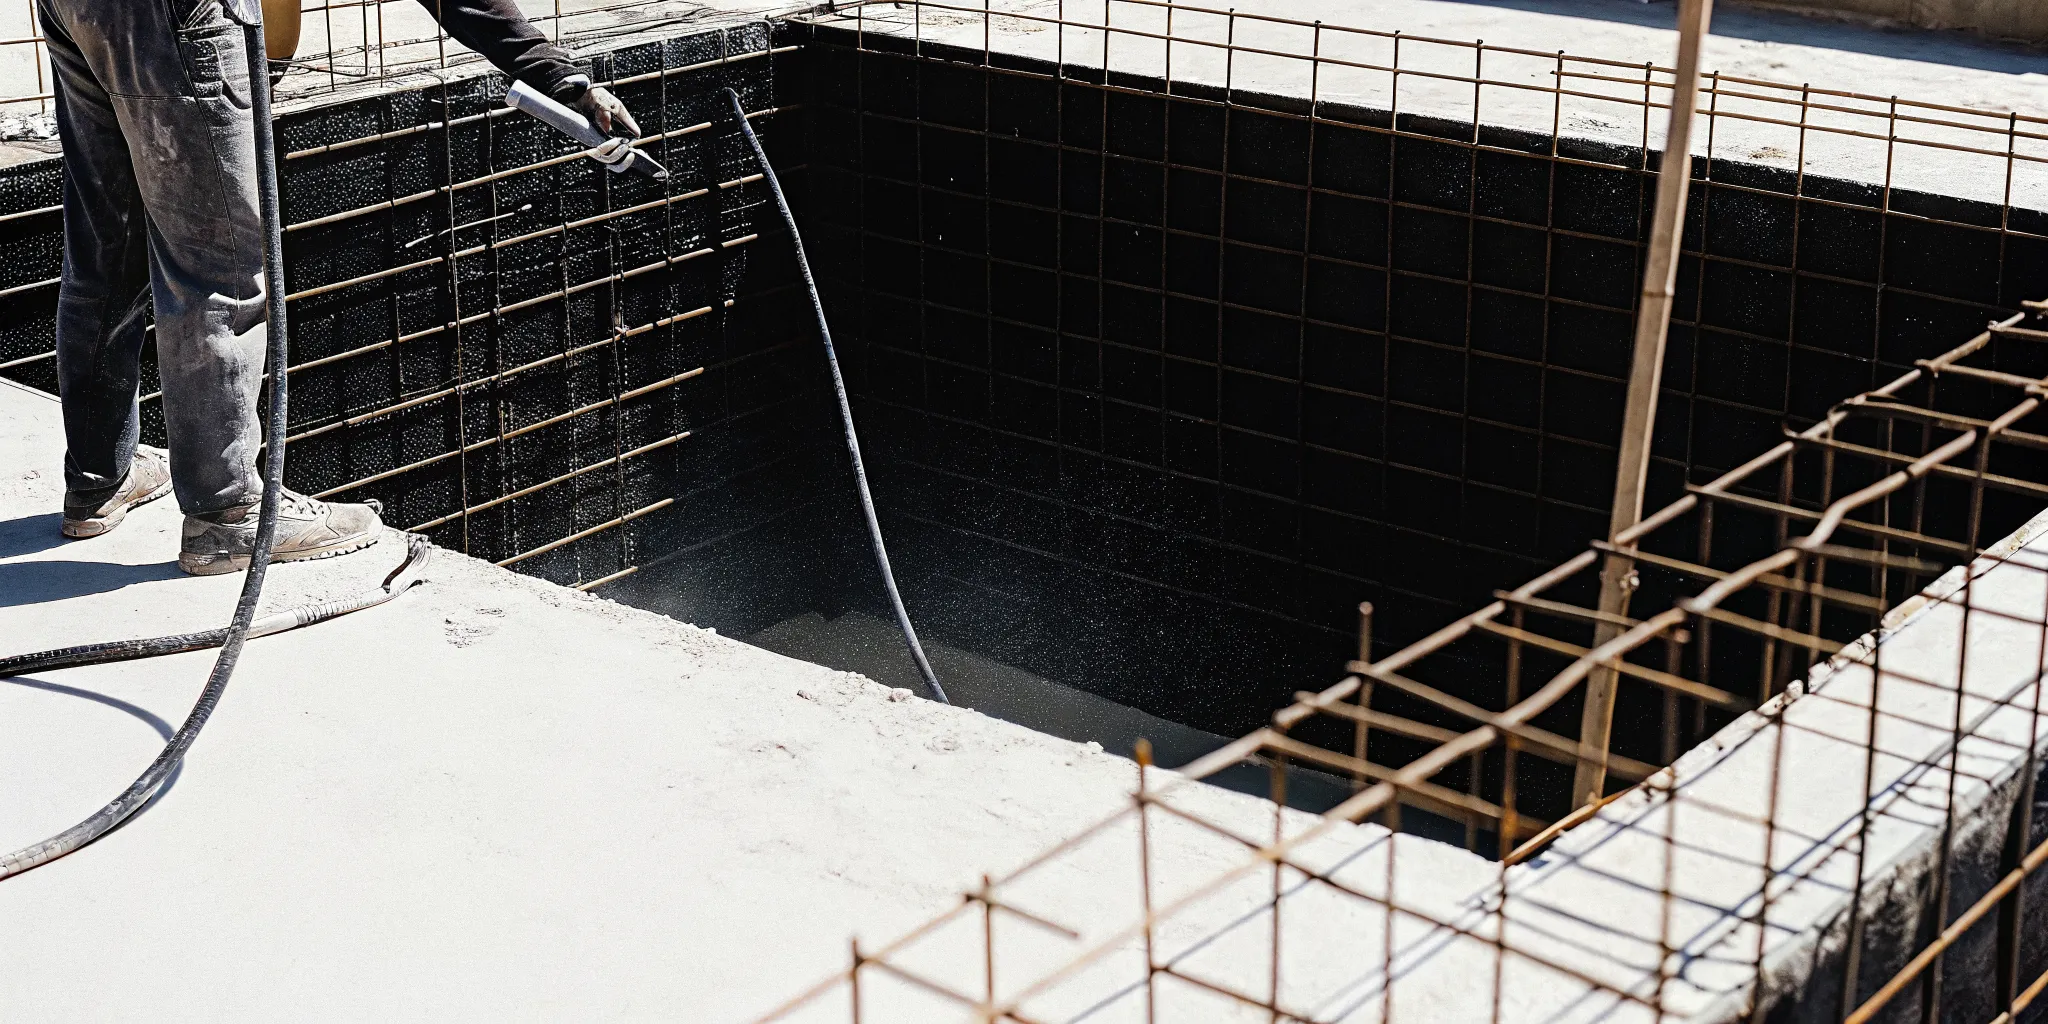
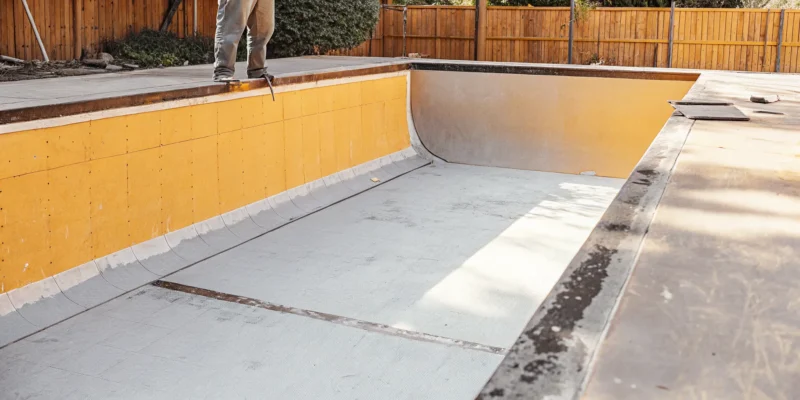
Freeze-Thaw Resistant Masonry Bases
Wood and thin metal studs can warp or rust when moisture seeps behind them. For a permanent installation, build the island base with solid concrete blocks or poured concrete. Face these blocks with natural stone veneer to create a beautiful finish that matches the local landscape. Natural stone veneer stands up to heavy snow and ice without cracking. For the best structural results, work with a professional team in masonry design and construction to ensure proper mortar selection and waterproofing.
Durable Countertop Options
Countertops must handle food preparation, hot pots, and winter frost. Here are your best options:
- Natural granite. Does not absorb water and resists deep stains. The top choice for outdoor kitchens.
- Poured concrete. Provides a smooth, modern look but requires annual sealing to prevent water damage.
- Natural bluestone and travertine. Classic look that matches backyard patios, but requires a high-grade sealer every two to three years.
Corrosion-Resistant Metal and Cabinetry
Long Island backyards face harsh ocean air and salt spray. This salt air corrodes low-grade metals within one or two seasons. You should always use marine-grade 316 stainless steel for all drawers, doors, and built-in appliances. This metal contains molybdenum, which prevents pitting and rust from salt exposure. Standard 304 stainless steel works well for inland properties, but coastal homes need marine-grade metal. Clean the metal twice a year with a mild soap to remove salt film and maintain the clean finish.
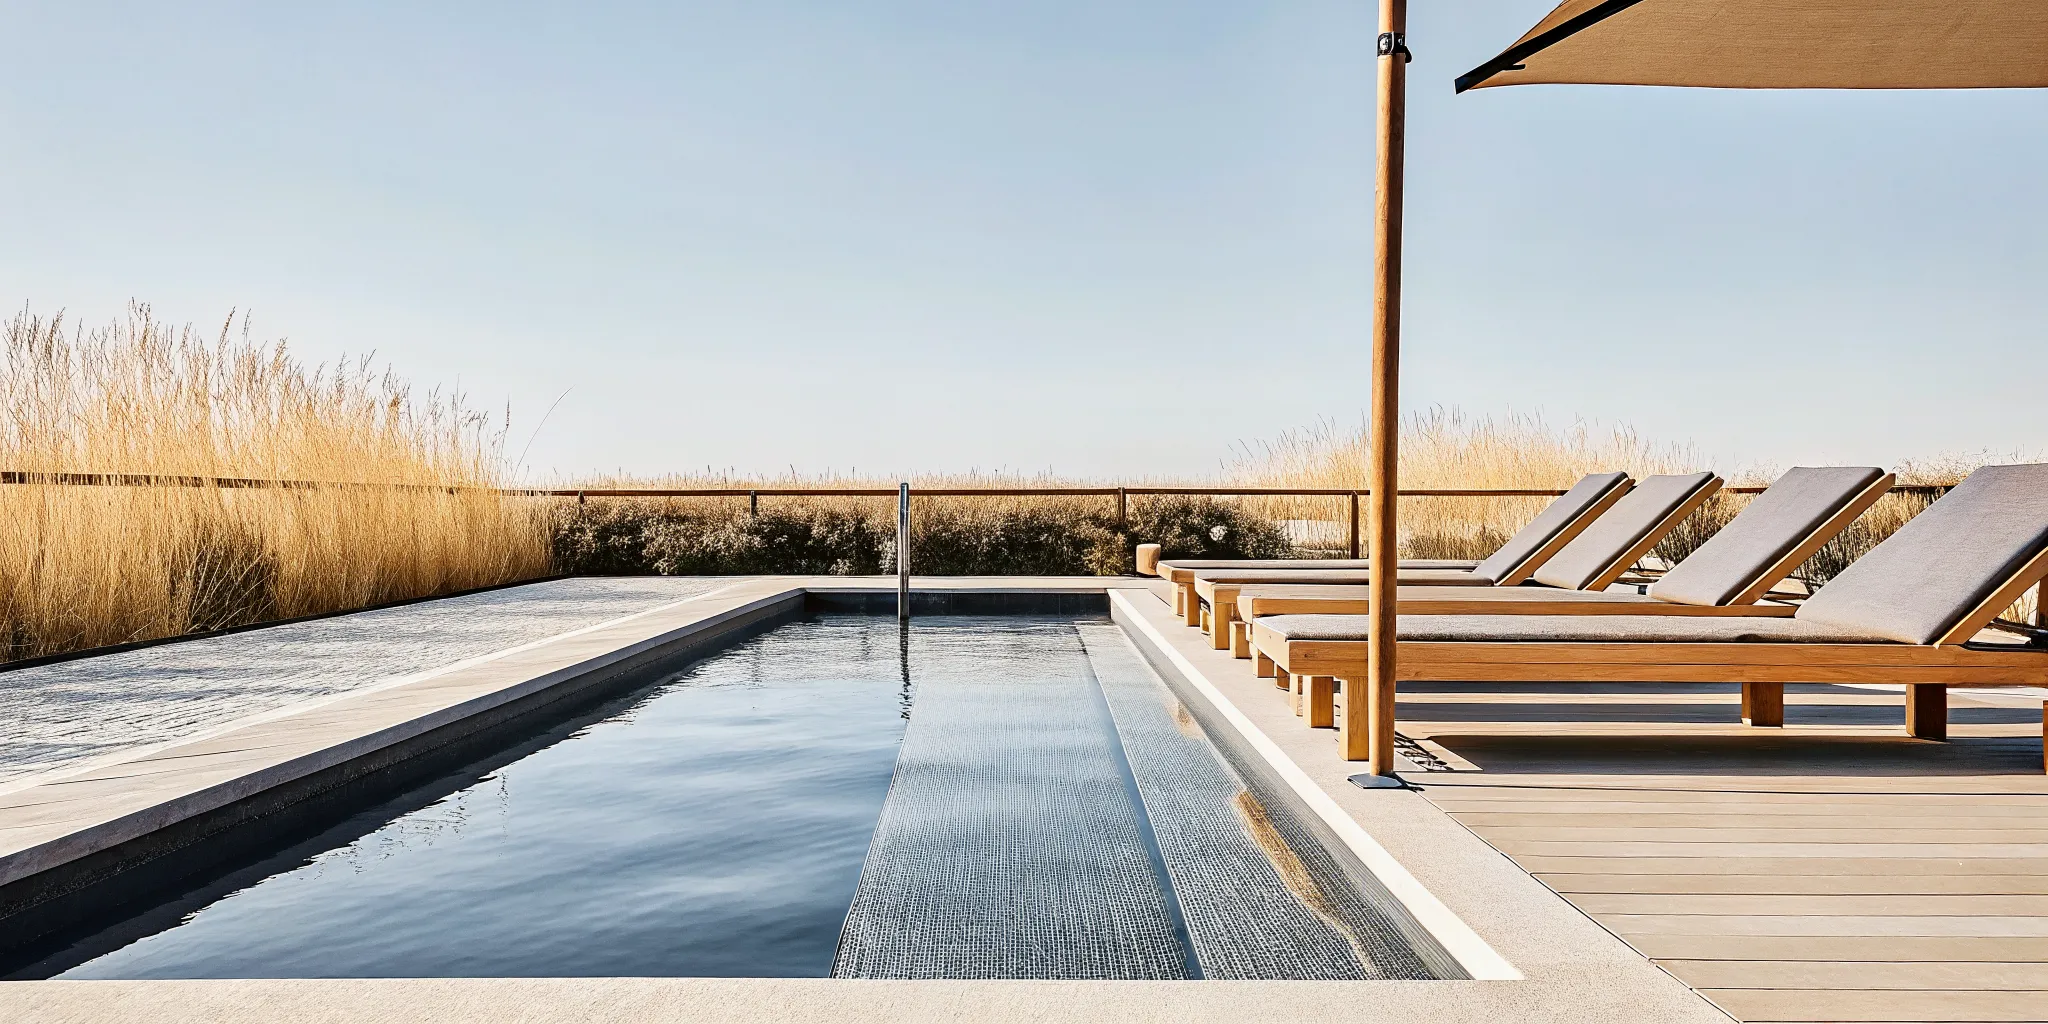
Flooring Materials for Safety and Durability
The ground beneath your cooking area must be flat, strong, and slip-resistant. Concrete pavers, natural bluestone, and travertine are the three best options for outdoor flooring:
- Travertine stays cool under bare feet during hot summer days, making it ideal near swimming pools.
- Bluestone offers great strength but can get hot in direct sunlight.
- Concrete pavers provide excellent durability at a lower price point.
Make sure your mason sets these pavers on a thick gravel base with proper drainage. This prevents the floor from shifting or sinking during winter ground freezes.
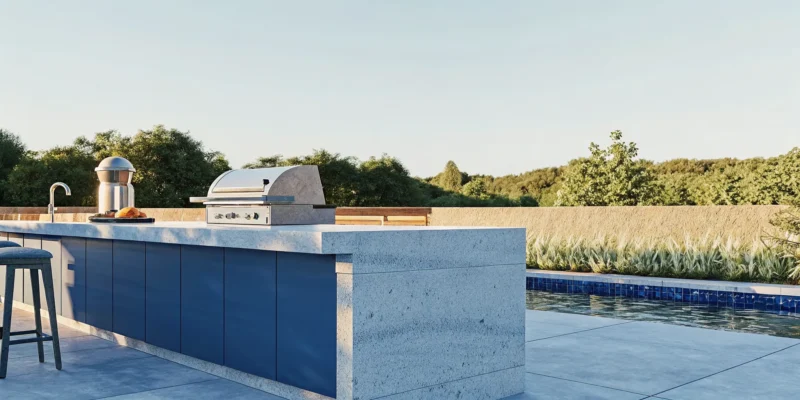
How Do You Choose the Right Appliances for an Outdoor Kitchen?
Selecting the right setup for your outdoor kitchen Long Island project requires balancing cooking styles with durable materials. The heart of any backyard cooking space is the grill, and your choice between gas and charcoal sets the foundation for your design. Gas grills offer fast heat-up times and precise control, which makes them ideal for quick weeknight meals. Charcoal units provide that classic smoky flavor that many homeowners love. Whichever style you choose, selecting a model made from heavy-gauge stainless steel is vital. This material resists corrosion and rust, helping your investment withstand the salty air and harsh winter weather of the local climate.
Outdoor Refrigerators and Cold Storage
An outdoor-rated refrigerator is a crucial addition that prevents constant trips back and forth to your indoor kitchen. These specialized units have stronger compressors and extra insulation. This design allows them to maintain a safe holding temperature of under 40 degrees Fahrenheit even when summer temperatures climb. Standard indoor refrigerators cannot handle these temperature swings and will quickly fail. Keep cold drinks, fresh meats, and side dishes close at hand for maximum convenience while hosting.
Pizza Ovens and Custom Cooking Features
Integrating a wood-fired or gas-powered pizza oven adds a unique element to your culinary space. These heavy stone structures require careful planning during the design phase. You must arrange proper clearance around high-heat units to prevent fire hazards and ensure comfortable usage. Proper flue installation is also necessary to direct smoke and heat away from your dining area. Beyond pizza ovens, adding a stainless steel sink with a dedicated water line greatly improves food prep and cleanup. You can find visual inspiration for these layout features by viewing completed custom outdoor living projects.
Utility Lines and Seating Layouts
Choosing how to fuel your appliances is another key step. Hooking up to a dedicated natural gas line removes the need to swap out portable propane tanks. But running these lines requires trenching and local utility permits, which must be planned early. Finally, consider how guests will gather around your space:
- Built-in bar seating allows the cook to chat with friends while preparing food, making the kitchen a social hub.
- Separate dining table keeps the cooking zone clear while giving guests a comfortable space to sit and eat.
Navigating Permits and Utility Installation on Long Island
Building a custom outdoor kitchen planning guide project on Long Island requires careful attention to town codes. Homeowners must secure a building permit before starting construction. This rule applies to any permanent, non-portable outdoor cooking island. Getting these approvals keeps your home safe and ensures your investment is legally compliant.
Understanding Local Building Permits
Each town on Long Island has its own set of rules for backyard masonry and structural builds. For example, the Town of Brookhaven explicitly lists fixed outdoor kitchens, fire pits, and fireplaces as structures that need a building permit. If you live further west, the Town of Islip also mandates a building permit for any built-in cooking station. The application process involves submitting detailed plot plans that show property line setbacks. It often takes four to eight weeks to secure approval. Standard filing fees can range from $100 to over $300, depending on the scope of your masonry layout.
Required Plumbing and Gas Line Permits
Plumbing codes are very strict when you connect natural gas or propane to your outdoor kitchen Long Island setup. If you plan to add a fixed gas line, you must get a separate plumbing or HVAC permit. Local codes state that only a licensed plumber can run these lines, and they must also perform pressure tests. This step prevents pipes from bursting in the cold months. Sinks also require proper planning with a direct water line, proper drainage, and winter freeze protection.
Ready to move forward? Call (631) 543-1177 to discuss your project with our design-build team.
Electrical Safety and Ground Fault Protection
Adding electrical outlets, refrigerators, and task lighting to your cooking island requires an electrical permit. You will also need a certified inspection. Under the National Electrical Code, all outdoor outlets must have Ground Fault Circuit Interrupter protection. These GFCI outlets are vital near wet zones, sinks, and prep areas. For safety, maintain proper clearance distances and keep high-heat appliances like grills or wood-fired pizza ovens away from combustible siding, wooden pergolas, or vinyl fencing.
Underground Utility Marking and Locating
Before any excavation or masonry work begins, you must identify existing underground utility lines. Homeowners or contractors must call 811 to reach the local one-call center. This service maps out public water, electric, and gas lines. For private lines like pool plumbing, sprinkler systems, or septic tanks, you will need a private locating service. This step prevents costly damage and keeps your work crew safe.
How a Design-Build Firm Handles the Process
Navigating town halls, filing paperwork, and coordinating inspectors can feel overwhelming. Working with a full-service design-build firm makes the process simple. A professional team handles every step for you: they draft site plans, file permits, install gas lines, and schedule final inspections. This turnkey service ensures your kitchen is built to code, passes all inspections, and stands the test of time.
Design Features That Extend Your Outdoor Kitchen Season
Building an outdoor kitchen Long Island project for year-round use requires planning for local weather shifts. Fall and spring bring cool air and quick breezes that can cut dinner parties short. By setting up the right warming and sheltering features, you can keep cooking outside long after summer ends.
Add Fire Tables and Patio Heaters for Warmth
Adding local warmth is the best way to extend your outdoor kitchen season. Many Long Island homeowners set up fire tables, gas fire pits, and infrared patio heaters to keep guests comfortable. Overhead infrared heaters use electricity to heat bodies and objects directly rather than the air. These systems work well on open patios because the wind cannot blow the heat away. Propane or natural gas fire tables provide both physical warmth and a cozy ambient glow for dining areas.
Install Overhead Shelters with Pergolas and Pavilions
Cold wind and light rain can make outdoor cooking hard without proper cover. Building sturdy pavilions, pergolas, and gazebos over your food preparation area blocks the wind and keeps out damp weather. A solid pavilion roof keeps your grill dry and protects your stone countertops from frost. If you choose a pergola, you can use motorized louvers that close tightly when it rains or snows. These structures also hold overhead heaters and light fixtures, making your backyard kitchen feel like a natural extension of your home.
Optimize Vent Hoods and Airflow Under Cover
If you build a roof or pavilion over your cooking area, proper airflow is a major safety rule. Built-in grills produce heavy smoke, heat, and grease that must escape. Standard building guides state that covered outdoor cooking areas must use a professional vent hood. A stainless steel hood vent pulls hot air and grease up and away from the chef. You should also locate sidewall openings or vents near the roofline to release trapped heat and keep your covered kitchen comfortable in warmer months.
Frequently Asked Questions
What is the average cost of an outdoor kitchen on Long Island?
The average outdoor kitchen Long Island project costs between $15,000 and $40,000 for a mid-range build with natural stone veneer, granite countertops, and quality stainless steel appliances. Basic grill islands start around $5,000, while premium custom masonry builds with multiple appliances and bar seating can exceed $100,000.
Do I need a permit for an outdoor kitchen on Long Island?
Yes. Most towns on Long Island, including Brookhaven and Islip, require a building permit for any permanent, non-portable outdoor cooking island. If you plan to add gas lines or electrical work, you will also need separate plumbing and electrical permits. The application process typically takes four to eight weeks.
What materials last longest in Long Island’s coastal climate?
Natural stone veneer over a concrete block base provides the best freeze-thaw resistance. Granite countertops resist water absorption and stains. Marine-grade 316 stainless steel appliances prevent rust from salt air. Concrete pavers, bluestone, and travertine make excellent flooring choices that handle local weather conditions.
Can I use my outdoor kitchen year-round on Long Island?
Yes, with the right features you can extend your outdoor cooking season deep into fall and even winter. Adding infrared patio heaters, a gas fire table, and a solid pavilion or pergola with motorized louvers keeps the space comfortable. A professional-grade vent hood is essential for covered kitchens.
Ready to Plan Your Outdoor Kitchen?
Investing in an outdoor kitchen transforms the way you enjoy your Long Island property. Whether you want a simple grill station or a full custom masonry kitchen with all the features, the right design-build team makes all the difference. Delaying your backyard upgrade means missing out on months of warm weather memories with family and friends. Starting your project now ensures enough time for custom 3D designs, local permit expediting, and professional construction before next season.
Get your free design consultation today. Call (631) 543-1177 to speak with our outdoor kitchen design team.