


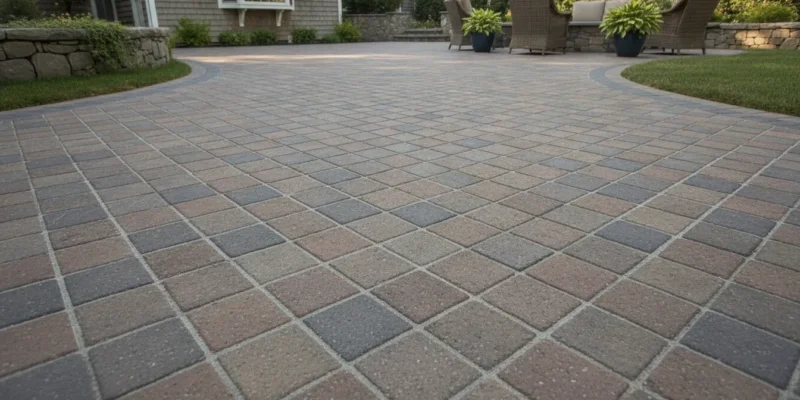
A paver project can look straightforward until the joint material, existing sealer, and site conditions do not work together. Before you spread anything across a driveway, patio, or walkway, identify what is already in the joints. Check whether an older sealer is failing, and confirm that the planned material matches the paver system and application instructions.
Contact Gappsi through our contact page
Silica sand is a quartz-based material made primarily of silicon dioxide, but the right use depends on the paver joints, sealer, surface condition, and project method. Treat it as one part of a broader checklist, not as a universal substitute for every joint or infill product. OSHA also notes that sand and other masonry materials can contain crystalline silica, so dust-producing work deserves appropriate care: review the agency’s guidance before work begins.
For Long Island homeowners in Nassau and Suffolk County, the practical starting point is to clarify what the material is, where it belongs, and how it fits the rest of the paver installation or sealing process. That distinction helps you evaluate the surface before moving on to preparation, application, and site-specific decisions.
What Is Silica Sand, and Where Does It Fit in a Paver Project?
Silica sand is a mineral material also called quartz sand. It is primarily silicon dioxide, written as SiO2. The term describes the material’s composition, not a universal instruction for how it should be used around a home. A useful definition is provided by Shaw Resources, but the right application still depends on the pavers, joint condition, sealer, and installation method already present on your property.
In paver work, silica sand may be discussed as a joint material. Gappsi’s existing guidance describes white silica sand being placed in paver joints for work involving urethane sealer. The sand absorbs sealer, settles into the joints, and is compacted before sealing. That description applies to a particular paver and sealer process. It should not be treated as proof that every sand, paver, or sealer combination is compatible.
Joint sand is not the same as turf infill
Homeowners sometimes encounter silica sand while researching synthetic turf. Turf infill is placed within artificial grass to support the blades and fill the turf system. It is not automatically a substitute for material intended to occupy joints between concrete or stone pavers. Gappsi’s silica sand infill page concerns that turf application, so keep the two uses separate when comparing materials.
Why generic retail sand can be the wrong comparison
A bag labeled sand does not provide enough information to choose it for paver joints. Regular construction or brown sand can contain silica along with other minerals, while silica sand is defined by a higher concentration of silicon dioxide. Particle size, grading, cleanliness, moisture, and the manufacturer’s intended use can all affect whether a material fits a particular system. Those details should come from the product documentation and the sealer instructions, not from the color of the bag or a general hardware-store description.
For a Long Island driveway, patio, or walkway, start by identifying the existing paver type, joint material, and sealer. A failed or layered sealer may need a different preparation process than a new installation. Site conditions, including drainage and the condition of the base, also matter. If the material and sealer do not match, adding more sand may conceal the problem rather than correct it.
What Should You Check Before Using Silica Sand?
Before opening a bag of silica sand, treat the material as one part of a larger paver system. The right choice depends on the pavers, joint condition, existing sealer, moisture, weather, and the instructions for the products already on the surface. Use this checklist to identify problems before they become harder to correct.
- Identify the paver system and joint condition. Note the paver material, the approximate joint width and depth, the age of the installation, and whether the joints are loose, washed out, or filled with another material. Do not assume that sand suitable for one paver or sealer system will work with another. If you cannot identify the existing system, pause before buying replacement material.
- Inspect the old sealer. Look for peeling, cloudy areas, tackiness, uneven color, or sealer that has collected in the joints. A new layer may not correct a failed or incompatible coating. Photograph the surface in several areas, including edges, shaded sections, and places where water tends to remain. Those observations can help determine whether cleaning, removal, joint repair, or professional evaluation is needed first.
- Check moisture and the forecast. Look for damp joints, recent rain, runoff, standing water, or areas that dry more slowly than the rest of the driveway or patio. Read the chosen product’s instructions for its required surface conditions and application sequence. If the site is wet or the weather is unsuitable under those instructions, wait rather than guessing at a workaround.
- Read the instructions for the complete system. Review the technical directions for the sand, sealer, cleaner, and any joint treatment you plan to use. Confirm that the products are intended to work together and note any preparation, mixing, curing, cleanup, or application requirements. The existing Gappsi article describes white silica sand being placed in paver joints, compacted, and followed by sealing in a specific urethane-sealer process. That description should not be treated as a universal recipe for every installation.
- Plan dust control and appropriate protection. Sand and masonry materials can create dust during handling, sweeping, compaction, cutting, or cleanup. OSHA explains that sand and other masonry materials can contain crystalline silica, and that respirable particles can be created by activities such as cutting, grinding, drilling, and crushing. Review the guidance at OSHA’s crystalline silica resource, follow the product and equipment instructions, and use suitable dust-control methods and protective equipment for the work being performed. Do not invent a respirator or exposure plan from a general internet checklist.
- Know when to pause and call a professional. Stop if the paver system or old sealer is unidentified, the surface has widespread failure, moisture keeps returning, joints are unstable, or the work requires equipment or dust control you cannot manage confidently. Drainage, base preparation, access, and material quantities can affect the result as much as the sand itself. A site evaluation is especially sensible for a large driveway, recurring runoff, or repairs that will involve removing multiple layers of sealer.
How Does Silica Sand Affect Paver Joint and Sealer Work?
Silica sand can be part of a paver repair or maintenance process, but it is not a universal substitute for every jointing material. The existing condition of the pavers, the width and depth of the joints, the sealer already on the surface, and the instructions for the new sealer all affect the appropriate approach. A careful project starts with evaluating those conditions rather than spreading sand and sealer in the same order on every driveway or patio.
When sealer has failed, been layered incorrectly, or left a heavy film on the pavers, the first step may be removal or correction of that coating. Cleaning alone is not always enough when old material interferes with joint filling or prevents a compatible sealer from bonding as intended. The surface and joints then need to be prepared so debris, loose residue, and excess moisture do not undermine the next stage. The exact removal method depends on the sealer and the condition of the installation.
After preparation, silica sand may be placed into the paver joints where the selected system calls for it. Gappsi’s existing paver guidance describes white silica sand being used in joints with urethane sealer. In that process, the sand absorbs sealer, settles into the joints, and is compacted before sealing. That description is useful context, not a blanket product recommendation. Sand gradation, joint condition, sealer chemistry, and the manufacturer’s application directions must be reviewed together.
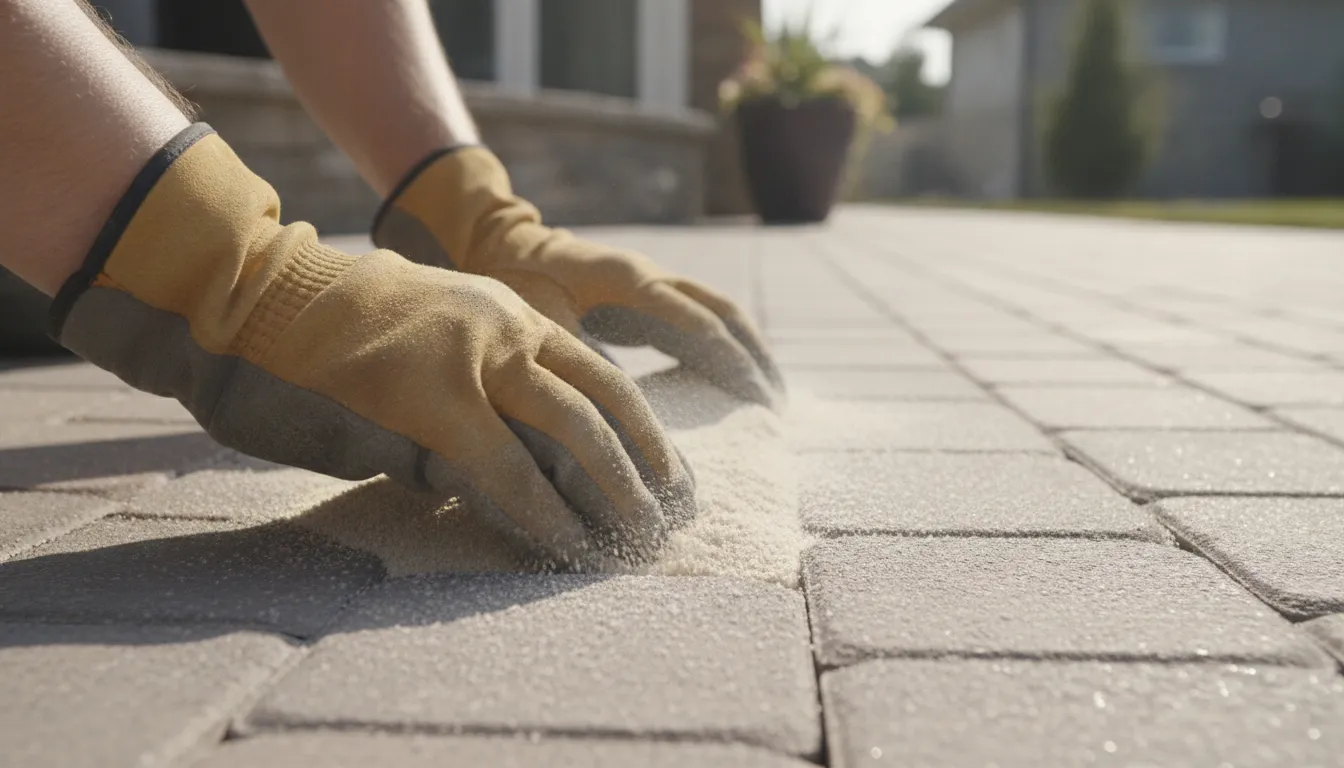
Compaction also deserves care. The goal is to settle joint material without disturbing the pavers, edging, or prepared surface. Applying sealer before the joints are properly filled, or applying a coating that is incompatible with the existing layer, can create a repair problem instead of solving one. Weather and site moisture matter as well, so the work should be planned around the conditions required by the selected product. For a broader overview of surface preparation and maintenance, see Gappsi’s driveway cleaning and sealing services.
Homeowners in Nassau and Suffolk County should also distinguish paver joint sand from silica sand sold for unrelated uses, such as turf infill or general landscaping. The label alone does not establish that a product belongs in a particular paver and sealer system. If the old sealer is peeling, hazy, heavily layered, or difficult to identify, have the installation assessed before adding new material.
Contact Gappsi through our contact page
Which Site Conditions Matter on Long Island?
The same silica sand approach will not fit every paver or driveway project. Before choosing a material or beginning sealer work, look at how water moves across the property, how the existing surface was built, and how the area is used. Conditions can vary between Nassau and Suffolk, and they can vary from one side of a property to the other. A site review is more useful than assuming that a product or application method will perform the same way everywhere.
Start with grading and drainage
Grading controls where runoff travels after rain. A driveway or patio may look reasonably level while still directing water toward a garage, foundation, planting bed, or low point. Check for standing water, visible flow paths, discolored joints, and areas where soil or joint material has washed out. Downspouts, neighboring surfaces, retaining walls, and changes in elevation can also affect the project. If the surrounding landscape needs correction, Gappsi’s landscape design and construction services include grading and drainage planning.
Drainage concerns should be addressed before focusing on sand or sealer. Adding material to a joint will not correct a slope, blocked outlet, or runoff pattern. The right response may involve coordinated landscape work, adjustments around the hardscape, or a closer review of the existing base and edge conditions.
Review the base, access, and traffic
Look for settled areas, rocking pavers, open joints, cracked edges, and transitions that no longer meet adjoining surfaces. These signs can point to preparation or movement issues that require more than surface maintenance. Also consider how workers and equipment will reach the area. A narrow side yard, locked gate, steps, landscaping, or limited staging space can change the sequence and material-handling plan.
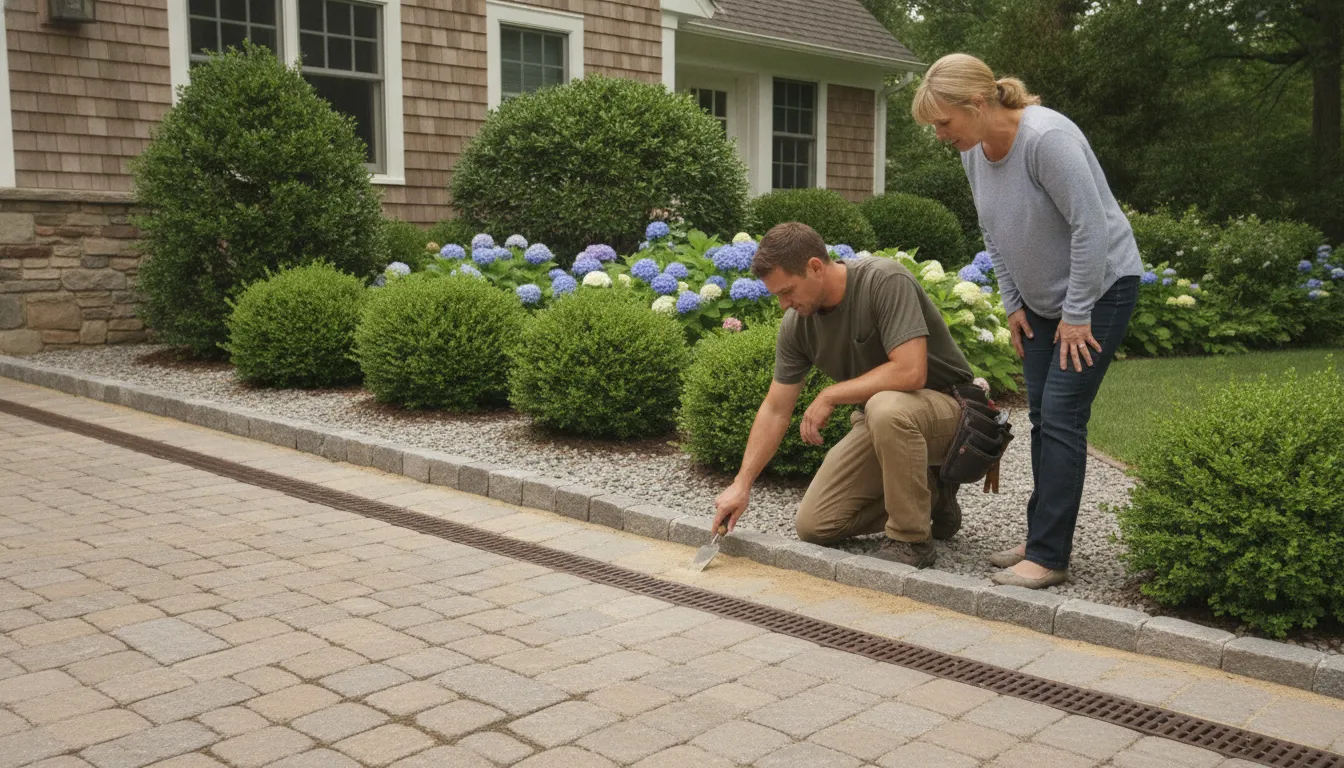
Traffic matters as well. A residential walkway, parked-car area, and frequently used driveway do not place the same demands on a surface. Note where vehicles turn, where tires repeatedly track, and whether access must remain open during the work. A masonry design and construction review can connect site preparation, base conditions, edging, material quantities, and the intended use of the space.
Plan for maintenance and property-specific variation
Choose an approach that matches your willingness to monitor joints, clean the surface, manage runoff, and address future movement. Some properties may need a more detailed evaluation because of their slope, surrounding construction, drainage layout, or access limitations. Avoid treating a Nassau or Suffolk address as a specification by itself. The existing paver system, joint condition, sealer, weather, and site layout should guide the next step.
When Should You Use a Professional Instead of DIY?
A small, clearly defined paver maintenance task may be manageable for an experienced homeowner. Professional guidance becomes more valuable when the existing surface, sealer, or site conditions are difficult to identify or control. The goal is not simply to spread silica sand and sealer. It is to determine whether the paver system can be prepared and treated without creating a larger correction project.
Consider calling a professional if the driveway or patio has failed, peeling, or layered sealer. A new coat over an unstable surface may not address the underlying problem. Widespread haze is another reason to pause. Haze across many pavers can involve residue, incompatible materials, incomplete preparation, or moisture conditions that are difficult to diagnose from the surface alone.
Product compatibility also deserves careful attention. If you do not know what sealer was previously applied, whether the joints contain the right material, or how the current system should be prepared, avoid guessing. The existing Gappsi guidance describes white silica sand being placed in paver joints, compacted, and used with a urethane sealer, but that does not make every sand-and-sealer combination suitable for every installation. Follow the applicable product instructions or ask for an evaluation before proceeding.
Site conditions can move a project beyond simple DIY maintenance. A large driveway, narrow access, slopes, drainage concerns, unstable edges, or suspected base problems may require more than hand tools. Water movement and grading are especially important when runoff is collecting near the pavers or the surface has settled. Gappsi’s masonry design and construction services can address the broader project context, including site preparation, design, and construction guidance. Its landscape capabilities also include grading and drainage, when those conditions are part of the problem.
Equipment and dust control are practical reasons to seek help as well. OSHA notes that sand, stone, concrete, and mortar can contain crystalline silica, and that cutting, grinding, drilling, and similar activities can create respirable particles. If the work involves dusty preparation, powered equipment, difficult cleanup, or exposure concerns, use the applicable safety guidance and consider having trained professionals manage the process.
For Long Island homeowners in Nassau or Suffolk County, Gappsi can help review the pavers, joint condition, access, drainage, and intended finish before recommending a project path. The company provides design, masonry construction, and project guidance rather than asking a homeowner to select a product without context.
Contact Gappsi to discuss your paver sealing project.
Silica Sand Checklist for Your Next Paver Project
Before you spread silica sand or begin sealing, pause long enough to confirm that the material and the existing paver system belong together. The right choice depends on the paver surface, joint condition, prior sealer, site moisture, and the product instructions. A bag labeled “sand” is not enough information to establish compatibility.
| Check | What to confirm | Why it matters |
|---|---|---|
| Material identification | Confirm whether the material is silica sand, joint sand, polymeric sand, or a product intended for another use. | Different materials can have different application requirements. Do not substitute based on appearance alone. |
| Pavers and sealer | Identify the paver type, joint condition, existing sealer, and the new sealer’s stated compatibility. | The existing Gappsi guidance describes white silica sand being placed in paver joints, compacted, and used with urethane sealer. The exact system still needs to be evaluated. |
| Joint preparation | Check whether joints are clean, open where needed, and ready to receive material before compaction and sealing. | Old sealer, haze, loose material, or incomplete preparation can change the result. |
| Moisture and site | Review surface moisture, drainage, grading, runoff, access, and the project area before scheduling the work. | Long Island properties in Nassau and Suffolk can have different site conditions. A material plan should fit the property, not just the product label. |
| Dust-control plan | Plan how cutting, cleaning, or other dust-producing work will be controlled, and follow applicable safety guidance. | OSHA identifies sand, stone, concrete, and mortar as materials that can contain crystalline silica. Review its guidance before work that may create respirable dust. |
Need help confirming the material, joint preparation, or sealing sequence? Contact Gappsi through our contact page for project guidance.
For a broader review of the work, see Gappsi’s driveway cleaning and sealing service information. Guidance is especially useful when sealer has failed, several products have been layered, or drainage and base conditions are uncertain.
Contact Gappsi through our contact page
Frequently Asked Questions
What is silica sand?
Silica sand is sand composed primarily of silicon dioxide, also called quartz sand. The name describes its mineral composition, not one universal product grade or installation use. For a paver project, read the product label and application instructions before deciding whether the material fits the joint, sealer, and existing installation.
Can silica sand be used between pavers?
It can be used in some paver joint and sealer systems, but it is not automatically the right choice for every project. The existing Gappsi guidance describes white silica sand being placed in paver joints, compacted, and followed by sealing. Confirm compatibility with the paver manufacturer, joint condition, and sealer instructions rather than substituting general-purpose sand.
Is silica sand the same as polymeric sand?
No. Silica sand refers to the mineral material, while polymeric sand is a jointing product that includes binding ingredients. They should not be treated as interchangeable. Check the installation system and product instructions to determine which material is specified for the joint width, paver type, and planned sealer.
What should Long Island homeowners check before starting?
Check the paver type, joint condition, old sealer, moisture, weather, drainage, access, and the instructions for every product involved. Nassau and Suffolk properties can have different grading and runoff conditions, so a material choice that worked at one address may not suit another. Plan dust control and follow applicable safety guidance. OSHA explains that sand and concrete can contain crystalline silica and that cutting, grinding, or drilling can create respirable particles.
When should I call a contractor?
Ask for professional guidance when sealer has failed or layered, haze covers a broad area, product compatibility is uncertain. Drainage or base preparation may be involved, or the project is too large to manage safely with available equipment. A site review can help separate a joint-material question from a larger paver, grading, or sealing problem.
Ready to Plan Your Paver Work?
A project review can help you sort through silica sand, paver joints, driveway sealing, and related site conditions before work begins. For guidance specific to your Long Island property, Contact Gappsi through our contact page to discuss the next step.