


Learning how to build a pool starts long before excavation. A successful Long Island pool project connects the property, the design, the permit plan, the structure, the equipment, and the surrounding outdoor space. Homeowners in Nassau and Suffolk County also need to account for town review, property setbacks, existing utilities, drainage, soil conditions, winter weather, and the way the pool will connect to the home.
Contact Gappsi through our contact page
To build a pool on Long Island, begin with a property evaluation and design. Confirm setbacks and permit requirements with the local building department. Prepare engineering and construction plans, then complete excavation, plumbing, electrical work, the pool structure, finishes, inspections, decking, and startup. A qualified design-build team can coordinate these steps so the pool, equipment, safety features, and surrounding yard work together.
This roadmap explains what each phase is intended to accomplish. It is not a substitute for approved plans, a site-specific engineering review, or the requirements of the town where your property is located.
What should you decide first when planning how to build a pool?
Start with the experience you want to create, not with a catalog shape. Think about how many people will use the pool. Decide whether you want space for swimming laps or entertaining. Plan where children will enter the water and how the pool should relate to the patio, kitchen, lawn, or view from the house. Your answers guide the size, depth changes, steps, ledges, lighting, heating, water features, and access routes.
Also establish practical boundaries early. A pool plan should account for the house, property lines, easements, septic components if present, mature trees, overhead lines, underground utilities, slopes, drainage patterns, and the location of the equipment pad. In a compact or irregular Long Island yard, the best design may be the one that protects circulation and drainage rather than simply maximizing water surface.
- Use: Decide whether the pool is primarily for family recreation, exercise, entertaining, or a combination.
- Connection: Plan the route between the house, pool, outdoor dining area, changing space, and equipment.
- Safety: Reserve room for the required enclosure, gates, alarms, and clear walking surfaces.
- Maintenance: Place the equipment and service access where technicians can reach them without crossing the main entertaining area.
Gappsi can help homeowners connect these decisions to a complete backyard plan. Explore the Gappsi swimming pool design and construction service before choosing details that may be difficult to change later.
How does a Long Island site evaluation shape the project?
A site evaluation turns a wish list into a buildable concept. The design team studies the yard’s dimensions, grades, drainage, access points, utilities, structures, trees, and relationship to the home. The evaluation should also identify how equipment, materials, excavation machinery, and removed soil can move through the property.
Grade is especially important. A sloped backyard may require retaining walls, stepped elevations, drainage improvements, stairs, or a carefully designed transition from the pool deck to the lawn. Those elements influence the pool’s elevation, the amount of excavation, the appearance of the finished yard, and how rainwater moves away from the home and pool area.
Soil and groundwater conditions can also affect construction. Loose fill, dense clay, buried debris, rock, or a high water table may require additional preparation or temporary water management. The right response depends on the site and the approved construction plan. Do not assume that a neighboring pool was built under the same conditions as yours.
Access deserves its own discussion. A narrow side yard, fences, steep grades, or overhead obstacles can change the excavation method and the schedule. Resolve those constraints during planning so the construction team can choose an appropriate access route instead of discovering a problem after work begins.
Which pool type and features fit your Long Island property?
Pool construction methods have different design, maintenance, installation, and finish considerations. Gappsi’s Long Island pool service includes custom gunite, vinyl, and fiberglass options. The best choice depends on the lot, desired shape, schedule, budget, maintenance preferences, and the architectural character of the property.
A gunite pool offers broad design flexibility because the shell is formed on site around steel reinforcement. It can accommodate custom curves, tanning ledges, integrated spas, steps, and unusual dimensions. Vinyl and fiberglass systems can also be appropriate when their available shapes, finish requirements, and installation characteristics match the property and the homeowner’s goals.
Choose features as part of the design, not after the shell is complete. Circulation, plumbing, electrical conduits, structural openings, and equipment capacity may be affected by the following features:
- Sun shelves, benches, steps, and accessible entry points.
- LED lighting and control systems.
- Heaters, salt systems, automation, and filtration equipment.
- Spillover spas, waterfalls, deck jets, or other water features.
- Automatic or safety covers and their housing requirements.
| Planning choice | What it affects | Why decide early |
|---|---|---|
| Pool type. | Shape, shell, installation sequence, and finish options. | Each system has different design and construction requirements. |
| Water features. | Plumbing lines, pumps, controls, and electrical work. | Late additions may require redesign or extra excavation. |
| Pool deck. | Finished elevations, drainage, circulation, and coping. | The deck must meet the shell and surrounding yard correctly. |
| Safety systems. | Enclosure, gates, alarms, covers, and access. | Safety features must fit the approved site plan. |
A feature is worth considering when it supports how you will use the pool and can be integrated cleanly with the structure and equipment. Adding features late can lead to redesign, extra excavation, or visible equipment compromises.
Contact Gappsi through our contact page
What happens during pool design and permitting?
Once the concept is viable, the design is developed into drawings and specifications that can guide construction and permit review. The plan should show the pool location, dimensions, elevations, equipment, plumbing, electrical scope, decking, fencing or enclosure, drainage elements, and related structures that fall within the project’s scope.
Permit requirements vary by municipality. For a private backyard pool, Suffolk County advises homeowners to contact the town building department. That local review may address setbacks, barriers, electrical work, grading, accessory structures, and other site-specific requirements. Public pool requirements are different and involve health department approvals. Always confirm the rules that apply to your property rather than relying on a general online checklist.
Long Island’s permit process is part of the construction schedule. Plans may need revisions before approval, and the timing depends on the municipality, project complexity, season, and completeness of the submission. Gappsi’s pool service describes a process that includes design, permit coordination, construction, and installation, which gives homeowners one team to coordinate across these stages.
For official background, review Suffolk County’s pool and bathing permit guidance. Its private-pool direction is simple: contact the local town building department. The town’s requirements, not a generic guide, control the project.
How are excavation and the pool structure completed?
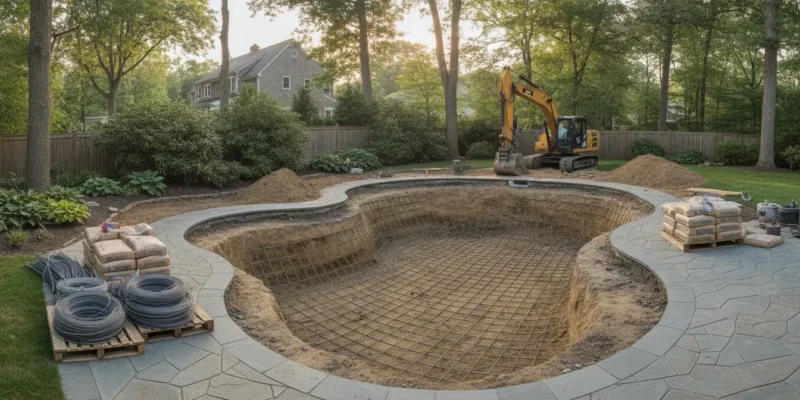
After the plans and approvals are in place, the construction team marks the layout and establishes finished elevations. Excavation follows the approved footprint and depth profile. The crew must protect the excavation, manage spoil, maintain access, and verify dimensions as the work progresses. Accurate layout at this stage prevents problems with the shell, deck elevations, steps, and connections to the home.
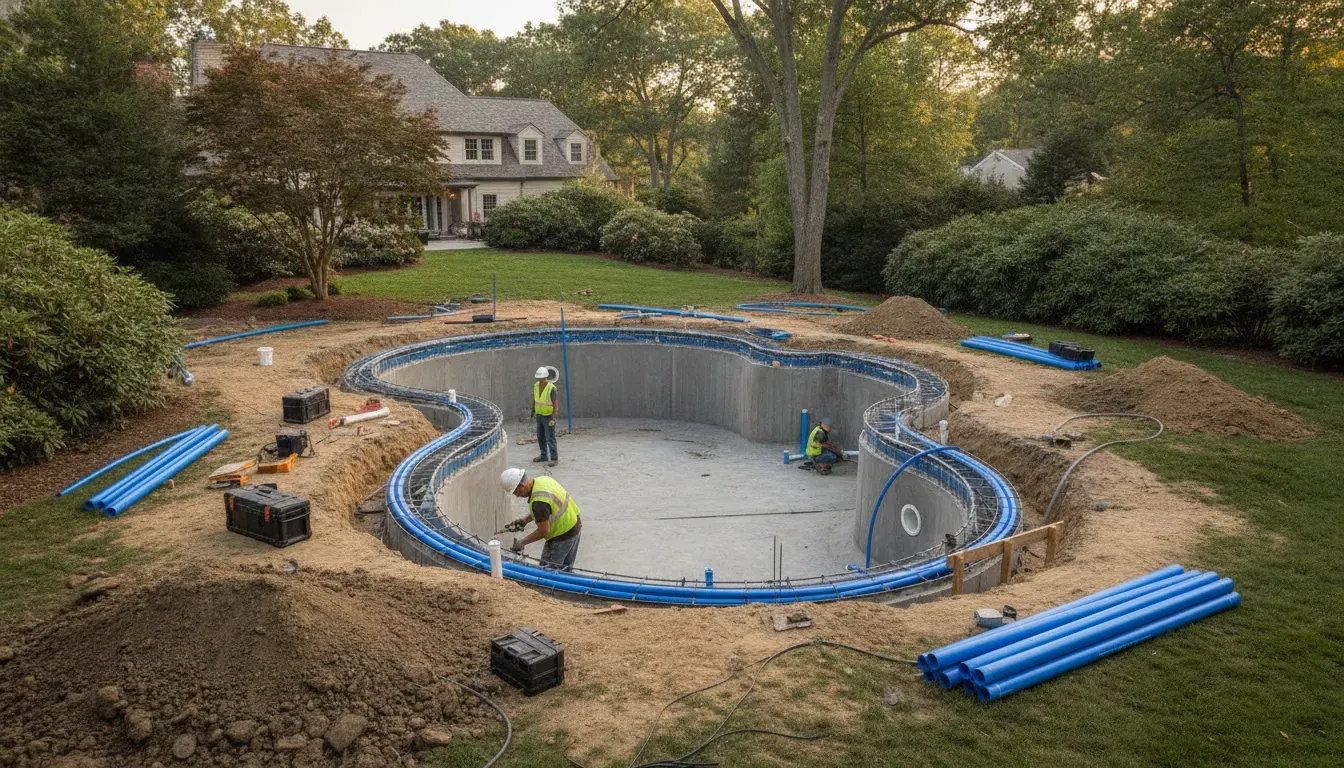
For a gunite pool, the next structural phase commonly includes the steel reinforcement cage and the plumbing and niche components that must be positioned before the shell is applied. The steel gives the concrete shell its structural framework. The plumbing layout supports skimmers, returns, drains, lights, water features, and other selected components.
The exact sequence depends on the pool system and plans. A fiberglass pool uses a manufactured shell that must be set and leveled carefully. A vinyl pool uses a wall and liner system with its own base, support, and finish requirements. In every case, the structure must be installed to the approved elevations and coordinated with the surrounding grade.
Do not treat excavation as a simple hole-digging step. It is when the design meets the actual property. Rock, groundwater, buried concrete, unstable soil, or unexpected utilities can require a documented change in method. The construction team should communicate those conditions before proceeding with work that could affect the design or budget.
What is the pool-building sequence from planning to startup?
The sequence below gives homeowners a practical checklist. The exact order can change by pool type, site condition, municipality, and approved plans.
- Evaluate the property: Review the yard, access, grade, drainage, utilities, setbacks, and intended use.
- Choose the pool system: Compare gunite, vinyl, and fiberglass against the design, schedule, maintenance, and finish goals.
- Complete design and permits: Develop the site plan, elevations, equipment layout, safety plan, and required municipal submissions.
- Excavate and build the structure: Establish the layout, excavate, install the structural system, and coordinate embedded components.
- Install systems and finishes: Complete plumbing, electrical, equipment, interior finish, coping, decking, drainage, and landscape connections.
- Inspect and start up: Complete required inspections, commission the equipment, balance the water, and review operation and maintenance.
When are plumbing, electrical, and equipment installed?
Pool plumbing and electrical systems are planned early and installed in stages. Plumbing lines connect the pool to pumps, filters, heaters, sanitation systems, drains, skimmers, returns, and water features. Electrical work supports pumps, controls, lighting, heaters, bonding, and other equipment. These systems must be coordinated with the pool structure and with the home’s existing services.
The equipment pad should be sized and placed for safe operation, service access, ventilation where required, and reasonable noise control. It may contain pumps, filters, heaters, automation hardware, and sanitation equipment. A well-planned pad can be screened with landscape design without making maintenance difficult.
Electrical safety is not a visual detail. The work must follow the approved plan and applicable code, including bonding and grounding requirements. Use qualified professionals for electrical and gas work, and do not modify pool equipment or wiring as a homeowner shortcut.
Before trenches are covered or finishes conceal connections, the responsible inspectors and project team need the opportunity to verify the work required by the approved plans. Keep records of equipment specifications, controls, warranties, and maintenance instructions for the eventual startup and service process.
Which finishes and pool deck materials should you choose?
Interior finish, coping, decking, drainage, and landscape edges determine how the pool feels and functions when construction is complete. The choices should work together in color, texture, slip resistance, maintenance needs, and scale. They should also suit the home’s architecture and the outdoor spaces that connect to the pool.
Interior finishes may include plaster or aggregate systems selected for the desired appearance and water environment. Coping creates the transition between the pool and deck. The deck needs comfortable circulation, positive drainage, and enough space for furniture, towels, and safe entry and exit. Natural stone, porcelain, concrete, and other paving materials each have different installation and care considerations.
Gappsi’s broader outdoor-living capabilities can help coordinate pool surroundings with masonry, landscaping, pavers, and natural stone. See the porcelain and natural stone service and light ivory travertine information when comparing materials. Material selection should follow the approved base, edge, drainage, and installation details rather than being chosen from a sample alone.
What inspections and startup steps happen before swimming?
Inspections and startup confirm that the completed work is ready for use under the applicable approvals. The exact inspections depend on the municipality and the project type, but construction may require verification of the rebar or structural phase, underground piping before backfill, electrical work, safety barriers, grading, and final conditions.
Suffolk County’s public-pool guidance lists rebar, piping, and final inspections for that type of facility. A private residential pool follows the applicable local process, so the town building department and the approved plans remain the authority. This distinction matters because a private backyard pool is not regulated in exactly the same way as a public bathing facility.
Startup generally includes cleaning the pool, filling it with water, commissioning the pump and filter, checking circulation, balancing the water, testing controls and lights, and explaining routine care. The builder should identify the location of shutoffs, filters, breakers, drains, equipment manuals, and winterization procedures.
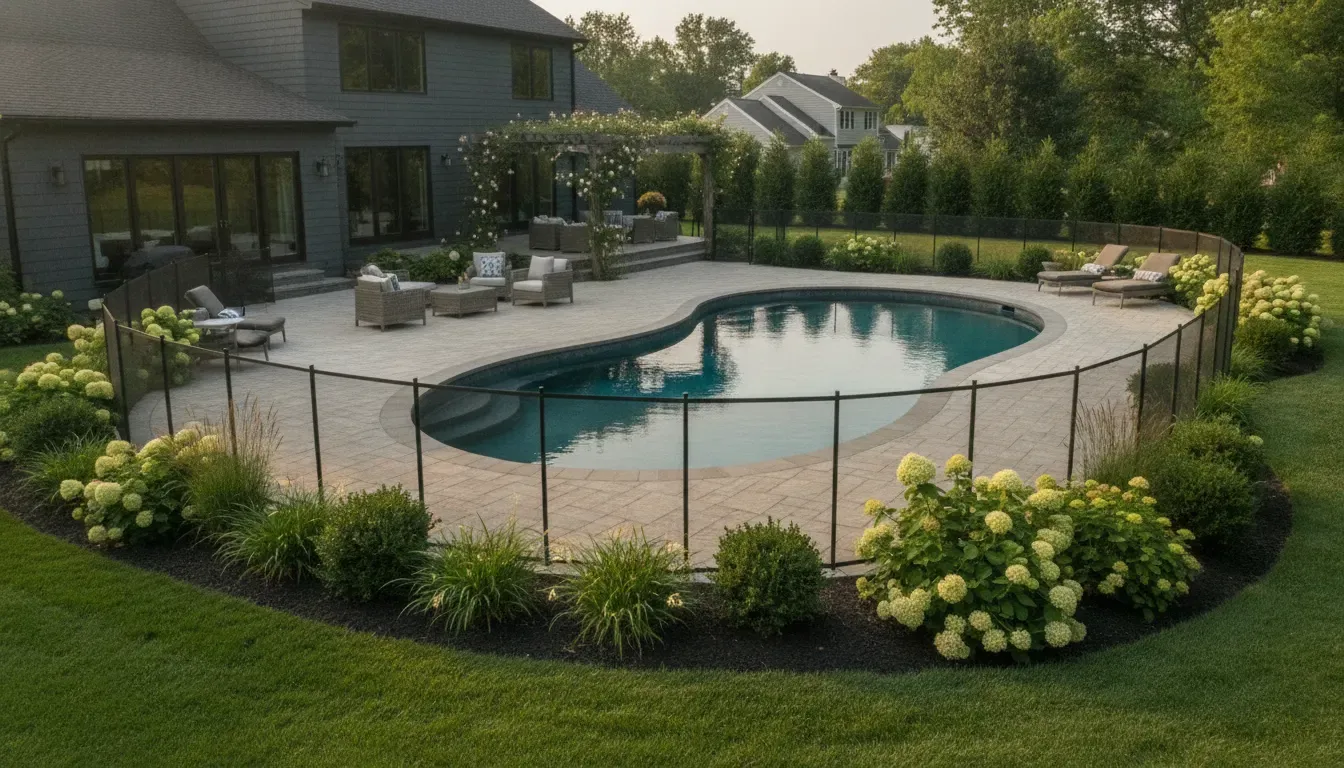
Before the first swim, confirm that the enclosure, gates, alarms, ladders, steps, covers, lighting, and walking surfaces are complete and operating as intended. A pool is not finished when it holds water. It is finished when the systems, safety elements, surfaces, and surrounding yard are ready for the way the family will use them.
Contact Gappsi through our contact page
Frequently Asked Questions
How long does it take to build a pool on Long Island?
The timeline depends on the pool type, design complexity, permit review, site access, weather, excavation conditions, and finish selections. Gappsi’s pool guidance notes that gunite projects commonly take several construction weeks, with permit coordination occurring before construction. A site-specific schedule is more useful than a generic promise.
Do I need a permit to build a backyard pool in Long Island?
Most backyard pool projects require local approval, but the exact requirements are set by the town or municipality. Suffolk County directs private backyard pool owners to contact the town building department. Ask which building, electrical, barrier, grading, and related approvals apply before construction begins.
What is the first step in building an in-ground pool?
The first practical step is a property and project consultation. The team should review your goals, yard, access, grade, utilities, setbacks, drainage, pool type, features, and budget priorities before preparing a design and permit plan.
Can a pool be built on a sloped Long Island backyard?
Yes, a sloped yard can often accommodate a pool when the design addresses elevation, retaining structures, stairs, drainage, access, and the relationship between the pool deck and the rest of the property. The slope must be evaluated before the pool location and finished elevations are finalized.
What should be included in a pool construction consultation?
A useful consultation covers the pool’s intended use, shape, depth, features, pool type, site constraints, access, permits, equipment, decking, safety requirements, drainage, landscape connections, schedule, and next design steps. Bring a basic site plan or property information when available.