


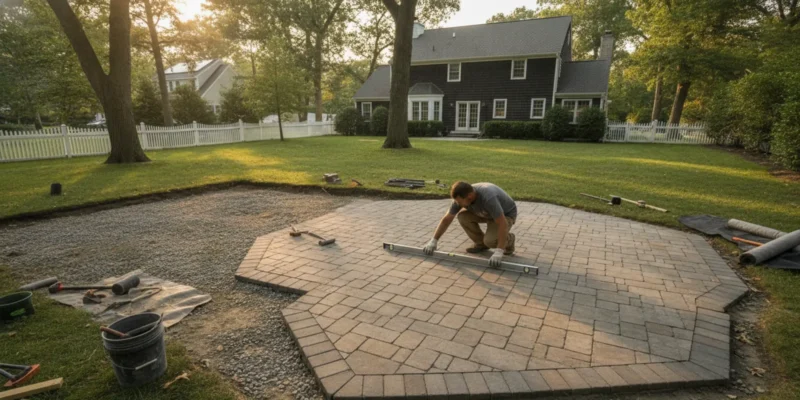
Learning how to install patio pavers starts with more than choosing a pattern. A lasting patio depends on a suitable layout, a well-prepared base, controlled drainage, and careful placement of each paver. The right sequence helps homeowners understand what a DIY project involves and what to discuss with an installer before work begins.
Contact Gappsi through our contact page to discuss your patio plan
Posted by Gappsi Group
This guide focuses on installation planning and process, not a universal recipe. Patio size, soil, slope, paver type, drainage, and expected use all affect the details. For Long Island properties, plan around the actual site rather than assuming one base depth or construction method fits every yard. If you are comparing design options, see these backyard patio ideas for ways to connect the paved area with the rest of the outdoor space.
How to Install Patio Pavers: What Should You Plan First?
Start by defining how people will use the patio. A dining area needs room for chairs to slide back and clear routes around a table. A lounge area may need space for seating and safe access to doors. Measure the furniture and circulation areas, then mark the proposed footprint on the ground. A garden hose, stakes, or marking paint can help make the outline easier to judge from the house.
Check the path between the patio and the house, gates, steps, pool, or other destinations. Consider where water goes after rain, where roof runoff lands, and whether existing trees, utility lines, or structures affect excavation. Locate underground services before digging and check with the appropriate local authorities about permits or site requirements. The Oregon State University Extension paver installation guide also emphasizes planning the paved area and confirming available space before installation.
Make a simple plan showing the patio boundary, paver direction, fixed features, and drainage direction. A square or rectangular layout can simplify cuts. Curves, borders, and several patterns add visual interest but require more layout work and cutting. Test the design at full scale where practical. Mark the corners and walk the route from the house to the patio as well as across the proposed seating area. Check whether an open door, grill, or chair would narrow a main route. If the layout has a border, choose its width and direction early, because the border affects the field pattern and the cut sizes at the edges. Think about how the surface will look from inside the home and from the yard. Aligning a strong joint line or border with a door, window, or existing path can make the layout feel intentional. Avoid designing only from a top-down sketch: slopes, steps, planting beds, and sightlines become clearer when you view the marked footprint from several locations. If the project connects to a larger yard improvement, review the broader backyard project options before settling on dimensions.
Which Materials and Tools Do You Need?
Materials vary with the design and site. A typical interlocking paver installation may involve pavers, aggregate base material, bedding sand, edge restraints, joint material, and components to direct water safely. The required products and quantities depend on the selected paver system and site conditions. Follow the paver and material manufacturers’ instructions rather than substituting a product based on appearance alone.
- Pavers: Choose a size, thickness, color, and surface that suit the intended use and the house. Confirm whether the product is rated for the planned application.
- Base aggregate: The base supports the paved surface. Its composition and finished depth depend on soil, use, drainage, and local conditions.
- Bedding material: A carefully screeded layer provides the setting bed. It is not a substitute for a properly compacted base.
- Edge restraint: A suitable restraint helps limit sideways movement at exposed edges.
- Joint material: Select joint fill that is compatible with the pavers and intended installation method.
- Tools and safety gear: Common needs include measuring and layout tools, a level or straightedge, shovels, a compactor suitable for the work, cutting equipment, eye and hearing protection, and gloves.
Work out quantities only after the layout and installation section are defined. Include cuts and breakage in the order, but avoid ordering by a rough patio-area estimate alone: borders, patterns, paver dimensions, and the manufacturer’s layout guidance all affect the amount needed. For material selection, homeowners can also explore paving and outdoor materials.
How to Install Patio Pavers on a Stable Base
The following sequence explains the main stages. It is a planning guide, not a substitute for product instructions or an assessment of challenging site conditions. A patio with poor drainage, soft or variable soil, steep grades, retaining walls, or complex transitions may need a more detailed design and experienced installation.
- Mark the footprint and elevations. Set the finished patio height in relation to door thresholds, steps, adjacent paving, and the surrounding ground. Establish a slope that directs water away from the home and toward an appropriate drainage area. Do not allow runoff to create a problem for a neighboring property or a foundation.
- Excavate the full work area. Remove sod, roots, and unsuitable material to the depth required for the pavers, bedding layer, and compacted base. Account for the final surface elevation while excavating. The required depth is site-specific; do not copy a number from an unrelated yard or project.
- Prepare and compact the subgrade. The exposed soil must be stable and shaped to the planned drainage slope. Address soft spots before adding aggregate. Compaction equipment should be used according to its instructions and the conditions of the site.
- Place and compact base material in stages. Spread the specified aggregate in manageable lifts and compact each lift consistently. Building the base in stages supports an even, firm platform. Check elevations and slope as work proceeds, not just after the last load.
- Install and secure edge restraints where needed. Restraints should fit the edge design and be installed in line with the system instructions. Plan them before laying pavers so the field is contained without interfering with borders or drainage.
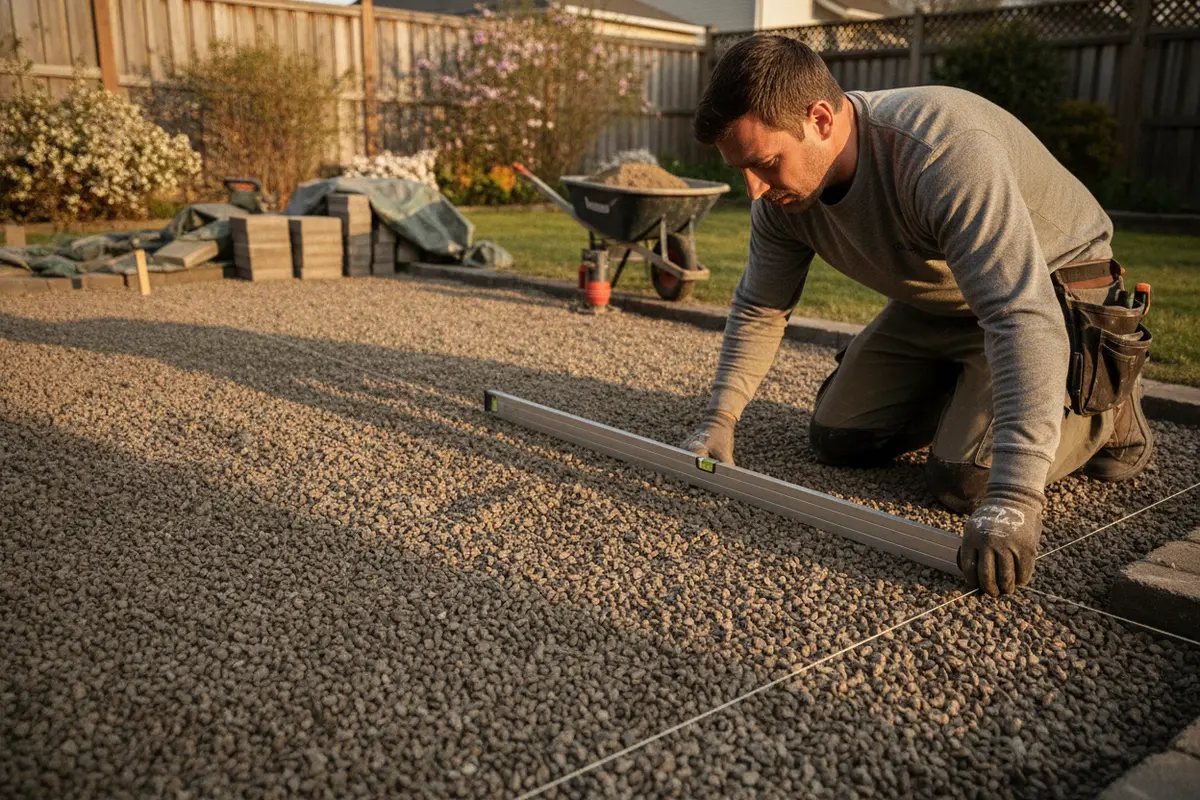
- Screed the bedding layer. Set guides to establish the correct plane and slope, then screed the bedding material evenly. Avoid walking on or disturbing the finished bed before pavers are laid. Work in a sequence that lets the installer reach the open bed without stepping across it.
- Lay pavers to the chosen pattern. Begin from a reliable straight edge or reference line. Keep joints consistent, check alignment frequently, and follow the pattern plan. Blend units from multiple bundles when the product instructions recommend it to avoid obvious color grouping.
- Cut and fit perimeter pieces. Measure carefully and use suitable cutting equipment. Wear eye and hearing protection, control dust, and keep people clear of the cutting area. Avoid narrow slivers where a layout adjustment can create a more durable, balanced edge.
- Compact, fill joints, and finish. Follow the paver manufacturer’s directions for compaction and joint filling. Use protective measures if required for the paver surface. Sweep or apply joint material as instructed, complete any required compaction, and remove residue using the specified method.
At each stage, check the work against the plan. A small error in the first reference line can carry across the patio; an uneven base can show up as low spots later. The masonry work and material category offers another point of reference when comparing hardscape project needs.
What Does Each Installation Approach Involve?
Homeowners can compare a do-it-yourself project with professional installation by looking at the work involved, not simply the visible pavers. Both approaches require a sound plan and appropriate materials. The table below summarizes practical tradeoffs; it is not a quote or a promise about a particular property.
| Approach | What the work includes | Main planning consideration | When to consider it |
|---|---|---|---|
| DIY installation | Layout, excavation, base preparation, paver setting, cuts, edge restraint, and joint finishing are coordinated by the homeowner. | Equipment access, physical workload, accurate grading, and correcting mistakes all affect the effort and schedule. | A straightforward layout, manageable site, and homeowner prepared to follow product instructions at every stage. |
| Professional installation | A contractor assesses the site, plans the work sequence, prepares the base, installs the pavers, and finishes the surface. | Compare the written scope, material specifications, drainage plan, edge details, and site preparation included in each proposal. | A complex grade, drainage concern, large area, detailed pattern, difficult access, or project coordinated with other outdoor work. |
| Hybrid planning | The homeowner develops the design and selects materials, then arranges qualified help for the base, installation, or other defined stages. | Responsibilities must be clear; gaps between separate work stages can affect the finished surface. | When the homeowner wants design input but needs support for specific technical or labor-intensive tasks. |
Cost depends on more than paver price. Excavation, disposal, base quantity, equipment access, cuts, borders, drainage work, and the condition of the existing ground can change the scope. Ask for those items to be described separately in a proposal. That makes it easier to compare two plans and see whether they are based on the same patio area, paver selection, preparation, and finish details.
Which Choices Have the Biggest Effect on Patio Installation Costs?
Start a budget by separating the visible finish from the work that supports it. Paver selection and the amount of paved area are easy to compare, but site preparation can be a larger source of variation between proposals. A site with clear equipment access and stable ground may require a different scope from one with narrow access, substantial excavation, material removal, or grading corrections. Neither description alone predicts a price; the property needs to be assessed.
Ask each installer to state what is included and what could be an additional item. Useful questions include:
- Is excavation and removal of excess soil included?
- What base materials and installation layers are specified, and how are they determined?
- How will the design handle drainage, edge restraint, and transitions to existing surfaces?
- Are borders, special patterns, and the expected amount of cutting included?
- Who supplies the materials, and what product or finish is named?
- What site conditions might change the work after excavation begins?
For a DIY estimate, include tool rental or purchase, delivery, waste removal, protective equipment, and extra material for cuts. Also allow time for layout, base construction, and finishing rather than budgeting only for the hours spent setting pavers. A written scope makes it easier to compare installation approaches without treating a low material price as the full project cost.
How Can You Plan for Drainage and Long Island Conditions?
Drainage should be part of the plan from the first measurements. A patio needs a finished surface that sheds water instead of holding puddles or directing runoff toward the house. Look at downspouts, existing low points, nearby paving, and the route water will take during heavy rain. Where the destination is unclear, or the site has standing water, get the grading and drainage plan reviewed before building.
Local soils and weather can affect the base and the way a patio performs over time. Do not assume that a depth, aggregate blend, or compaction approach used elsewhere is suitable for a particular Long Island property. Ask how the proposed installation accounts for the observed soil, planned use, slope, and paver manufacturer’s requirements. Also consider whether new paving will connect to an existing walk or pool area, since adjoining surfaces can settle or drain differently.
Think through the transition to the house and yard. The finished height should work at doorways and steps, preserve safe walking routes, and avoid trapping water at the building. If the patio is part of a broader outdoor project, planning its connection to planting beds, seating, or a pool area before excavation can reduce awkward edges and later rework. For a project that combines paving with other hardscape features, a discussion with a Gappsi project team can help define what information to gather for a consultation.
What Should You Check Before Considering the Patio Complete?
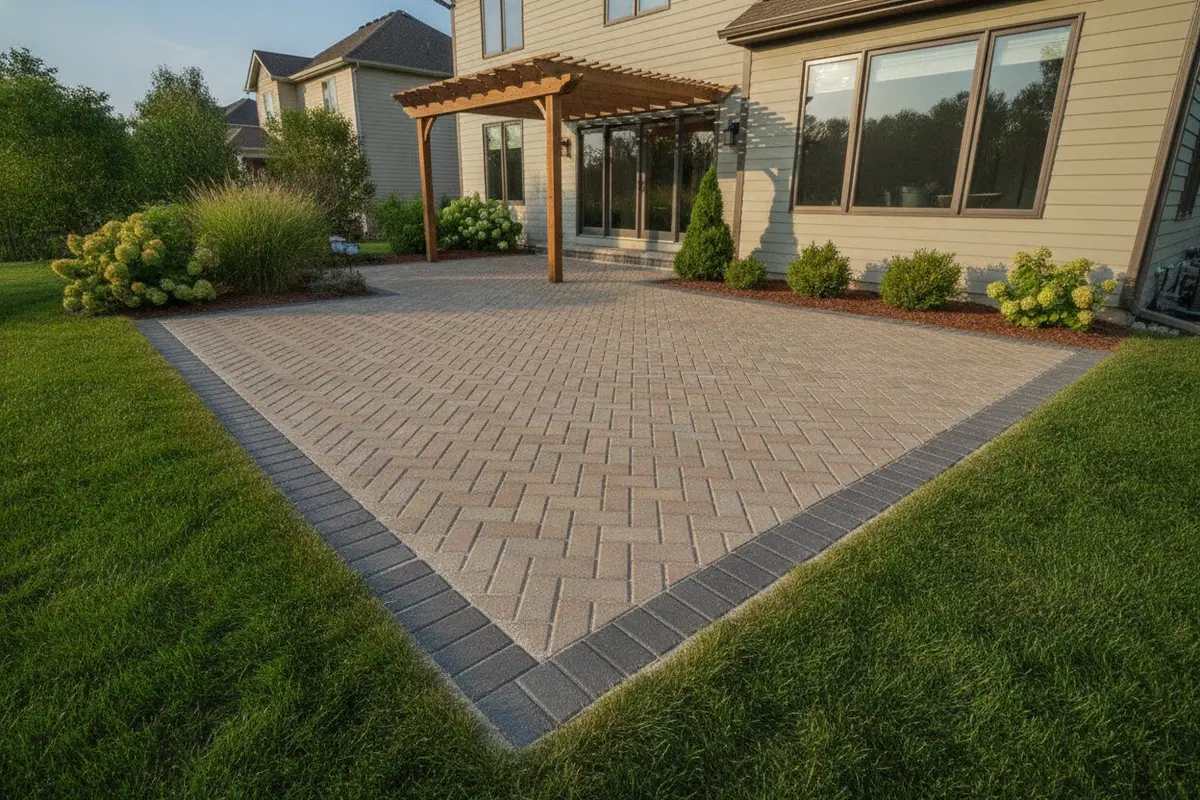
Walk the full surface and its perimeter before moving furniture onto it. Check for rocking pavers, inconsistent joints, visible low spots, loose edge details, and cuts that leave unstable narrow pieces. Confirm the surface sheds water as intended. If a concern appears, find its cause rather than hiding it with extra joint material or a surface coating.
- Are the layout and borders aligned with the plan?
- Does the surface feel even underfoot, without loose or rocking units?
- Do edges stay contained, and are cut pieces supported?
- Are joints filled and finished according to the material instructions?
- Does water move away from the home and avoid creating a new low spot?
- Have leftover materials and installation residue been handled as the product directions require?
Keep records of the paver product, joint material, installation details, and any care guidance. Those details are useful if a unit needs replacement or the surface needs maintenance. Cleaning and sealing are separate decisions, and any sealer should be appropriate for the paver type and used according to its instructions. Review the available paver sealing information before applying a product to a newly installed surface.
Talk with Gappsi about your patio layout and installation questions
Frequently Asked Questions
Can I install patio pavers directly on soil?
A patio intended to remain stable generally needs a properly prepared base rather than pavers simply placed on loose soil. The base, bedding layer, and edge support should match the paver system, soil, drainage, and planned use.
How deep should I excavate for patio pavers?
There is no single excavation depth for every patio. It depends on the paver thickness, bedding layer, base design, soil, intended use, and finished elevations. Confirm the required assembly for the site and product before digging.
Which comes first, the base or the bedding sand?
Prepare and compact the base before screeding the bedding layer. The bedding layer helps set the pavers, while the compacted base provides the supporting foundation. Bedding material should not be used to make up for an uneven or unstable base.
How can I tell whether a paver patio drains properly?
Check that the finished surface sheds water away from the home and does not hold persistent puddles or send runoff somewhere it can cause damage. The grading plan should be established before the base is installed; correct problems at their source.
Is a DIY paver patio a good fit for every yard?
No. A simple, accessible site may be manageable for a homeowner with the right tools and time. Difficult grades, drainage problems, unstable soil, extensive cutting, retaining conditions, or connections to other structures call for careful assessment and may warrant professional help.
Ready to Plan Your Patio?
Contact Gappsi through our contact page to discuss your patio project
A clear layout, stable base, and thoughtful drainage plan are the foundation of a patio that works for the way you use your yard. Take time to confirm the site details and installation scope before the first paver is set.