


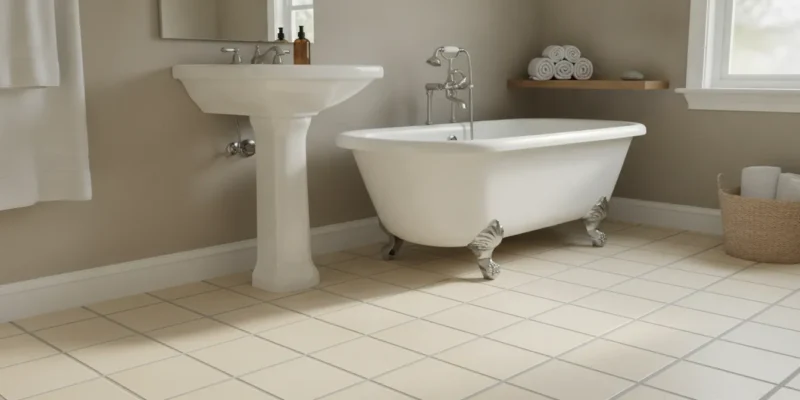
Learning how to seal grout starts with one important rule: sealer protects clean, sound grout, but it does not repair crumbling joints or hide dirt. With the right preparation, a compatible product, and enough drying time, a homeowner can add useful stain and moisture resistance to cement-based grout. This guide explains the process, the products to compare, and the signs that cleaning, repair, or professional grout restoration help should come first.
Sealing is most useful for porous cementitious grout in areas exposed to spills, tracked-in soil, or regular splashes. It is not automatically required for every tile installation. Epoxy grout has different maintenance characteristics, and glazed tile generally does not need a coating on its face. Always identify the grout and tile before opening a bottle, then follow the product label instead of treating a general guide as a substitute for the manufacturer’s instructions.
What Does Grout Sealer Do?
Most cementitious grout has a porous structure that can absorb water, soap residue, food, and soil. A penetrating sealer soaks into that structure and helps repel stains without leaving a thick visible film. A topical sealer forms a coating on the surface. Some color sealers combine a pigment with protective ingredients, which can refresh uneven color while adding resistance.
The goal is not to make a shower permanently waterproof. Tile assemblies, movement joints, membranes, caulk, and the substrate all contribute to moisture management. Sealer can make grout easier to maintain and less absorbent, but it cannot correct a failed shower pan, leaking pipe, missing grout, or an open joint.
The Tile Council of North America explains how grout porosity affects staining and distinguishes penetrating sealers from topical products. Its guidance is a useful starting point when you are comparing labels.
How Do You Know if Grout Should Be Sealed?
Start with the condition of the joints, not the color of the bottle. Sound grout that is firm, continuous, and simply absorbing spills may be a good candidate. Grout that is cracked, sandy, hollow, or missing needs repair or replacement before sealing. A clear coat over a failing joint can make the surface look temporarily darker while leaving the underlying problem unchanged.
Use a small water test only after the surface is clean and dry. Place a few drops of water on an inconspicuous grout line and watch what happens. If the water quickly darkens the grout and disappears, the joint may be absorbent. If it beads for a while, an existing sealer may still be working. This test is a clue, not a complete diagnosis, because grout type, tile finish, humidity, and the condition of the joint all affect the result.
Do not use the water test as permission to coat a wet shower immediately after use. The grout must dry throughout, not just on the surface. If the area has persistent dampness, a musty smell, loose tile, or recurring efflorescence, investigate the moisture source before applying any product.
Which Grout Sealer Should You Choose?
Choose a product based on grout chemistry, tile material, location, desired appearance, and the time available for curing. The table below is a practical comparison, not a substitute for the label or a test area.
| Sealer type | Best fit | Appearance and tradeoff |
|---|---|---|
| Penetrating or impregnating. | Porous cement grout and natural stone. | Usually little visible change. Remove the excess. |
| Topical or film-forming. | A job that specifically needs a surface film. | It can change sheen. It may peel if moisture stays under it. |
| Color sealer. | Sound grout with a permanent stain or a planned color change. | It can even the tone. Wipe the tile edges before it dries. |
For natural stone, read the label closely and test in several hidden areas. Some products can darken or change the appearance of porous stone. The Gappsi porcelain and natural stone guide is useful background when the tile surface is not glazed ceramic.
For a product example, MAPEI’s technical sheet for a penetrating stone, tile, and grout sealer calls for a clean, dry surface, a small test area, controlled application, removal of excess, and a defined cure period. Other products may have different requirements.
What should you do before you seal grout?
Preparation determines whether the finished surface looks even and whether the sealer bonds as intended. Plan to work in manageable sections, protect nearby baseboards and fixtures, and keep people and pets away from the area while products are open. Wear the gloves and eye protection listed on the label, and provide ventilation when the product instructions call for it.
- Identify the materials. Confirm whether the grout is cementitious or epoxy and whether the tile is glazed, unglazed, or natural stone. If you cannot identify them, test a hidden area or ask a tile professional.
- Remove loose soil. Sweep or vacuum first so grit does not become muddy residue during cleaning.
- Clean the grout. Use a compatible tile and grout cleaner, scrub with a suitable brush, and rinse away the loosened soil. Do not assume a stronger chemical is better. Acidic or highly alkaline products can damage grout, tile finishes, or stone.
- Repair before sealing. Replace missing or crumbling joints, and allow repairs to cure according to the repair product instructions. Sealant is not grout replacement.
- Let everything dry completely. Drying time depends on the substrate, room conditions, cleaning method, and product directions. A surface that feels dry can still hold moisture inside porous grout.
- Test the product. Apply it to a hidden section and wait the stated time. Check for unwanted darkening, haze, color change, or poor absorption before continuing.
Gappsi’s tile and grout cleaning and coloring guide also emphasizes testing products, using gentle care, and allowing the surface to dry. Keep cleaning and sealing separate in your mind: cleaning removes soil, while sealing protects the prepared joint.
See the grout restoration process before you decide whether a sealer is enough.
On Long Island, the room itself changes the timing. A Smithtown bathroom in winter stays cooler and damper than a summer kitchen, so the same cement grout can need longer than the minimum cure printed on a label. Gappsi has handled masonry and home building across Nassau and Suffolk since Giuseppe Abbrancati founded the company in 1987, and the cleaning and sealing work has been part of that practice since 2010. Use that local condition as a reason to wait, not as a reason to add a heavier coat. If water still darkens a joint after the labeled dry time, the grout is not ready.
How to Seal Grout Without Leaving Haze or Uneven Spots
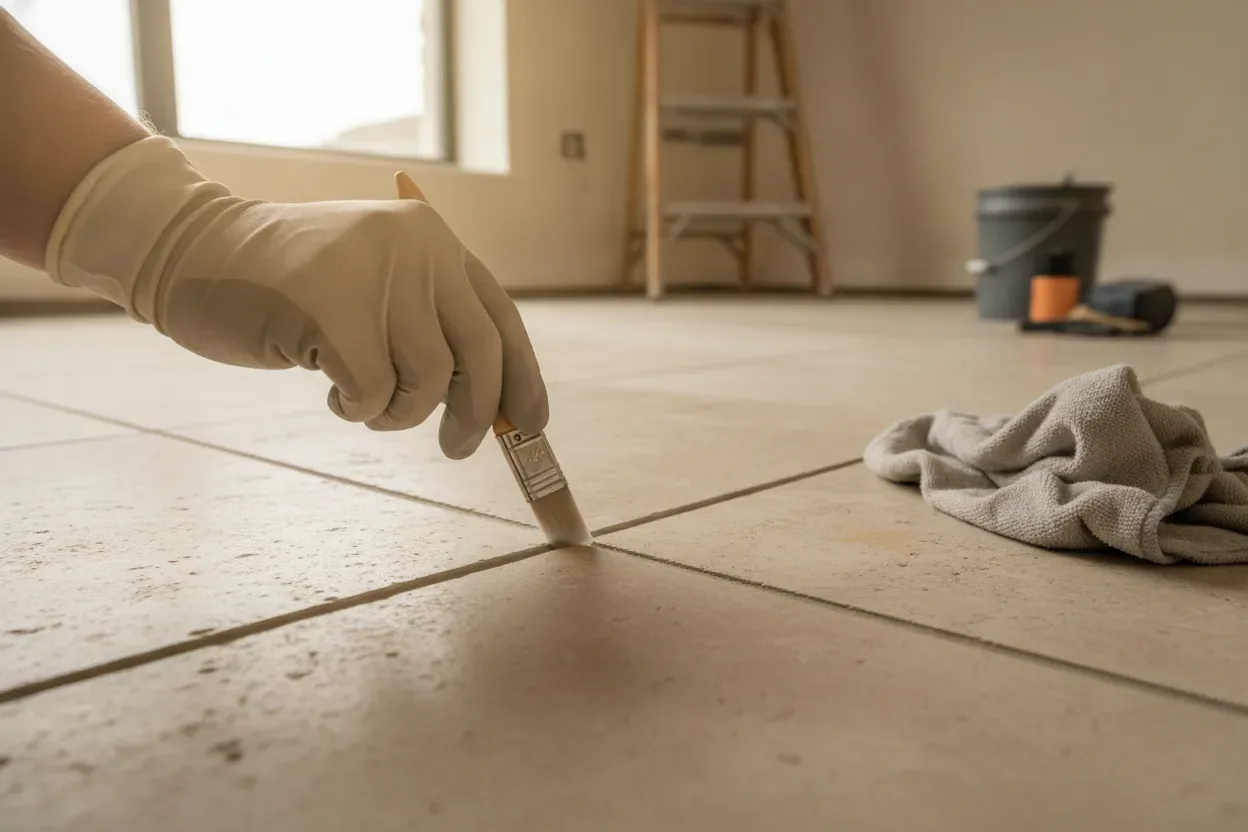
Once the test area looks right and the grout is dry, apply the sealer in small sections. A narrow applicator, brush, roller, or pad may be appropriate depending on the product. Keep the application controlled so the sealer reaches the joint without flooding the tile surface. Work methodically rather than trying to cover an entire room at once.
- Protect adjacent surfaces. Use painter’s tape where the label permits it, and remove objects that could be stained or exposed.
- Apply an even coat. Follow the label’s coverage rate and tool recommendation. Do not pour extra product into grout lines in the hope that more will last longer.
- Allow the stated dwell time. Some penetrating sealers need several minutes to soak in. Keep the section wet only as long as directed.
- Remove excess immediately. Buff the tile face with a clean microfiber cloth if the instructions call for it. Dried residue can leave haze, especially on polished or textured surfaces.
- Add another coat only when directed. Very porous grout may need a second application, but the waiting time between coats matters.
- Respect the cure period. Keep traffic, water, soap, and staining materials away for the time shown on the product sheet. Dry to the touch does not always mean fully cured.
Pay particular attention to transitions, corners, shower curbs, and narrow mosaic joints. These areas can collect excess product or require more careful wipe-off. If the product reaches a tile face that should not be coated, remove it while it is still workable according to the label.
What Mistakes Should You Avoid When Sealing Grout?
- Sealing over dirt: A sealer can trap discoloration and make later cleaning more difficult.
- Working on damp grout: Trapped moisture can interfere with penetration, curing, or the appearance of the finish.
- Skipping a compatibility test: Natural stone, unglazed tile, old coatings, and colored grout can react differently.
- Applying too much: Excess may remain on the tile face, turn cloudy, or create a sticky film.
- Ignoring failed joints: Missing or crumbling grout requires repair, not another coat.
- Mixing chemicals: Never combine cleaners, and follow the safety instructions for every product.
- Using the calendar alone: Resealing intervals vary with traffic, moisture, product type, and the water test.
Regular care helps the result last. Sweep or vacuum grit, use a cleaner compatible with the tile and sealer, and wipe spills before they sit. Avoid oil- or wax-based cleaners that can leave residue in grout. If you are maintaining a natural stone installation, product compatibility matters for both the stone and the joints.
When Should You Clean, Repair, or Hire a Professional?
DIY sealing can make sense for a small, accessible area with intact grout and clear product directions. Cleaning should come first when the issue is surface soil or soap film. Repair should come first when joints are cracked, loose, hollow, or missing. A professional assessment is sensible when staining is widespread, moisture keeps returning, the tile is valuable or delicate, or the project includes many rooms.
Professional restoration may combine deep cleaning, spot repair, recoloring, and sealing. That sequence matters because a protective coat cannot correct a damaged joint or a moisture problem. The Gappsi indoor tile and grout cleaning gallery shows the type of work that can be evaluated before a homeowner chooses between maintenance and a larger restoration.
If the tile itself is part of a larger bathroom change, review the Gappsi home remodeling services instead of treating sealer as a substitute for replacement. For exterior stone, pavers, walls, or outdoor tile, the scope may also include cleaning, resanding, and different sealant requirements. Gappsi’s cleaning and sealing services overview explains that broader scope.
Frequently Asked Questions
Can you seal grout right after cleaning?
Not necessarily. The grout must be fully dry, and the sealer label may specify a minimum drying or cure period. Ventilation, humidity, substrate moisture, and the cleaning method all affect timing. If the grout still looks darker from moisture or the room is persistently damp, wait and investigate before sealing.
Do you seal the tile too?
Usually the objective is to protect the grout, not to coat a glazed tile face. Some unglazed tile and natural stone may need a compatible sealer, while glazed tile often does not. Keep the product on the recommended surface, test first, and remove excess promptly.
How often should grout be sealed?
There is no single schedule for every installation. Traffic, water exposure, grout type, product, and cleaning routine all matter. Use the label’s guidance and repeat the water test after the surface is clean. If water quickly absorbs into sound cement grout, ask whether it needs resealing.
Can sealer fix cracked or missing grout?
No. Sealer is a protective treatment, not a joint repair. Remove and replace failed grout according to the repair system, allow it to cure, then confirm that the new surface is compatible with the chosen sealer.
Is grout sealing the same as grout coloring?
No. Clear sealing is primarily for protection. Color sealing adds pigment and can make discolored but sound joints look more uniform. For an overview of the difference, read Gappsi’s indoor grout coloring and sealing guide.
Posted by Gappsi Group.