A Complete Backyard Transformation in Massapequa, NY, designed and installed by Gappsi. When a new home is built, the outdoor space should be just as carefully designed as the inside. For this Massapequa, NY residence, Gappsi was trusted to create a custom backyard that maximizes every inch for comfort, style, and function. The finished space combines luxury materials, a smart layout, and features you can enjoy year-round. Although the property footprint is modest, every element of this backyard was carefully planned to serve a purpose. From a low-maintenance synthetic turf play area to a resort-style swimming pool, a limestone patio, and a fully equipped outdoor kitchen pavilion, this space now functions as a true extension of the home.
Designing With Purpose: Making the Most of Every Inch
Because this was a newly built house, Gappsi had the opportunity to start from scratch. The design goal was clear: use all available space efficiently while maintaining an unbroken flow between zones. Rather than crowding the yard, each area was positioned to complement the others, creating a layout that feels open, balanced, and practical.
The side of the house was transformed into a playground with high-quality synthetic turf sourced from the Gappsi showroom. This turf offers the look of natural grass without the maintenance, watering, or mud. It also dries quickly after rain, making it a dependable space for children to play year-round. Using the side area for play means the main backyard can focus on entertaining, relaxing, and enjoying the pool. This holds the whole layout neat and organized.
Pavilion Living: Outdoor Kitchen, Fire Pit & Lounge
At the heart of the backyard is a 16×16 traditional pavilion with a classic metal roof supported by four columns. This structure grounds the space and creates a comfortable, shaded environment for cooking, dining, and gathering. Under the pavilion, there is a full outdoor kitchen finished with silver travertine in a mixed-size pattern for extra depth and texture. The kitchen features Fire Magic appliances and cabinets, a top brand recognized for its durability, high performance, and style.
The large island features a black leather-finish granite countertop, supplying a striking contrast to the lighter stone finishes while providing a durable, weather-resistant surface. One side of the pavilion features bar seating for casual dining, while the other side transitions into a snug lounge area.
A gas fire pit surrounded by plush couches creates a warm, pleasant space that extends usability into cooler evenings. When hosting friends, enjoying family dinners, or relaxing after a long day, this pavilion serves as the backyard’s social hub.
Resort-Style Swimming Pool With Safety Features
The backyard also features a 16×36 concrete wall vinyl swimming pool, perfectly proportioned to the yard’s size. The pool serves as a visual centerpiece and a refreshing escape during the summer months.
Facing the house is a sheer descent water wall, capped with G045 24×24 limestone, which adds a modern water-feature element while enhancing sound and movement. This wall becomes a focal point both day and night, especially when the pool is illuminated.

The pool is equipped with an outcover automatic safety cover, a valuable solution for properties where customary fencing is not an option. The cover provides:
- Safety for children and pets
- Heat retention supports maintaining water temperature
- Energy efficiency, reducing the heater workload
- Resale value, as buyers increasingly look for embedded safety features
This feature alone significantly extends the swimming season and adds peace of mind.
G045 Limestone Patio and Coping: Natural Beauty & Comfort
The entire patio area surrounding the pool and pavilion is paved with G045 limestone from the Gappsi natural stone collection. This stone was chosen for both its rustic appearance and soft, comfortable texture underfoot. The pool coping is also made of G045 limestone, which keeps the look consistent throughout the space. Its gentle color changes and natural finish give the area a classic, elegant style that suits the home.
The stoop leading to the sliding door was also constructed with G045 coping limestone and a silver travertine veneer, tying the home’s entry point directly into the patio and pavilion materials for an integrated design.
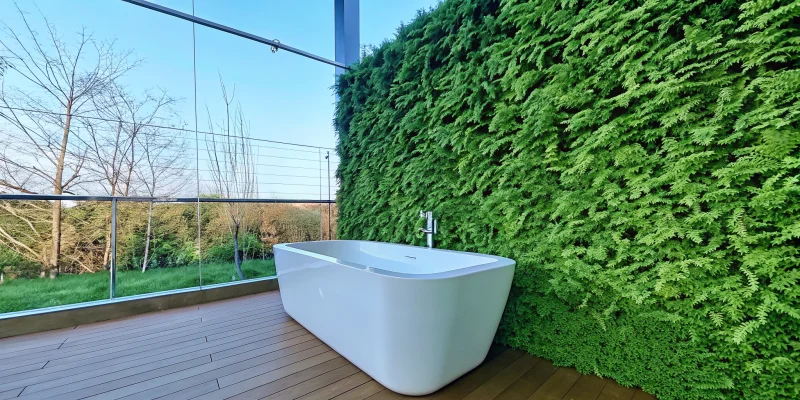
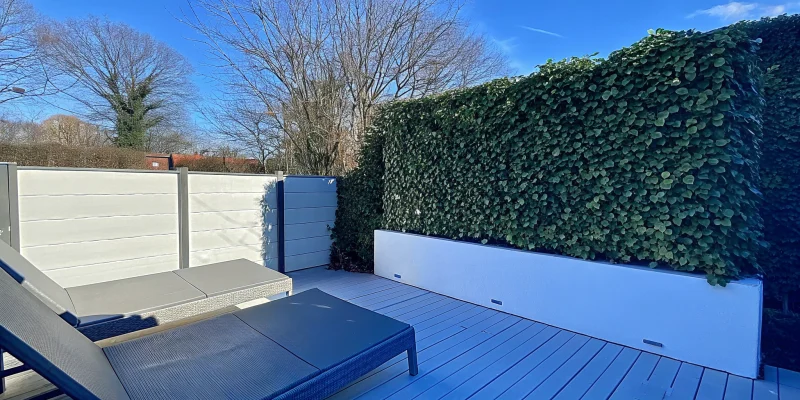
Privacy and Greenery: Evergreen Screening
To finish the backyard, Gappsi planted 10-foot-tall evergreen trees along the property’s edge. These trees offer:
- Natural privacy
- Wind protection
- Year-round greenery
- A softer visual boundary than fencing
This living border transforms the yard into a private retreat, making it feel like a hidden oasis even in a suburban neighborhood.
A Small Yard That Lives Large
This Massapequa backyard shows that even a small space can have a big impact. With prudent planning, top-quality materials, and skilled installation, Gappsi transformed a modest yard into a complete luxury retreat.
Every part of the yard has a purpose, and all materials were chosen for both strength and beauty. The layout moves seamlessly from one area to the next, making the backyard not just beautiful but also useful, safe, and enjoyable year-round.
This project is Gappsi’s latest backyard design and installation. It shows how skill, creativity, and careful attention to detail can completely change a home’s outdoor living space.
Contact Gappsi Today
📍 Serving all of Long Island, NY — Nassau & Suffolk Counties
🌐 www.gappsi.com
📞 Call now for a free consultation and estimate!