As a Long Island homeowner, you know that any outdoor project needs to be tough enough to handle our distinct seasons. From hot summers to freezing winters, your driveway takes a beating. That’s why understanding the paver driveway cost involves more than just materials and labor; it’s about building something that lasts right here in Nassau or Suffolk County. This guide is tailored specifically for you. We’ll cover how local factors, like soil conditions and town permit requirements, can influence your budget. We’ll also explore the best material choices that offer both beauty and resilience against our coastal climate, ensuring your investment looks great for years.
Key Takeaways
- Understand the Core Cost Factors: The final price for your paver driveway depends on its size, your chosen materials, and the necessary site preparation. You can generally expect a professional installation to cost between $17 and $24 per square foot.
- Invest for Longevity, Not Just Upfront Price: Pavers may have a higher initial cost than asphalt or concrete, but their durability and simple repair process often make them more cost-effective over time. Replacing individual stones is much cheaper than resurfacing an entire driveway.
- Control Your Budget with Smart Planning: You can manage project costs by making thoughtful choices. Opting for classic concrete pavers and a simpler design can lower the price, and scheduling your installation during the spring or fall can also be more economical.
How Much Does a Paver Driveway Cost?
Let’s get straight to the point: you want to know the bottom line for your new paver driveway. While there isn’t a single price tag that fits every project, we can break down the costs so you can build a realistic budget. The final investment depends on three main things: the size of your driveway, the materials you choose, and the amount of prep work your property needs before the first paver can even be laid.
Think of it as a custom project, because that’s exactly what it is. A simple, straight driveway using standard pavers will cost less than a large, circular driveway with intricate patterns and premium stone. To give you a clear picture, we’ll walk through each of these cost factors. This will help you understand where your money is going and what to expect when you start getting quotes. By the end of this section, you’ll have a much better handle on what your dream driveway might cost.
Breaking Down Costs by Driveway Size
The most straightforward factor in your total cost is the size of the area you want to pave. The larger the driveway, the more materials and labor are required. To give you a ballpark idea, projects are often grouped into small, medium, and large categories. A small driveway, which is typically 1,000 square feet or less, can range from about $9,000 to $14,000. For an average-sized driveway between 1,001 and 2,000 square feet, you can expect the cost to be somewhere between $15,000 and $25,000. If you have a large or long driveway over 2,000 square feet, the price can start at $25,000 and go up from there, depending on other factors.
Understanding Material vs. Labor Expenses
The total cost of your project is split between the materials (the pavers themselves) and the expert labor needed for a flawless installation. On average, you can expect the cost to install driveway pavers to fall somewhere between $17 and $24 per square foot. This figure covers the basic materials and the skilled work involved. When you work with a full-service company like Gappsi, project management is built into the process, ensuring everything from material delivery to final cleanup is handled seamlessly. The quality of the porcelain and natural stone pavers you select will also play a significant role in the material portion of your budget.
Factoring in Site Prep and Excavation
Before any beautiful pavers can be set, the ground needs to be properly prepared. This is a critical step that can add to the overall cost. If you have an old asphalt or concrete driveway, it will need to be demolished and hauled away. The land may also need to be excavated and graded to ensure proper drainage and prevent water from pooling or running toward your home. This essential site preparation can add an extra $1 to $3 per square foot to your project total. Proper groundwork is non-negotiable for a driveway that will last for decades, which is why professional masonry and construction expertise is so important.
What Factors Influence the Final Price?
When you start budgeting for a new paver driveway, it’s helpful to know that the final quote is more than just a simple price-per-square-foot calculation. Several key factors come together to determine the total investment. From the specific stones you fall in love with to the complexity of the design and the condition of your property, each element plays a role. Understanding these variables will help you make informed decisions and set a realistic budget for your project.
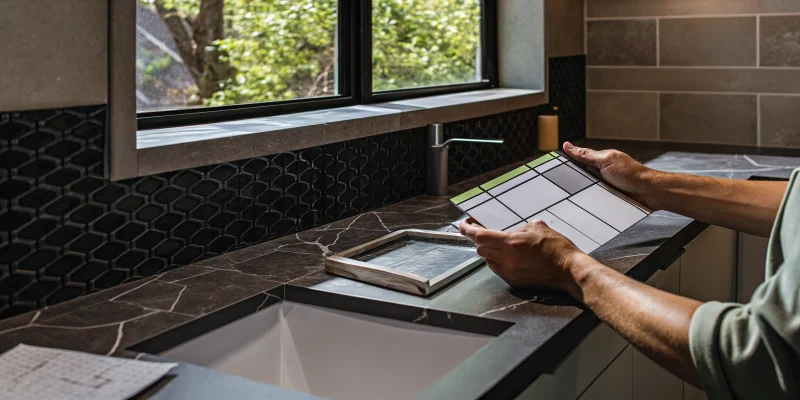
The Type of Paver You Choose
The material you select is one of the biggest factors in your driveway’s cost. Pavers come in a wide range of materials, each with its own price point. For example, classic brick and durable concrete pavers are often popular choices, but there’s a whole world of options out there. High-quality porcelain and natural stone pavers can create a truly luxurious look, but they will naturally sit at a higher price point than more standard options. Your choice will ultimately balance the aesthetic you want to achieve with your overall budget, and our team can walk you through the best options for your home.
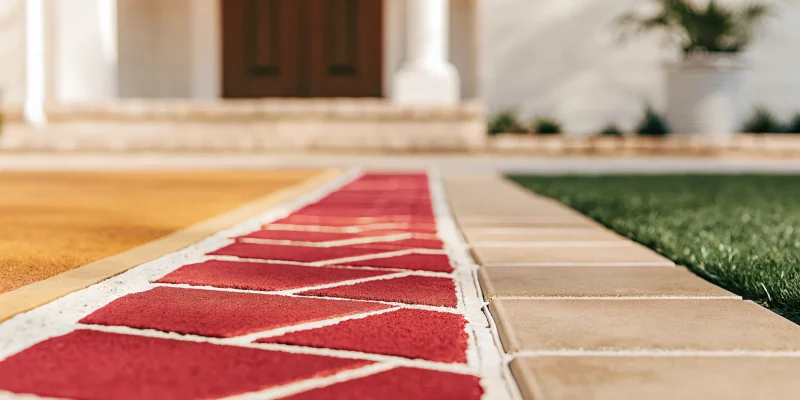
How Design Complexity Affects Cost
The pattern and layout of your driveway also influence the final price. A simple, straightforward design is more economical because it requires less cutting and fitting, which speeds up the installation process. However, if you’re dreaming of an intricate pattern like herringbone, a custom mosaic, or a design with multiple borders and accents, expect the cost to increase. These complex designs require more skilled labor and time to execute perfectly. While a more elaborate design costs more upfront, it adds significant curb appeal and a custom touch that makes your home stand out. Our masonry design experts can help you create a look you’ll love for years to come.
Your Location and Permit Needs
Where you live in Long Island can play a part in the overall project cost, mainly due to local regulations. Many towns in Nassau and Suffolk counties require permits for driveway installations to ensure the work meets safety and construction codes. The process of securing these permits involves paperwork and fees, which can add to the total price. As a local company with decades of experience, we are very familiar with the specific requirements in each township. We handle the entire permitting process for you, making sure your project is fully compliant and saving you the headache of dealing with local bureaucracy.
The Condition of Your Existing Driveway
Before any new pavers can be laid, the site needs to be properly prepared. If you have an existing driveway that is cracked, uneven, or has drainage problems, it will need to be addressed first. This often involves demolishing and removing the old surface, whether it’s asphalt, concrete, or old pavers. The ground may also need to be excavated and regraded to create a stable, properly sloped foundation for your new driveway. This prep work is absolutely essential for a long-lasting result and prevents issues like sinking or water pooling down the road. The amount of site preparation needed will be factored into your final quote.
How Do Pavers Stack Up Against Other Materials?
Choosing your driveway material is a big decision that impacts your home’s curb appeal and your budget. While pavers offer incredible beauty and durability, it’s helpful to see how they compare to other popular options like asphalt and concrete. Understanding the upfront costs, long-term maintenance, and overall value of each will help you feel confident in your choice. Let’s look at how these materials measure up so you can find the perfect fit for your Long Island home.
Pavers vs. Asphalt: A Cost Comparison
When it comes to the initial price tag, asphalt is the most budget-friendly choice, typically running between $6 and $12 per square foot installed. In contrast, pavers are a premium option, with costs ranging from $18 to $25 per square foot. While the upfront savings with asphalt can be tempting, it’s important to think about the long game. Asphalt requires regular sealing to protect it from the elements and is more susceptible to cracks and potholes over time. Pavers, on the other hand, are incredibly durable and easy to repair. If one paver gets damaged, you can simply replace it instead of resurfacing the entire driveway, saving you headaches and money down the road.
Pavers vs. Concrete: Which is Pricier?
Poured concrete driveways fall in the middle of the price spectrum, usually costing between $10 and $15 per square foot. This makes them less expensive than pavers initially, but there are key differences to consider. A standard concrete slab offers limited design potential and is prone to cracking, especially with Long Island’s freeze-thaw cycles. Pavers give you complete creative freedom. With a huge selection of porcelain and natural stone, you can create intricate patterns and color combinations that turn your driveway into a true design feature. This level of customization and superior durability is what you’re investing in with the higher upfront cost.
The Long-Term Value of a Paver Driveway
This is where pavers truly shine. While they cost more to install, their longevity and low maintenance needs often make them the most cost-effective option over the life of your home. Interlocking pavers are incredibly strong and can handle heavy vehicle traffic without cracking like a solid slab. Some even say a well-installed paver driveway can “outlast the house.” Beyond durability, a paver driveway adds significant curb appeal and can increase your property value. When you factor in the minimal repair costs and the lasting beauty, you’re not just buying a driveway; you’re making a long-term investment in your home. Proper cleaning and sealing will keep it looking brand new for decades.
What Are the Long-Term Maintenance Costs?
A paver driveway is a fantastic investment in your home’s curb appeal, but like any part of your property, it needs a little care to stay in top shape. The good news is that paver maintenance is straightforward and manageable. Unlike a concrete slab that can crack and require a complete replacement, pavers offer the flexibility of spot treatments and simple repairs. Thinking about these long-term costs upfront helps you protect your investment and ensures your driveway looks stunning for years to come.
Most of the upkeep is simple and can be handled with seasonal cleaning and regular inspections. By staying on top of a few key tasks, you can prevent small issues from becoming larger, more expensive problems. This proactive approach not only preserves the beauty of your driveway but also maintains its structural integrity through Long Island’s changing seasons. From sealing the surface to managing the sand between the joints, a little attention goes a long way.
Annual Upkeep and What to Expect
Keeping your paver driveway looking its best doesn’t require a huge time commitment. Your annual upkeep will mostly involve routine cleaning to remove dirt, leaves, and other debris. A simple sweep with a stiff-bristled broom or a rinse with a garden hose is often all you need. It’s also a good idea to walk your driveway every season to check for any potential issues, like a loose paver or weeds starting to sprout. Catching these things early makes them much easier to fix. This regular attention is the key to preserving the beauty and function of your driveway year after year.
Sealing and Cleaning Your Driveway
Sealing your paver driveway is one of the most effective ways to protect it from stains and weather damage. Think of it as sunscreen for your stonework. We recommend applying a quality sealant every one to three years, depending on the type of product used and how much traffic your driveway gets. This protective layer helps prevent oil spills, salt damage, and fading from the sun. For a truly deep clean and professional application, our restoration and sealing services can get your driveway looking brand new again, ensuring it’s protected against the elements.
Managing Weeds and Joint Sand
One of the most common questions we get is about weeds growing between pavers. The secret to preventing this is maintaining the joint sand. This sand locks the pavers in place and creates a barrier that stops weeds from taking root. Over time, weather can wash some of this sand away. You can easily fix this by sweeping new joint sand into the gaps as needed. For extra protection, consider using polymeric sand, which hardens when wet and creates a stronger, more weed-resistant bond. If a few stubborn weeds do pop up, they can typically be removed by hand or with a targeted weed killer.
Planning for Shifting and Settling Repairs
It’s natural for the ground to shift slightly over time, especially with Long Island’s freeze-thaw cycles. While a proper installation minimizes this, you might eventually notice a paver or two that has settled or become uneven. This is where pavers truly shine over other materials. Instead of having to replace an entire slab, you can simply lift the affected pavers, add a little sand to level the base, and put them back in place. Our expert masonry team can handle these repairs quickly, making your driveway look seamless again without the cost of a major overhaul.
How Can You Save on Your Paver Driveway?
A beautiful paver driveway is a fantastic investment in your home’s curb appeal and value. While it’s a significant project, there are several practical ways to manage the cost without compromising on the quality of the final result. By thinking strategically about timing, materials, and design, you can achieve the driveway you’ve always wanted while keeping your budget in check. A little planning goes a long way in making this home improvement project both stunning and affordable.
Timing Your Installation for Better Pricing
Believe it or not, the time of year you schedule your project can influence the price. The ideal window for installing a paver driveway is from late spring through early fall. During these months, the warmer, drier weather helps the materials cure properly, ensuring a durable, long-lasting finish. Contractors are often busiest during this peak season, but planning your project in advance can help you secure a spot and potentially more competitive pricing. Booking during the shoulder seasons, like late spring or early fall, can sometimes help you avoid the summer rush and get your project completed before major holidays or family gatherings.
Exploring Your Financing Options
A new driveway is a major home upgrade, and it’s important to have a clear financial plan. Before you begin, take the time to understand the full scope of the project and explore different ways to fund it. Many homeowners find it helpful to discuss financing options with their contractor. At Gappsi, we can walk you through the costs associated with different materials and designs to help you create a realistic budget. Understanding your options upfront allows you to make confident decisions and find a payment solution that makes your dream driveway an achievable reality without financial strain.
Making Smart Choices on Materials and Design
Your choice of materials and the complexity of your design are two of the biggest factors affecting the final cost. If you’re looking for a budget-friendly option, concrete pavers are an excellent choice, offering durability and a classic look at a lower price point. For a more high-end feel, you might explore porcelain and natural stone. Similarly, a simple, elegant pattern is generally more economical than an intricate, custom design that requires more labor and material cuts. Our masonry design experts can help you find the perfect balance between your aesthetic vision and your budget.
Related Articles
- How Much to Install a Paver Driveway? A Guide
- Outdoor Living News: Pools, Fire Pits & Renovations | Gappsi Inc
Frequently Asked Questions
How long will it take to install my new paver driveway? The timeline for a paver driveway installation really depends on the size and complexity of the project. For an average-sized driveway, the entire process from excavation to the final paver placement typically takes about three to five days. This includes removing your old driveway, preparing the base, and carefully laying the new stones. More intricate designs or larger properties might take a bit longer, but a professional team works efficiently to minimize disruption to your daily life.
Is a paver driveway really worth the higher initial cost? Absolutely. While pavers do have a higher upfront cost compared to asphalt or concrete, they are a long-term investment in your home. Their durability is unmatched, and they can withstand Long Island’s weather without cracking like a solid slab. Plus, the maintenance is much simpler. If a paver ever gets stained or damaged, you can replace just that single stone. This durability, combined with the significant curb appeal they add, often increases your property value, making it a very smart financial decision over time.
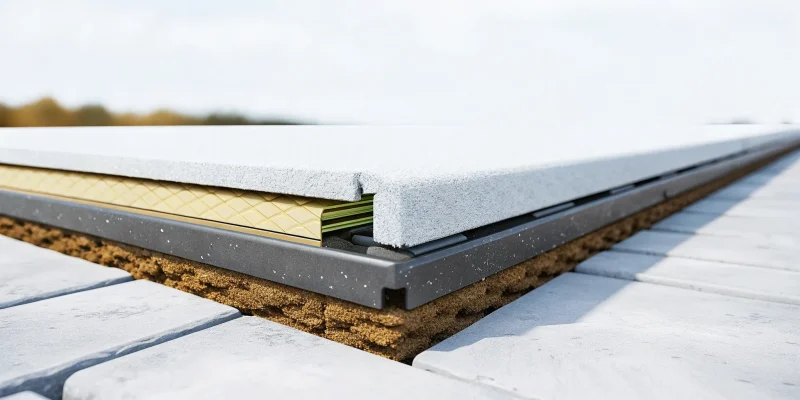
Why is proper site preparation so critical for a paver driveway? Site preparation is the most important step for a driveway that will last for decades. A solid, properly graded base is what prevents pavers from shifting, sinking, or creating drainage problems down the road. This process involves excavating the area and laying a compacted foundation of aggregate materials. Skipping or rushing this step is the number one cause of driveway failure, which is why having experienced masonry professionals handle the job is non-negotiable for a quality result.
How do I choose the right type of paver for my home? Choosing the right paver comes down to balancing your personal style, your home’s architecture, and your budget. Concrete pavers are a durable and cost-effective choice with many styles available. If you’re looking for a more unique or luxurious feel, natural stone and porcelain pavers offer incredible beauty and character. The best approach is to see the options for yourself. We can show you samples and help you select a material that not only looks great but will also perform well for years to come.
What’s the first step to getting an exact price for my project? The best way to get an accurate price is to schedule a consultation. Since every property is unique, a quote requires an on-site evaluation where we can measure the driveway area, assess the existing conditions, and discuss your design ideas and material preferences. This allows us to provide a detailed proposal that covers every aspect of the project, from site prep to the final paver, so there are no surprises.