


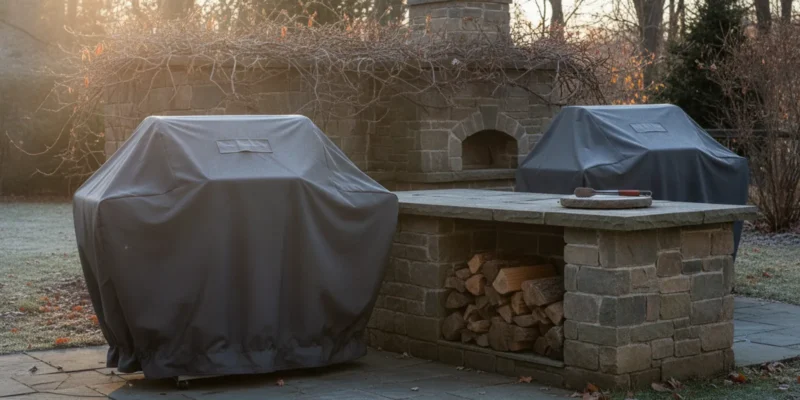
Outdoor kitchen winterization Long Island homeowners can manage starts with a clear inventory of water, fuel, power, appliances, and exposed surfaces. The goal is to leave the kitchen clean, dry, and protected before sustained freezing weather, then reopen it methodically in spring. The right steps depend on each appliance and utility installation, so manufacturer instructions and qualified trade guidance take priority over a one-size-fits-all checklist.
Contact Gappsi through our contact page to discuss your outdoor kitchen
Posted by Gappsi Group
What should outdoor kitchen winterization on Long Island accomplish?
Winter preparation is more than putting on a grill cover. It should reduce the chance of damage from freezing water, precipitation, wind, debris, and moisture trapped against finishes. Long Island weather can shift between cold spells and milder days, so a kitchen may face repeated wetting and freezing. A cover cannot drain a water line, correct a leak, or protect an appliance that was shut down incorrectly.
Think of the work as five related tasks:
- Water: locate the supply shutoff, drain accessible lines and accessories, and follow the correct procedure for traps and filters.
- Fuel: manage natural gas or propane as directed by the appliance and installation instructions. Do not guess about a valve or disconnect.
- Power: check how refrigerators, lighting, outlets, and other equipment should be shut down or maintained over winter.
- Surfaces: remove food residue, leaves, grease, and standing water before protecting counters and cabinets.
- Inspection: fit covers securely, preserve appropriate ventilation, and revisit the kitchen after winter weather.
Start early enough to find a stuck shutoff, missing appliance manual, or damaged hose before the first freeze. If any part of the utility layout is unclear, stop and ask a qualified professional rather than trying an improvised fix.
Which components need different winter steps?
Make an equipment map before closing the kitchen. List each appliance, its model if known, the utilities it uses, and the location of its shutoff or access panel. This avoids treating a sink, grill, and refrigerator as if they all need the same procedure. A sink can appear empty while its trap holds water. An ice maker or filtration unit may add a valve or low point hidden inside a cabinet.
| Component | Typical preparation | Check before covering |
|---|---|---|
| Grill | Remove grease and food, clean grates as directed, and dry surfaces. | Fuel shutoff follows appliance instructions; cover is appropriate and dry. |
| Sink and faucet | Close supply, relieve pressure, and drain accessible lines and attachments. | Trap, filter, sprayer, and low points have a plan. |
| Refrigerator or beverage center | Remove contents, clean and dry the interior, and follow manual guidance for power and door position. | Ventilation is not blocked and moisture is not trapped inside. |
| Dishwasher, ice maker, or filter | Use the model-specific shutdown and drain procedure. | Every water connection and accessory is accounted for. |
| Cabinets and drawers | Remove food, paper, and damp materials; clean crumbs and spills. | Contents are dry and doors can close without trapping moisture. |
| Stone, porcelain, or concrete | Clean with material-appropriate methods and clear drainage paths. | No pooled water or debris is trapped beneath a cover. |
| Lighting and outlets | Follow electrical requirements and inspect covers and fittings. | No damaged fitting or open connection can admit water. |
Use the table as a planning aid, not a substitute for the manual. For design context, browse Gappsi’s outdoor appliance resources and outdoor kitchen resources. They can help you think about how appliance access, counters, and storage relate.
How do you shut down the water safely?
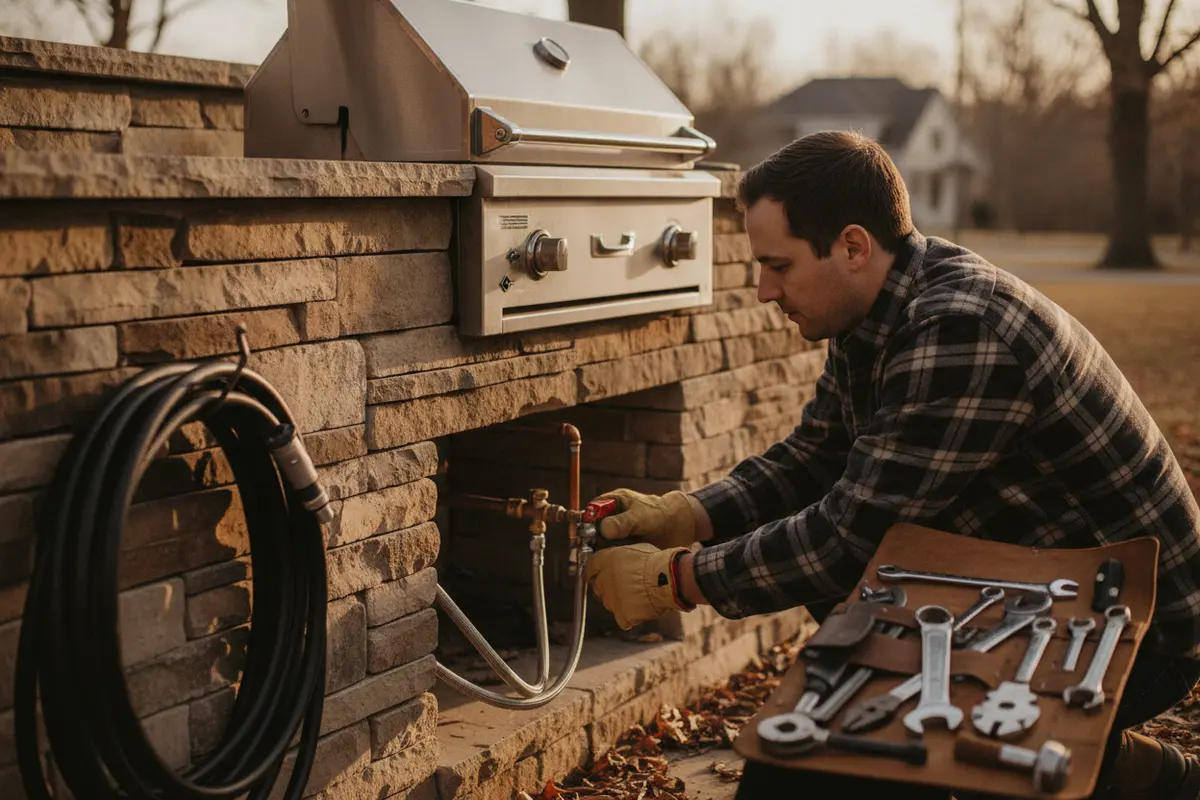
Water management often takes the most planning. First find the dedicated shutoff, if there is one, and confirm what it controls. A valve may serve another fixture or branch of the property. Once the correct supply is closed, open the faucet to relieve pressure and drain the exposed section. Remove a filter cartridge or attachment only if the manufacturer identifies it as removable and gives a storage or replacement instruction.
Then work through every connected item: sink, trap, pull-out sprayer, ice maker, dishwasher, beverage unit, and water filter. Note the route of each line and look for low points, loops, and concealed sections where water might remain. A faucet left open does not necessarily empty a trap or a line that slopes the wrong way. Never assume compressed air, antifreeze, or another treatment is safe for every material and appliance. Follow the instructions for the specific system.
Inspect accessible valves and hose connections for dampness, corrosion, cracking, or a handle that will not operate normally. Do not force a stuck valve. A small issue discovered before winter is easier to address than a leak found during spring startup. If plumbing is buried or enclosed and you cannot confirm that it drains, record what you know and arrange a qualified evaluation.
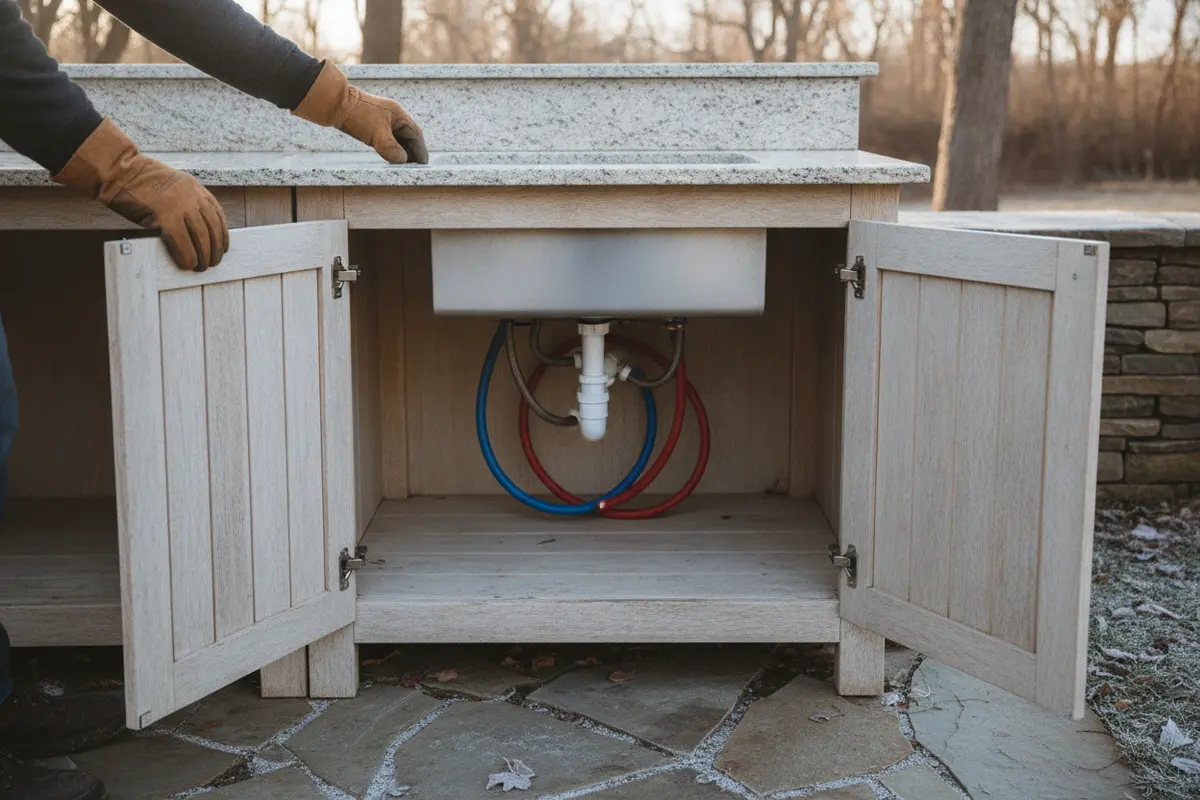
For a wider backyard plan, Gappsi’s backyard resources and custom outdoor kitchen examples offer context for considering how a kitchen’s location and utility access fit the surrounding space.
How should you prepare grills and other appliances?
Give each appliance its own shutdown sequence. For a grill, remove grease and food debris, clean cooking surfaces as the manual directs, and let everything dry. Inspect burners and ignition areas without forcing stuck components. Close or disconnect fuel only as the appliance and installation instructions specify. If you smell gas or see a damaged connection, do not continue operating or adjusting the system; leave the area as appropriate and contact the utility or a qualified gas professional.
A refrigerator or beverage center needs a different approach. Remove food and liquids, clean shelves and seals, and dry the compartment. The manual should tell you whether to unplug the unit, leave it powered, or set the door in a particular position. A closed door around residual moisture can lead to odor. Do not block vents with a fitted cover or stored items, and do not assume indoor-appliance storage guidance applies to an outdoor-rated unit.
For an ice maker, dishwasher, or filtration system, locate every water and power connection before acting. If an appliance is hardwired, connected to a gas line, or integrated into cabinetry, use an appropriate qualified trade whenever the work goes beyond routine owner maintenance. Keep manuals and model details in one place so spring startup is not a guessing exercise.
Gappsi’s outdoor oven resources can also help when considering how cooking equipment fits an outdoor kitchen. Plan access panels and shutoffs so routine inspection does not require dismantling finished work.
What protects counters, cabinets, and masonry?
Clean before covering. Remove leaves, grease, crumbs, and standing water from countertops, doors, drawers, shelves, and the ground around the island. Empty cabinets of food, paper goods, and damp cloths that could attract pests or hold moisture. Let surfaces dry thoroughly.
Match cleaning and protection to the surface. Natural stone, porcelain, concrete, stainless steel, and finished cabinet materials respond differently to moisture and cleaning products. Avoid a tightly sealed wrap over a damp counter, which can hold condensation against the finish. A cover should fit well enough to resist wind while allowing the ventilation the manufacturer recommends.
Look at grout, caulked seams, cabinet edges, transitions to pavers, and drainage routes. Clear leaves from nearby drains and note whether runoff flows toward or away from the island. Do not apply a sealer just because winter is approaching. Confirm that the product is intended for that material and that the surface is clean and dry. See Gappsi’s stone and porcelain resources and cleaning and sealing information for material-related background.
How do you choose a cover and check the kitchen during winter?
A cover is one part of protection, not a repair or drainage system. Compare options by fit, material compatibility, access, and how the cover handles ventilation. A custom-fit cover may stay in place more reliably on an unusual island shape; a manufacturer-approved appliance cover can be a straightforward match for a standard grill. In either case, measure the equipment, account for handles and vents, and check that the cover does not press on fragile controls or trap a wet surface.
Before the cover goes on, take a few simple steps:
- Photograph the clean kitchen and record any existing cracks or wear.
- Confirm that the water and fuel shutdown instructions have been completed.
- Remove loose accessories that can be stored indoors, such as utensils and removable trays.
- Check that counters, cabinet interiors, and appliance surfaces are dry.
- Fit each cover without blocking drains, vents, or safe access points.
After the first strong rain or wind event, look for a displaced cover, pooling water, opened cabinet door, or exposed connection. Repeat the check after a significant freeze or snow event. Do not climb on a counter or use a metal tool to chip ice from stone. Do not load snow onto a structure beyond its design. If accumulation or damage concerns you, follow manufacturer guidance or arrange service.
A brief dated log makes recurring problems easier to identify. If the same corner stays wet or a cover shifts in the same direction, note it with a photo. That evidence can guide a practical change next season, such as improving drainage, adjusting storage, or choosing a different cover fit. Gappsi’s masonry resources and landscaping resources provide context for how surrounding paving, grading, and planting relate to outdoor living areas.
What should the spring reopening sequence include?
Wait for suitable weather and inspect before restoring utilities. Remove covers carefully, preferably when they and the kitchen are dry. Look for cracks, corrosion, pest activity, damaged seals, and moisture in cabinets or appliance compartments. Clean and dry accessible surfaces, then use a deliberate sequence:
- Compare the equipment with your winter inventory and confirm nothing is missing or damaged.
- Check hoses, shutoffs, drains, fittings, and visible lines before opening the water supply.
- Restore gas and electrical service only according to the appliance, utility, and qualified professional instructions.
- Open water slowly and watch each accessible connection for drips, including beneath the sink and around filters.
- Run the sink and verify that drainage works without leaks or unusual pooling.
- Test appliances one at a time and stop if an appliance behaves unexpectedly.
- Replace filters or consumable parts as directed, then clean cooking surfaces before use.
If a licensed professional disconnected a utility, ask what inspection or reconnection is required rather than assuming the work is complete. Record any spring problems alongside your winter notes. A cracked hose, damp cabinet base, or cover that repeatedly shifts points to a specific adjustment for the next shutdown, rather than a need to repeat the same routine unchanged.
What questions help you organize the work?
Before setting a date, answer a few practical questions. Which systems can you safely handle using their manuals? Which require a plumber, electrician, or gas professional? Where are the shutoffs? Is there a connected appliance whose model instructions are missing? Can covers be removed and refitted without lifting them across sharp edges or dragging them over a stone counter?
Divide the list into owner tasks and tasks requiring help. A homeowner may be able to remove food, clean a counter, and take inventory, while a concealed water line or hardwired appliance may need professional attention. Make a small supply list only after checking the manuals: labels for shutoffs, dry storage bins for removable items, and the correct cover are more useful than buying generic treatments that may not suit the system.
Share the inventory, photos, and questions when arranging help. Clear documentation can reduce back-and-forth and helps the professional focus on the actual installation. If your plans include a broader outdoor improvement, consider whether the current appliance placement, counter layout, and utility access still meet how you use the space.
Request a consultation through Gappsi’s contact page to discuss your outdoor kitchen plans
Frequently Asked Questions
Can an outdoor kitchen stay outside all winter?
Many outdoor kitchen assemblies remain outdoors, but they still need seasonal preparation. Drain water systems as directed, prepare appliances according to their manuals, clean and dry surfaces, and protect equipment with an appropriate cover. Store removable accessories in a dry place.
Should I turn off the gas to an outdoor kitchen?
Follow the instructions for the specific appliance and fuel installation. Do not guess about a valve, disconnect, or capped line. Ask the utility or a qualified gas professional when the setup is unclear or a connection appears damaged.
Will a grill cover prevent freeze damage?
A cover can reduce exposure to precipitation and debris, but it cannot drain a pipe, repair a leak, or ensure an appliance is shut down correctly. Clean and dry the equipment first, use a suitable cover, and inspect it during winter.
When should Long Island homeowners winterize an outdoor kitchen?
Begin before sustained freezing weather. Allow enough time to locate manuals, clean, drain, inspect, replace a damaged cover, and arrange qualified help for utility work. Waiting until the first hard freeze can leave too little time to address an unclear connection.
What if winter preparation includes remodeling an enclosed space?
If work expands into an enclosed area of a home built before 1978, the EPA advises using contractors who employ lead-safe certified renovators. Review the EPA’s guidance on remodeling and indoor air quality before work begins. This guidance is relevant to that remodeling situation, not routine outdoor kitchen shutdown.
A well-organized winter routine protects the equipment you have and gives you clear notes for a smoother spring opening. Prepare each system according to its own instructions, and get qualified help whenever a utility connection or concealed line is uncertain.
Ready to plan your outdoor kitchen?
Contact Gappsi through our contact page to discuss your outdoor kitchen project