There’s a big difference between a court that’s simply built and one that is crafted with precision. A truly great bocce court is a work of expert masonry and landscape design. The surface has a perfectly consistent roll, the stone borders are meticulously set, and the entire feature integrates beautifully with your patio and garden. This level of quality doesn’t happen by accident. It’s the result of a team that values craftsmanship and pays attention to every detail, from the unseen foundation to the visible finishing touches. When you begin your search, your goal should be to find a Bocce courts installer company on Long Island ny that approaches each project as an opportunity to create something truly exceptional.
Key Takeaways
- Build from the Ground Up: The secret to a long-lasting bocce court is what’s underneath, so prioritize professional site preparation, a solid base, and effective drainage to guarantee a great playing surface for years to come.
- Choose a Specialist, Not Just a Contractor: Your installer’s expertise is crucial, so look for a company with a strong portfolio of sports games courts, positive local reviews, and a transparent process, as quality workmanship is more valuable than the lowest bid.
- Define Your Vision and Budget: Think beyond the playing surface to include custom features like seating, lighting, and landscaping, and get a detailed quote to understand how size, materials, and these additions will shape your final investment.
What Goes Into a Great Bocce Court?
A truly great bocce court is so much more than a simple lawn game. It’s a feature that brings people together and adds a touch of classic, leisurely fun to your backyard. But creating a court that plays well and looks beautiful for years requires more than just clearing a patch of dirt. It involves thoughtful planning around dimensions, materials, and design features that fit your home and lifestyle. From the playing surface under your feet to the lights that let you play after sunset, every detail matters. A well-built court is a seamless part of your landscape, blending expert construction with your personal vision for outdoor living.
Getting the Dimensions and Layout Right
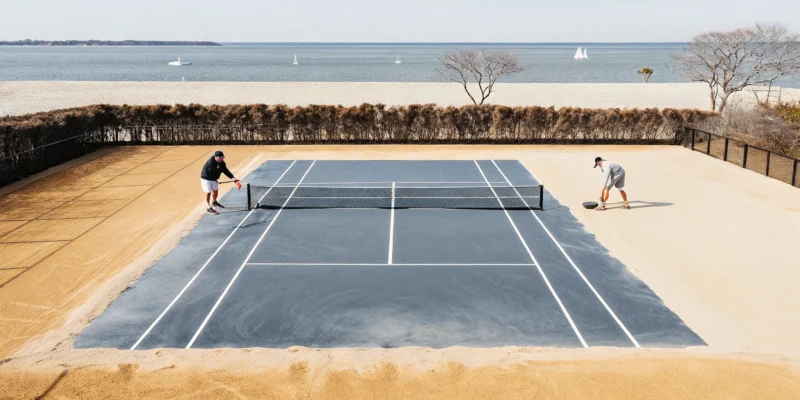
First things first, let’s talk about size. While a regulation bocce court is 91 feet long by 13 feet wide, don’t worry if that sounds too big for your yard. Most residential courts are a bit smaller, and a good installer can tailor the dimensions to fit your available space perfectly. The key is to find a balance that allows for a great game without overwhelming your landscape. An experienced designer will help you map out the ideal layout, considering how it connects to your patio, pool, or other outdoor areas. This ensures the court feels like an intentional part of your overall backyard design, not just an afterthought.
Choosing the Perfect Playing Surface
The surface of your bocce court is where the game really comes to life, and you have several options to choose from. Traditional courts often use materials like crushed oyster shells or bluestone dust, which provide a classic, firm playing field. Another fantastic option is synthetic turf, which offers a consistently smooth roll and requires very little maintenance. Each material offers a different feel, look, and level of upkeep. Your choice will affect not only gameplay but also the court’s durability and appearance. A knowledgeable installer can walk you through the pros and cons of each, helping you select the perfect surface for your budget and playing style.
Exploring Custom Design Features
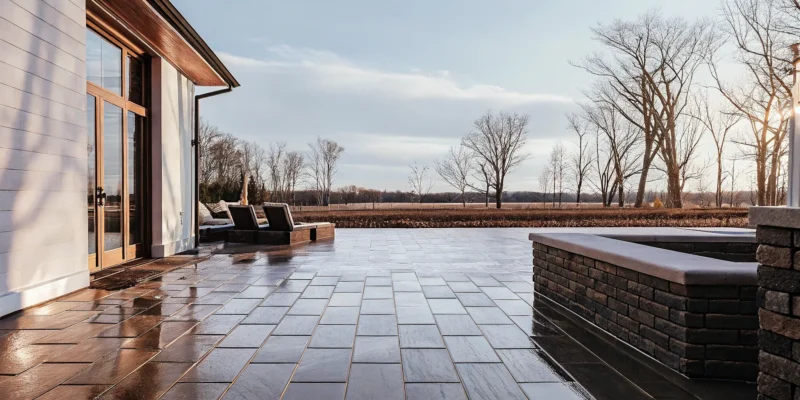
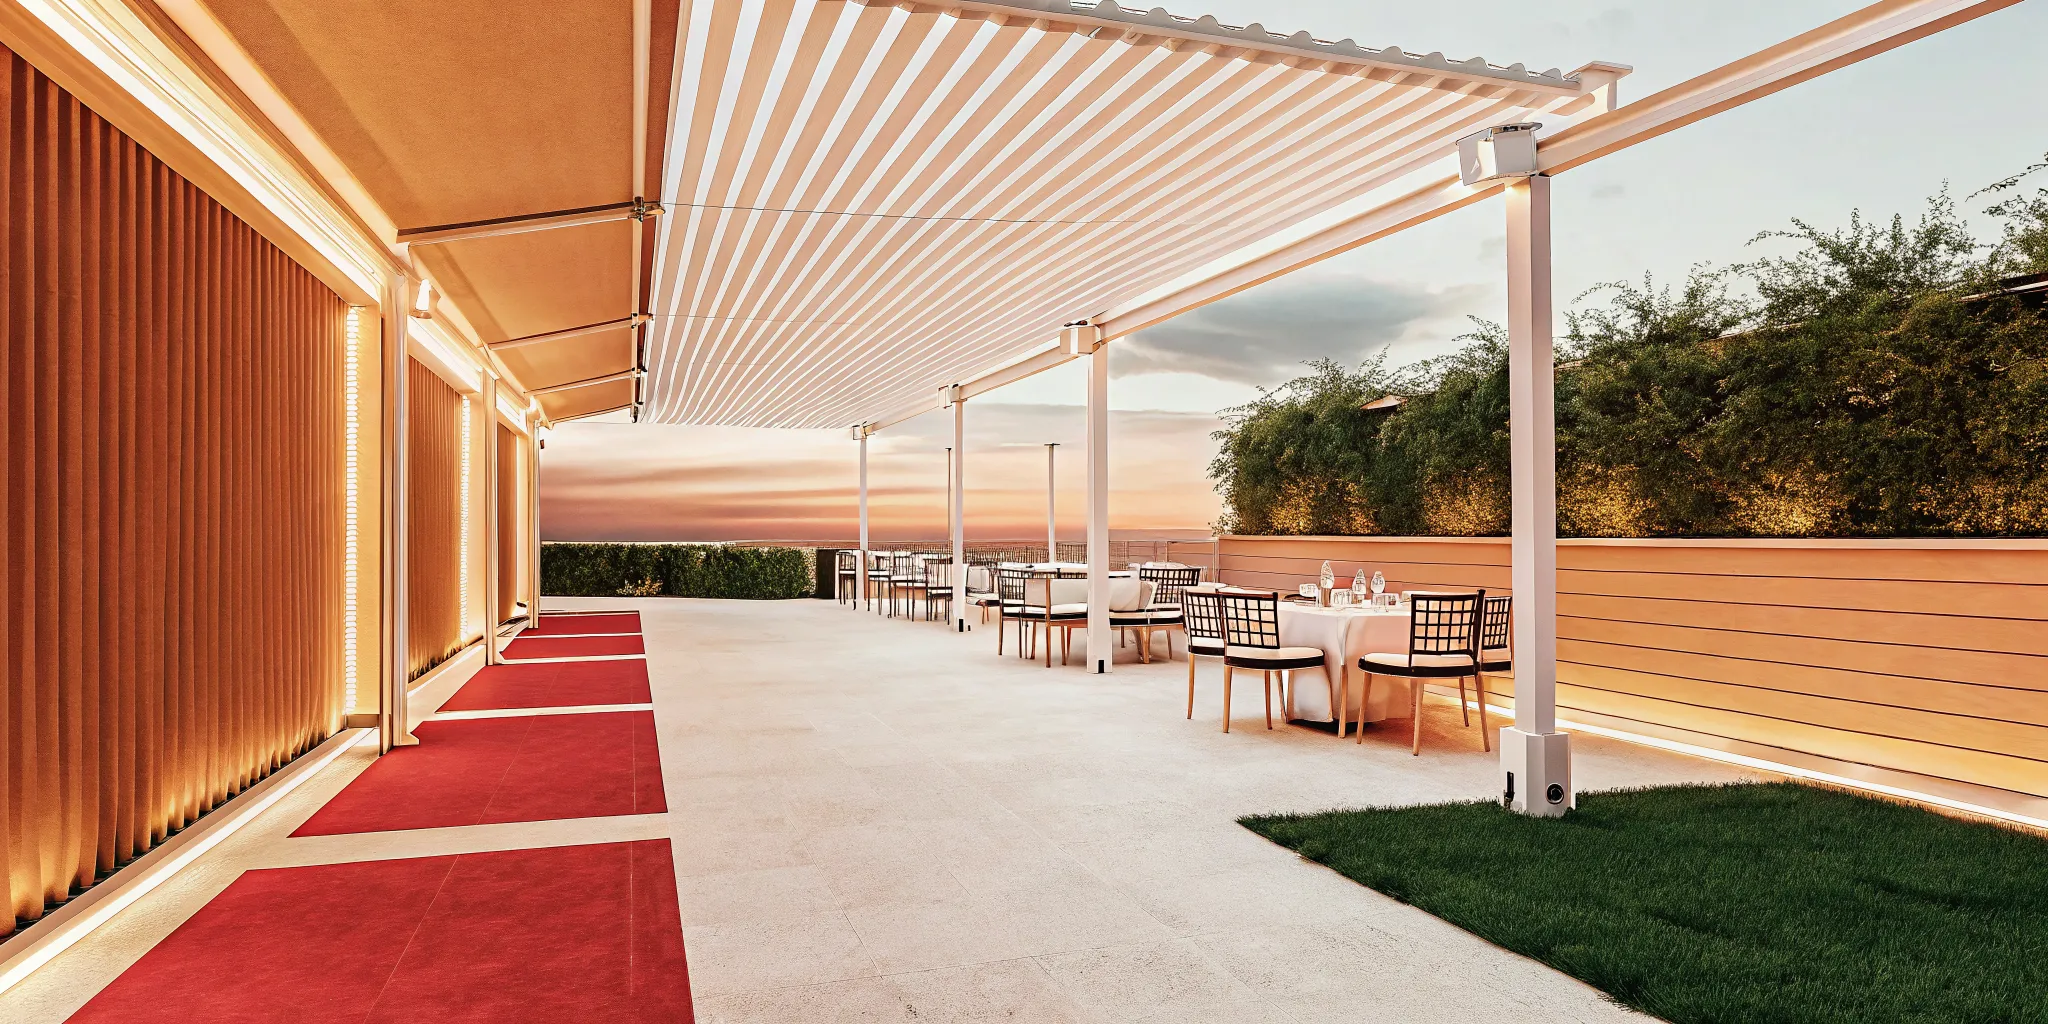
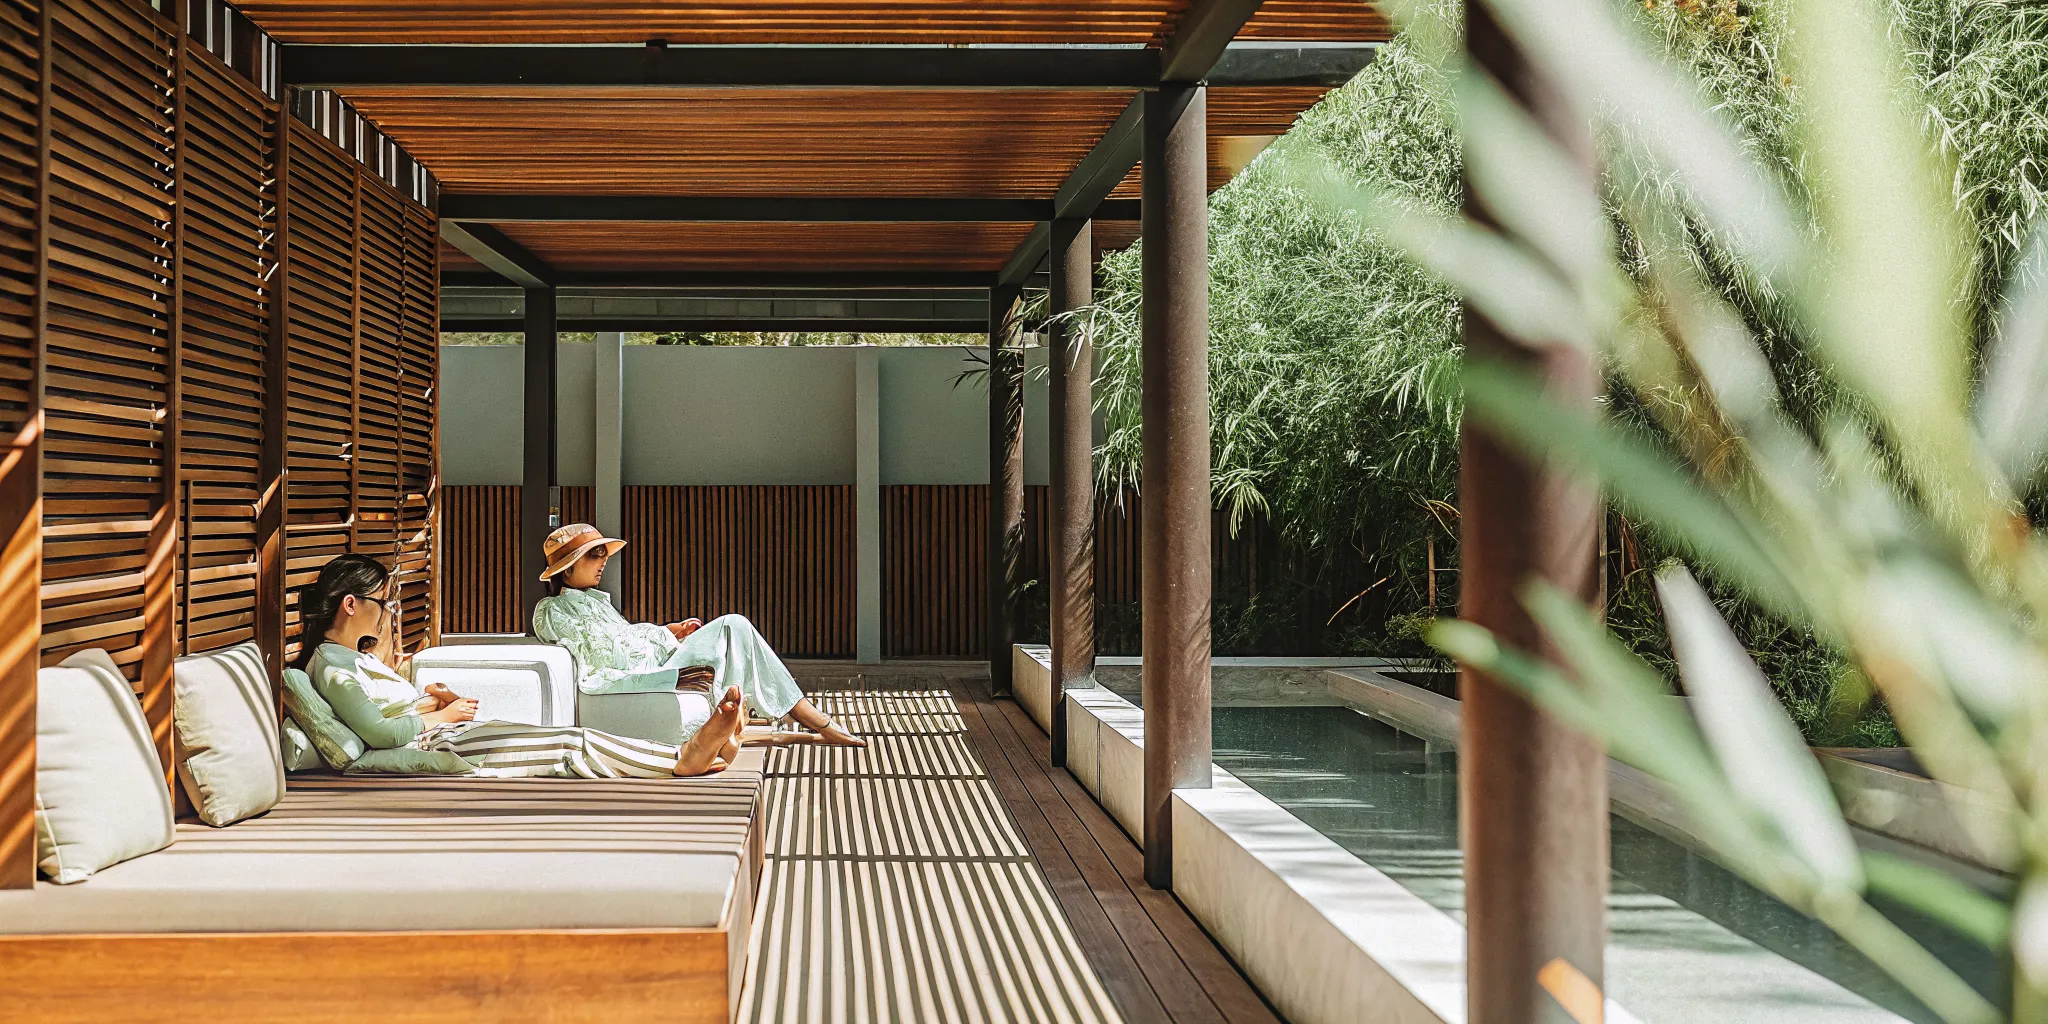
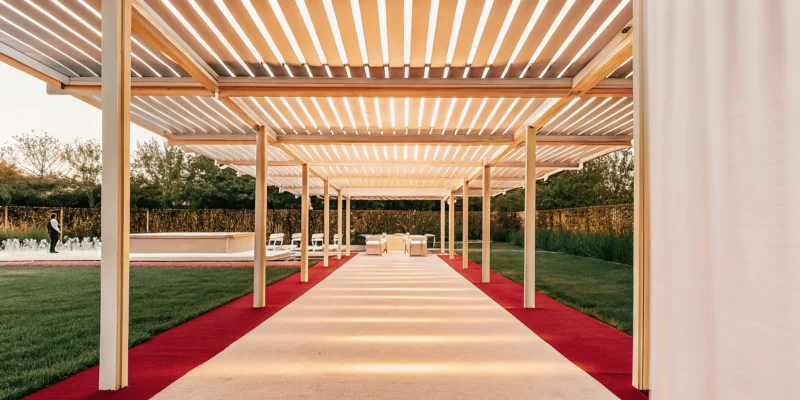
Your bocce court can be a standalone feature, or it can be the centerpiece of a complete outdoor entertainment zone. This is where you can get creative. Think about integrating built-in benches made of natural stone, a low wall for spectators to sit on, or a nearby patio for post-game drinks. Adding a beautiful pavilion or pergola can provide welcome shade for afternoon games. Whether you envision a casual court for family fun or a professional-style setup for friendly tournaments, the right custom features will make the space uniquely yours and a favorite gathering spot for friends and family.
Planning for Drainage, Lighting, and Site Prep
The details you can’t see are often the most important for a long-lasting bocce court. Proper site preparation is non-negotiable. This process starts with clearing and leveling the area, then grading it to ensure water drains away effectively. Without good drainage, you’ll end up with a soggy, unusable court. A professional team will also install a sturdy frame and a weed barrier to keep the surface pristine. And don’t forget about lighting. Strategically placed landscape lighting allows you to enjoy evening games, extending the fun long after the sun goes down. These foundational steps are what separate a DIY project from a professional masonry installation built to last.
How to Choose the Right Bocce Court Installer
Finding the right installer for your bocce court is the most critical step in the entire process. You’re not just hiring a construction crew; you’re choosing a partner who will help design and build a feature that becomes a centerpiece of your backyard for years to come. A great installer brings together expertise, quality materials, and a deep understanding of your vision. They know that a bocce court is more than just a patch of ground, it’s a place for family, friends, and fun.
The right team will guide you through every decision, from selecting the perfect surface to ensuring the finished court complements your home’s landscape. They’ll handle the technical details so you can focus on imagining the future get-togethers you’ll host. When you vet potential installers, look for a company that combines technical skill with a collaborative spirit. They should be able to show you their past work, explain their process clearly, and provide a detailed plan that gives you confidence. This isn’t just about getting the job done, it’s about getting it done right, creating a beautiful and functional court that your family will enjoy for a lifetime. Gappsi specializes in creating custom sports games courts that perfectly match your home and lifestyle.
Look for Proven Experience and a Strong Portfolio
When you start talking to installers, ask to see their work. A reputable company will be proud to show you a portfolio of their completed projects. Look for a variety of bocce court styles and settings. This demonstrates their versatility and ability to handle different challenges. A strong portfolio is more than just pretty pictures; it’s proof that the installer has a track record of delivering high-quality results. Pay attention to the details in their past projects, like the evenness of the surface, the quality of the border materials, and how well the court integrates with the surrounding landscape. You can often find project videos and walkthroughs on an installer’s YouTube channel, which gives you an even better feel for their craftsmanship.
Inquire About Material Quality and Customization
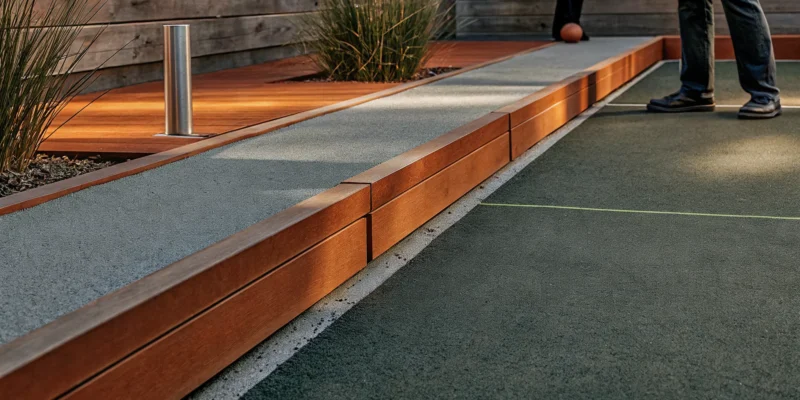
The materials used to build your bocce court will directly affect its playability, appearance, and durability. Don’t hesitate to ask installers detailed questions about their material options. What kind of surface do they recommend for your needs, and why? Do they offer traditional oyster shell blends, synthetic turf, or something else? A knowledgeable installer will explain the pros and cons of each. Beyond the playing surface, ask about the materials for the frame and surrounding patio or landscape. High-quality porcelain and natural stone can create a stunning and durable border. The best installers offer a range of options and help you choose materials that fit your aesthetic, budget, and maintenance preferences.
Discuss Warranties and Aftercare Support
A professional bocce court is a significant investment, and you want to make sure it’s protected. Before you sign a contract, have a clear conversation about warranties. Ask what kind of warranty they offer on their workmanship and the materials they use. A confident installer will stand behind their work. It’s also wise to discuss aftercare. Does the company offer maintenance plans or services? A well-built court is low-maintenance, but it still benefits from occasional care. Knowing you have a trusted partner for long-term restoration and sealing can provide valuable peace of mind, ensuring your court stays in top condition for years of play.
Verify Their Local Knowledge and Permit Expertise
Building a bocce court involves more than just digging and laying a surface. Especially on Long Island, every town has its own set of rules, zoning laws, and permit requirements. Choosing an installer with extensive local experience is a huge advantage. A team that is familiar with Suffolk and Nassau County regulations can manage the permitting process smoothly, preventing delays and headaches. They will also understand the local soil conditions, drainage patterns, and other environmental factors that can impact construction. An installer who knows the area can provide a more accurate site assessment and a plan that is truly built to last in our unique Long Island environment. This local expertise is a hallmark of a truly professional home improvement company.
Read Customer Reviews and Testimonials
Finally, take some time to see what past clients have to say. While an installer will show you their best work in a portfolio, customer reviews give you a more candid look at the entire experience. Look for reviews on third-party sites like Google or Houzz to get an unbiased perspective. Pay attention to comments about communication, professionalism, timeliness, and how the company handled any issues that arose. Testimonials can tell you a lot about the customer service you can expect, from the initial phone call to the final walkthrough. Hearing from other homeowners who had a simple and pleasant process can give you the confidence you need to make your final decision.
Understanding Bocce Court Installation Costs
Budgeting for your dream bocce court is a crucial step, and it helps to know what goes into the final price tag. While every project is unique, understanding the key cost drivers will help you plan effectively and have productive conversations with your installer. The total investment depends on your vision, your property’s specific needs, and the materials you choose. Let’s break down the main components that shape your budget.
Key Factors That Affect the Final Price
Several key elements influence the final cost of your bocce court installation. The size of the court is a primary factor, as larger dimensions require more materials and labor. Beyond that, your property itself plays a big role. If your yard has a significant slope or is difficult to access with equipment, the project will require more extensive excavation and site preparation. A professional installer will assess these conditions to determine the work needed for a solid, level base, which is essential for a long-lasting and functional court. These initial masonry and groundwork steps are foundational to the quality of the final product.
How Size, Materials, and Site Prep Impact Your Budget
The cost to build a bocce court can range significantly, often falling between $10,000 and $25,000 or more. This variation comes down to your choices in size, materials, and custom features. For the playing surface, you might opt for classic crushed stone, oyster shells, or modern synthetic turf, each with different price points and maintenance needs. The border materials are also a major consideration, with options ranging from simple wood to elegant natural stone pavers. Adding features like built-in lighting for evening games, surrounding benches, or integrated drainage systems will also affect the final budget.
Why a Detailed, Professional Quote Matters
Receiving a detailed, professional quote is one of the most important parts of the hiring process. A thorough quote does more than just give you a number; it provides a complete breakdown of all costs, from materials and labor to site prep and finishing touches. This transparency helps you understand exactly what you are paying for and reflects the installer’s professionalism. A vague or confusing estimate can be a red flag for hidden costs down the line. A clear quote from a reputable company like Gappsi allows you to make an informed decision with confidence, ensuring the project aligns with your expectations and budget from the very beginning.
Common Pitfalls to Avoid When Hiring an Installer
Choosing an installer for your bocce court is a big decision, and a few common missteps can lead to disappointment down the road. Knowing what to watch out for helps ensure your project runs smoothly and results in a beautiful, functional court you’ll enjoy for years. By sidestepping these frequent errors, you can protect your investment and create the perfect backyard entertainment space.
Neglecting a Thorough Site Assessment
A great bocce court begins long before the first stone is laid. One of the biggest mistakes is hiring an installer who doesn’t perform a detailed site evaluation. Your backyard has its own unique characteristics, and a proper assessment is needed to address factors like slope, soil composition, and accessibility for equipment. An experienced professional will carefully inspect the proposed area to plan for a stable foundation and proper water runoff. This initial step is critical because building a quality court is much more complex than just finding a flat piece of ground. It ensures the final product is built to last.
Focusing Only on the Lowest Price
It’s always tempting to go with the lowest bid, but this can be a costly mistake when it comes to specialized projects like a bocce court. An unusually low price often signals compromises in material quality, rushed workmanship, or a lack of experience. These shortcuts can lead to an uneven playing surface, poor drainage, and a court that deteriorates quickly. Instead of focusing on the bottom-line price, look for value. A reputable installer will provide a detailed quote that outlines all costs, from materials to labor, so you know exactly what you are paying for. Investing in quality masonry and a skilled team from the start saves you from expensive repairs later.
Forgetting About Drainage and Long-Term Care
On Long Island, we know that weather can be unpredictable. That’s why proper drainage is one of the most important, yet often overlooked, aspects of bocce court construction. Without a solid plan to manage water, your court can suffer from pooling, surface damage, and foundation issues. A professional installer will grade the area correctly and install a sub-base of materials like crushed stone to ensure water drains away effectively. Before you sign a contract, you should also discuss the long-term care your court will need. Different surfaces have different maintenance requirements, and a good partner will prepare you for how to keep your court in top condition.
Hiring a Team Without Bocce Expertise
Building a bocce court is a craft that requires specific knowledge. It’s not a standard landscaping job. A general contractor may not understand the precise dimensions, surface compaction, and material layers needed for an authentic playing experience. An uneven or improperly built court can take all the fun out of the game. When vetting installers, ask to see their portfolio of completed bocce courts or other sports games courts. Hiring a team with proven expertise ensures they understand the nuances of construction and can deliver a court that is both beautiful and regulation-ready for countless games with family and friends.
Related Articles
- Expert Bocce Court Builders on Long Island, NY
- Bocce Court Archives – Gappsi Group
- Bocce Ball Court Archives – Gappsi Group
- Bocce Ball Court Construction & Lighting Guide | Gappsi Inc
- bocce court construction in Long Island Archives – Gappsi Group
Frequently Asked Questions
Do I need a huge yard for a bocce court? Not at all. While regulation courts are quite large, most of the beautiful residential courts we build are customized to fit the available space. A good designer can work with your yard’s specific dimensions to create a court that feels proportional and still offers a fantastic playing experience. The goal is to integrate it thoughtfully with your existing landscape, not to let it take over your entire property.
Which playing surface is right for me: synthetic turf or a traditional material? This really comes down to the look, feel, and maintenance level you prefer. Traditional surfaces like crushed oyster shell offer that classic, satisfying crunch and gameplay. On the other hand, synthetic turf provides a perfectly smooth, consistent roll every time and is incredibly low-maintenance. We can walk you through the benefits of each so you can choose the one that best fits your family’s playing style and how much time you want to spend on upkeep.
Why does the cost for a bocce court vary so much? The final price depends on three main things: size, materials, and site conditions. A larger court naturally requires more materials and labor. Your choice of playing surface and border materials, like natural stone versus wood, also plays a big part. Finally, if your yard has a steep slope or drainage issues, more extensive site preparation will be needed to create a stable, level foundation. This is why a detailed, on-site quote is so important to get an accurate picture of the total investment.
Can I save money by building a bocce court myself? While a DIY project can seem tempting, building a bocce court that lasts involves more than meets the eye. The most critical steps are the ones you can’t see, like creating a perfectly graded foundation and installing a proper drainage system. Without this expertise, you can end up with a soggy, uneven court that’s no fun to play on and needs to be fixed later. A professional installation ensures the foundation is solid, the surface is perfect, and the court will handle years of play and weather.
Besides their portfolio, what’s the most important thing to ask a potential installer? Ask them to explain their process for site preparation and drainage. A great installer will be able to tell you exactly how they plan to grade the land, what materials they use for the sub-base, and how they will ensure water doesn’t pool on your court. Their answer will reveal their level of expertise. A team that emphasizes these foundational steps is one that builds courts designed to last a lifetime, not just a few seasons.