


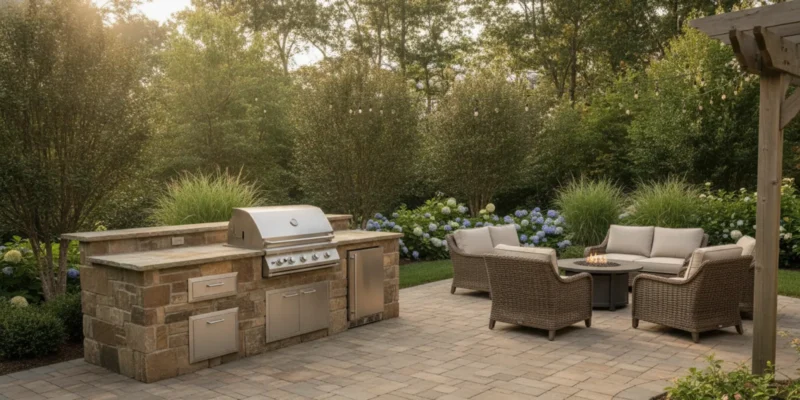
Posted by Gappsi Group
Luxury outdoor kitchen designs work when the footprint matches how the household cooks, not when the appliance list is long. On Long Island, wind, salt air, freeze-thaw, drainage, and the walk from the house decide which layout is usable. This guide compares open layouts so you can choose one before anyone pours a base. It is not a gazebo hiring guide, a price list, or a covered-pavilion plan.
Contact Gappsi through our contact page
What should luxury outdoor kitchen designs accomplish?
Start with the jobs the kitchen has to do on a normal week. A grill used twice a month needs a short counter and a clear path back inside. A household that plates full meals outside needs a prep surface, a landing spot for hot pans, and a place for dirty dishes that is not the dining table.
Write down three facts before you look at pictures:
- Headcount: how many people eat there on a weeknight, and how many on a holiday.
- Menu: what is cooked outside, and what still comes from the indoor kitchen.
- Cleanup: where trays, covers, trash, and recycling go when the meal is over.
Then walk the yard with a camera. Photograph doors, steps, trees, the pool edge, fences, retaining walls, and any utility markers. Note the distance to the indoor kitchen and the path a crew would use for stone and appliances. A custom outdoor kitchen should follow those conditions. A stock footprint dropped onto a wet corner or a narrow side yard will fight the house.
If the design you like only works under a roof, stop and read the separate outdoor kitchen pavilion guide. A freestanding shade structure is a different hire: the live gazebo installer guide covers that choice. This article stays with open layouts: linear runs, L-shapes, U-shapes, galleys, and islands.
Which layout works for a Long Island yard?
The layout is the decision that locks circulation, utility runs, and the room left for a table. Compare the footprint against the patio you already have, not against a catalog photo.
| Layout | Fits when | Main strength | Main risk |
|---|---|---|---|
| Choose a linear run. | Use it on a narrow terrace or one long wall. | Utilities stay on one short run. | Prep space runs out quickly. |
| Choose an L-shaped plan. | Use it on a corner that opens to the yard. | The hot zone stays off the serving leg. | Nearby doors steal the inside corner. |
| Choose a U-shaped plan. | Use it on a broad pad meant for two cooks. | Prep, cooking, and cleanup stay apart. | A tight aisle traps the person at the grill. |
| Choose a galley plan. | Use it when two runs share one walkway. | Steps stay short between fridge and grill. | Through-traffic cuts the work aisle. |
| Choose an island plan. | Use it on a social patio with room all around. | Guests can gather at a serving edge. | The island can block the door-to-yard path. |
A linear run is honest about a small terrace. It fails when the only landing surface is three steps from the grill and someone has to carry a hot pan past seated guests. An L-shaped plan keeps the cook facing the yard while guests use the open side. A U-shaped plan only works if two people can pass while an appliance door is open. Draw the door swing on the plan. If the drawing has no doors, the aisle is a guess.
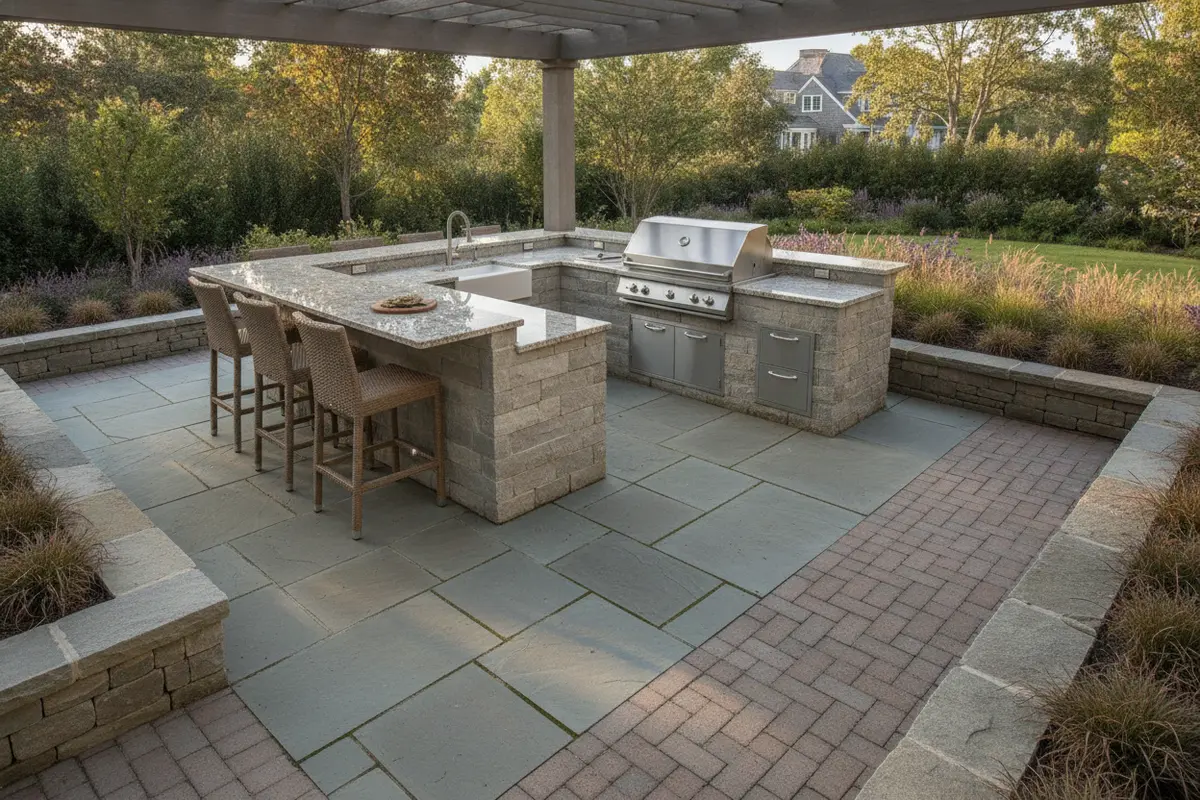
Use indoor planning ranges as a filter, then confirm the appliance manual. The NKBA Kitchen Planning Guidelines call for 42 inches of walkway where one cook works and another person must pass. They call for 48 inches in a two-cook kitchen or a cleanup aisle. Keep each work-aisle leg between 4 and 9 feet. Those numbers are indoor guidance, so outdoors you should add the grill lid, a cart, and the guest path to the pool.
Put furniture on the drawing before you approve it. A plan that looks open without chairs will feel tight once stools, a serving cart, and a cooler are in place. Review custom outdoor living as one composition: kitchen, patio, planting, and the walk back to the house.
How do work zones change the footprint?
Treat the counter as separate zones, not one long shelf. The hot zone is the grill or oven and the non-combustible landing on both sides. The prep zone is a stable surface for boards and trays. The serving zone faces the table. The cleanup zone, if you add a sink, needs water, a drain, and a shutoff you can reach in November.
Match the zones to a real meal:
- Steaks and vegetables need a landing surface on both sides of the grill, not one crowded corner.
- Pizza needs a broad counter beside the oven and dry storage for peels and pans. Look at outdoor oven options before the counter is drawn, not after.
- Evening gatherings need the refrigerator and a serving counter near guests so drink traffic does not cross the cook.
NKBA recommends 15 inches of landing on one side of a cooking surface and 12 inches on the other, with 24 inches of clearance to a protected surface above. Manufacturer instructions can ask for more. If a model needs a larger side clearance, the linear run may no longer fit and the L-shape becomes the workable design.
Also reserve space for things that are not appliances: a cutting board, a platter, paper towels, and a hot pan. A service panel buried behind a finished stone face is a layout failure even when the counters look right.
How should counters and storage shape the design?
Counter material changes the layout because it changes support, edge thickness, and how water sits on the surface. Granite gives a dense work face. Natural stone can tie the kitchen to a patio or step. Porcelain is another direction when you want a thinner visual edge. This is not a materials ranking. The outdoor kitchen countertop guide compares those surfaces. Here, ask one layout question: does the finish need a deeper base, a thicker edge, or a different overhang for seating?
NKBA’s seating guidance is a useful check. A 30-inch-high table needs about 24 inches of width and 18 inches of knee depth per person. A 36-inch counter needs about 15 inches of knee depth. A 42-inch bar needs about 12 inches. If the overhang eats the walkway, shrink the seating edge or move the stools to a separate table.
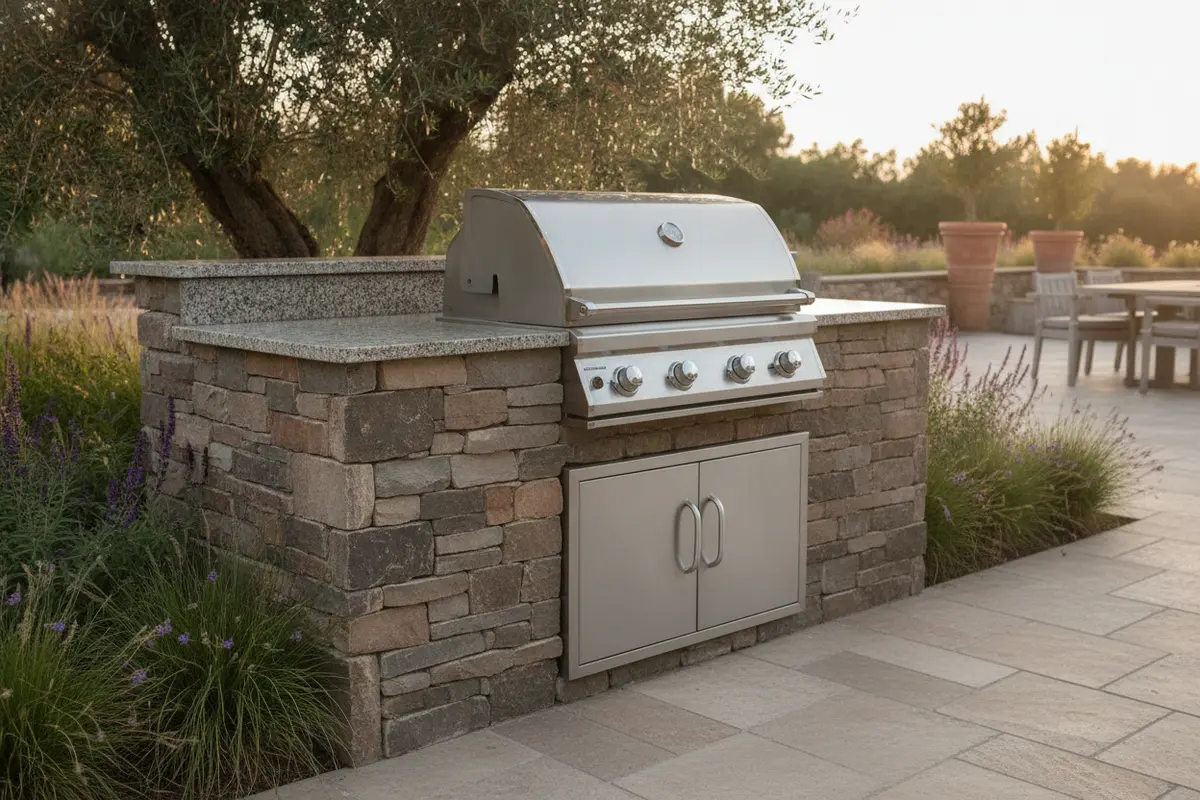
The floor is part of the design. It should be reasonably slip resistant and pitched so the kitchen is not the low point. A repeating paver can connect the cook zone to the patio. A contrasting border can mark the cook zone without changing the whole patio. Compare directions in Gappsi’s stones and porcelain collection, and view samples outside. Shade, siding, and roof color change how the sample reads in the yard.
Storage should follow the same layout logic. Drawers near the hot zone hold tools. A shelf holds pieces you use less often. Covers need a home that is not the countertop. Cabinet fronts have to clear each other and the nearest stool. For coastal exposure and freeze-thaw, use the cabinet guide for Long Island weather instead of repeating that comparison here.
Which appliances belong in the layout?
Pick appliances after the zones, not before. A built-in grill can anchor the hot zone. An under-counter refrigerator cuts trips inside. A sink is worth it only if the water line, drain, and winter shutoff are in the scope. An oven belongs in the plan when it will be used often and the clearance is real.
Build a one-page equipment schedule before fabrication:
- Model, width, and height for each appliance.
- Fuel type, electrical load, and ventilation.
- Door swing and the landing surface beside it.
- Whether the unit is built in, removable, or covered in winter.
- The manufacturer clearance, which overrides a generic aisle guess.
The outdoor appliance schedule should name who supplies each unit. If a model changes, the layout may change with it. A wider grill can erase the 12-inch landing that made a linear run acceptable.
NKBA’s outdoor kitchen research collects designer observations from projects in that report. Treat that research as context, not a template. Verify every unit against the site and the installation sheet. Do not copy an indoor appliance package outdoors and call it a design.
How do Long Island weather and utilities filter the design?
Utilities belong in the first drawing. Gas, electric, water, drainage, and lighting should be marked before the base is built. Local rules and the appliance instructions decide what is allowed. Use qualified trades for regulated connections. Ask where rainwater goes, how an exposed outlet is protected, and how a water line is drained before a freeze.
Wind changes smoke direction, not only comfort. A grill lid facing the prevailing breeze can push smoke into the seating. A waterfront lot adds salt to exposed metal and fasteners, so the layout should keep service panels reachable for rinsing and replacement. Overhead cover changes light, ventilation, and roof runoff. A pergola can shade one edge of an L-shape. A full roof is a different project. Send that choice to the pavilion guide rather than forcing it into this layout comparison.
Drainage is a design test, not a finishing detail. The pad, patio, steps, and planting beds should move water away from the house and away from the cabinet toe-kicks. If the existing patio holds water or has settled, new cabinetry will hide the problem. Include grading and access in the footprint. A beautiful island on a low pad is the wrong design.
Request a consultation for your outdoor kitchen plan
How should seating and light follow the layout?
Seat people close enough to talk and far enough from heat, smoke, and the service path. A raised counter can hide prep mess. A separate dining table is often calmer for a full meal because it does not steal knee space from the work aisle. Keep one clear route from the refrigerator to the seats and another from the house door to the serving edge.
If the yard has a pool, keep a dry path that does not cross the cook’s aisle. Fragile seating does not belong on the wet route. Related backyard planning can place those paths with the kitchen instead of after it.
Light the work, then the walk, then the room. Task light should hit the counter and grill without shining into eyes. Path lights should mark steps and changes in elevation. Ambient fixtures can sit on a pergola, a wall, or a post. Draw their wiring with the cabinets. A later add-on should not leave a cord across the aisle.
Walk a sample evening in your head. Where do the groceries land when someone comes in from the car? Can one person cook while another pours drinks? Where do guests wait without standing in the cook’s aisle? If the honest answer is “in the cook’s aisle,” the layout is too tight. A smaller appliance set with a longer prep counter is the better design.
What should the proposal show before you choose?
Bring photos, a rough sketch, the headcount, and the appliance schedule to the consultation. Mark utility locations, drainage trouble, construction access, and the hour you use the yard most. If a patio, pool, pergola, or retaining wall is already there, note its condition.
Ask for the scope in groups, not one comma-separated sentence:
- Site work: demolition, excavation, base, drainage, disposal, and access across the yard.
- Structure: cabinet support, reinforcement, counter support, and reachable access panels.
- Utilities: gas, electric, water, lighting, and who pulls each permit or inspection.
- Finishes and equipment: appliances, countertops, pavers, delivery, testing, and winter covers.
- Closeout: cleanup, care instructions, and winter shutoff locations.
If payment timing is part of the decision, read financing information before the scope is locked. Do not treat a monthly figure as a substitute for a written layout.
| Proposal area | Question to ask | Why it changes the design |
|---|---|---|
| Review the site work. | Are grading, drainage, and disposal included? | A low pad fails during the first heavy rain. |
| Review the structure. | What holds the counters and the access panels? | A thick edge can steal the work aisle. |
| Review the utilities. | Who runs gas, electric, water, and lighting? | A missing route can move the grill. |
| Review the equipment. | Are models, clearances, and covers listed? | A wider unit can break the landing space. |
| Review the closeout. | Are care steps and winter shutoffs written down? | A buried shutoff cannot be used in November. |
Compare proposals by those rows, not by a single total. For what similar work has cost on Long Island, use the outdoor kitchen budget guide. This article does not set a price. Ask what happens if an appliance model changes or a concealed condition shows up. The written scope should name allowances, exclusions, and the change process.
Look at the yard as one job when the kitchen touches planting or the construction route. Landscaping can be planned with the hardscape. Driveway access matters when stone and appliances cross an existing drive. The right design is the one that fits the site, the household, and the maintenance you will actually do.
Contact Gappsi to review your outdoor kitchen scope
Frequently Asked Questions
How do I choose between a linear and an L-shaped outdoor kitchen?
Use a linear run when the terrace is narrow and the utility wall is already in the right place. Move to an L-shape when you need the hot zone and the serving edge on different legs so guests are not standing in the cook’s path.
How wide should the aisle be?
NKBA recommends 42 inches where one cook works and another person must pass, and 48 inches for two cooks or a cleanup aisle. Confirm the grill and oven manuals, because a door swing can demand more than the generic aisle.
Can these layouts go on an existing patio?
Often, after you check the slab, pitch, access, and utility routes. The new work should not send water toward the house or cover a settlement crack with a cabinet.
Should the grill sit under a pergola?
Only after you check ventilation, clearances, wind, and the appliance instructions. A pergola provides shade, not a weatherproof room. A full pavilion is a different design and belongs in the pavilion guide.
What is the first layout decision on Long Island?
Mark how the kitchen is used, where water goes, and where the utilities already are. Then test linear, L-shaped, U-shaped, galley, and island footprints against that site instead of starting with an appliance catalog.
Ready to choose a layout?
Discuss your Long Island outdoor kitchen with Gappsi
A layout that respects the aisle, the landing space, the drainage, and the walk back to the house will outperform a longer appliance list. Bring the site photos and the zone list, and the next conversation can be about a footprint that fits.