Many Long Island homeowners struggle with rough pool plaster that scrapes skin and traps green algae growth. A new marble dust pool finish solves this problem by providing a fresh and smooth surface. This blend is both cost effective and beautiful for any gunite pool project.
Ready to upgrade your Long Island pool? Visit our Smithtown showroom to compare finishes and plan your project.
A marble dust pool finish is a smooth interior coating made from white cement and crushed marble. Also called marcite or pool plaster, it protects a gunite shell and gives the water a bright, classic appearance. Careful installation and balanced water help preserve its feel and appearance.
What is a marble dust pool finish?
A marble dust pool finish is a smooth plaster coating made from white cement and crushed marble. Also called marcite, it seals and protects a gunite shell while giving the water a bright, clean look. It is a classic option for Long Island pool building work.
Parts of pool plaster
The main parts of this finish are white cement and crushed marble. When you mix these with water, they form a thick paste. Pro teams spread this paste over the concrete shell of the pool. The marble bits are small, which helps the surface stay smooth.
This smooth feel is nice for swimmers and makes it easy to keep the pool clean. You can see this mix at our Smithtown showroom to feel how it looks and feels.
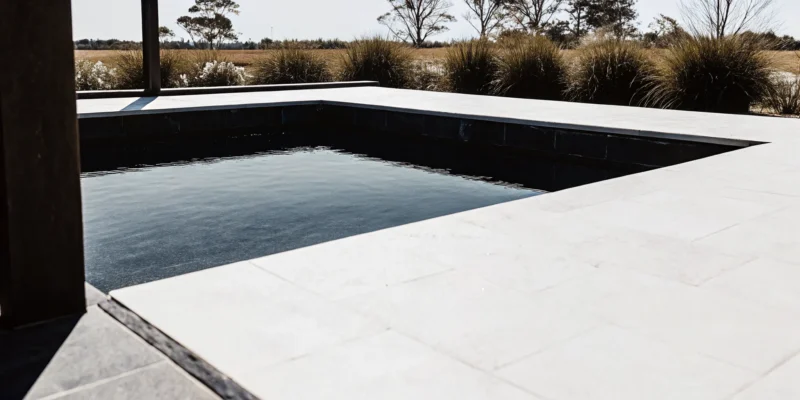
While the standard color is bright white, you can change the tint of the mix. These tints can turn the water a light blue or a soft gray. This can help the pool match your deck or yard. Many people pick a light tint to give their water a deep glow, and a pool marble dusting pro can help you pick the best color for your home.
Visual style for gunite pools
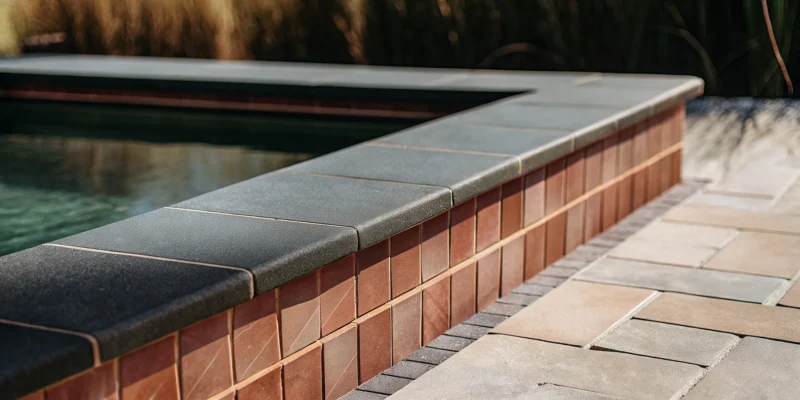
The look of a marble dust pool finish is hard to beat. It reflects the sun to make the water look crisp and clear. This finish is a top choice for a gunite pool update because of its old-school style. It gives an even surface that looks great with any pool shape without feeling as rough as some pebble or stone finishes.
The bright white color also makes it easy to see the bottom of the pool. This is a good safety feature for families with young kids. It creates a high contrast with the pool lights at night, giving your yard a grand look. On Long Island, we use this finish for both luxury and simple pools.
Its bright appearance works with many pool designs and surrounding materials.
How it works with concrete
This type of finish is a great fit for gunite pools because it sticks well to the shell. The plaster acts as a final layer that keeps the water in the pool. It is thick enough to hide small bumps in the shell but thin enough to stay strong. This bond is vital for the health of your pool over time.
A strong bond between the plaster and the concrete prevents leaks. This saves you money on water bills and repairs in the long run.
Since the mix is porous, it does need some care. You must keep your pool water in a healthy range to protect the surface. If you let the water get out of balance, the finish could get rough or stained. Good care will keep the marble dust looking new and feeling smooth for a long time.
It is one of the most cost-effective ways to finish a gunite pool. Many owners find that the classic look and feel are worth the small amount of work needed to keep the water right.
Marble dust vs. other gunite pool finishes
A marble dust pool finish offers a smooth, classic surface, while quartz and exposed stone generally offer greater wear resistance and more texture. Marble dust can stay bright white or accept a tint. The right choice for a Long Island pool building project depends on preferred feel, appearance, care, and budget.
Smooth feel of marble dust
Classic plaster feels smooth, reflects light, and is often a cost-friendly choice. Balanced water helps prevent stains and rough spots. Research also shows that marble dust helps strength in cement mixes.
Strength of quartz and stone
Some owners want a finish that lasts longer and resists wear. Quartz finishes mix small bits of quartz with cement. This makes the surface harder than plain marble dust. It stands up better to pool chemicals and heavy use.
Many choose this for a gunite pool update when they want more color choices. The quartz bits can be dyed to give the water a deep blue or green hue. It is a smart way to get a custom look that stays strong for a long time.
Exposed stone is another tough choice. It uses small pebbles or glass beads to create a bumpy texture. This look hides dirt well and adds a natural feel to your yard. It is very strong and resists stains better than smooth plaster.
But it can be rougher on the skin. You should check a sample at a showroom to see if you like the feel. This type of finish is great for pools with a natural or rustic style and works well with rock features.
How to pick the best finish
Choosing the best finish depends on your style and budget. Think about how the pool will look with your house and deck. A smooth white finish looks great with modern homes. A stone finish might look better with a wood deck or a garden.
You also need to think about care. If you have a busy life, a harder surface might save you time on repairs. But if you want the softest feel, marble is still the king.
Cost is also a factor in your choice. Marble dust is usually the least costly to install. Quartz and stone cost more because they take more work and better mixes. But they may last longer, which can save money over time.
Talk to a pro to find the best match for your home and lifestyle. They can show you how each choice looks in the sun and under the water.
| Material | Strength | Feel | Look |
|---|---|---|---|
| Marble Dust | Good | Very Smooth | Bright White |
| Quartz | Better | Mostly Smooth | Deep Colors |
| Exposed Stone | Best | Textured | Natural Stone |
How is marble dust applied to a gunite pool?
A skilled crew applies marble dust after inspecting, repairing, and cleaning the gunite shell. The team adds a bond coat, mixes white cement with fine marble, and trowels the plaster into a smooth layer. Prompt filling and careful startup water care then help the new surface cure.
Surface prep and check
The work begins with a full check of the pool shell. First, the crew must drain the pool and let it dry. They look for any loose bits or old plaster that might fall off. If the gunite has cracks, they must fix them with a strong cement mix.
This creates a flat and firm base for the new marble dust pool finish. A clean surface is the only way to get a bond that lasts. If the shell is dirty, the new plaster might peel or flake away in just a few years.
After the shell is clean, the team apply a bond coat. This is a special type of glue made for pools. It acts as a bridge between the old gunite and the new plaster layer. Without this coat, the two layers might not stick well.
The team must be sure to cover every inch of the pool floor and walls. This step is what makes a pro job stand out from a quick fix. It makes sure that the final result stays smooth and looks great under the sun.
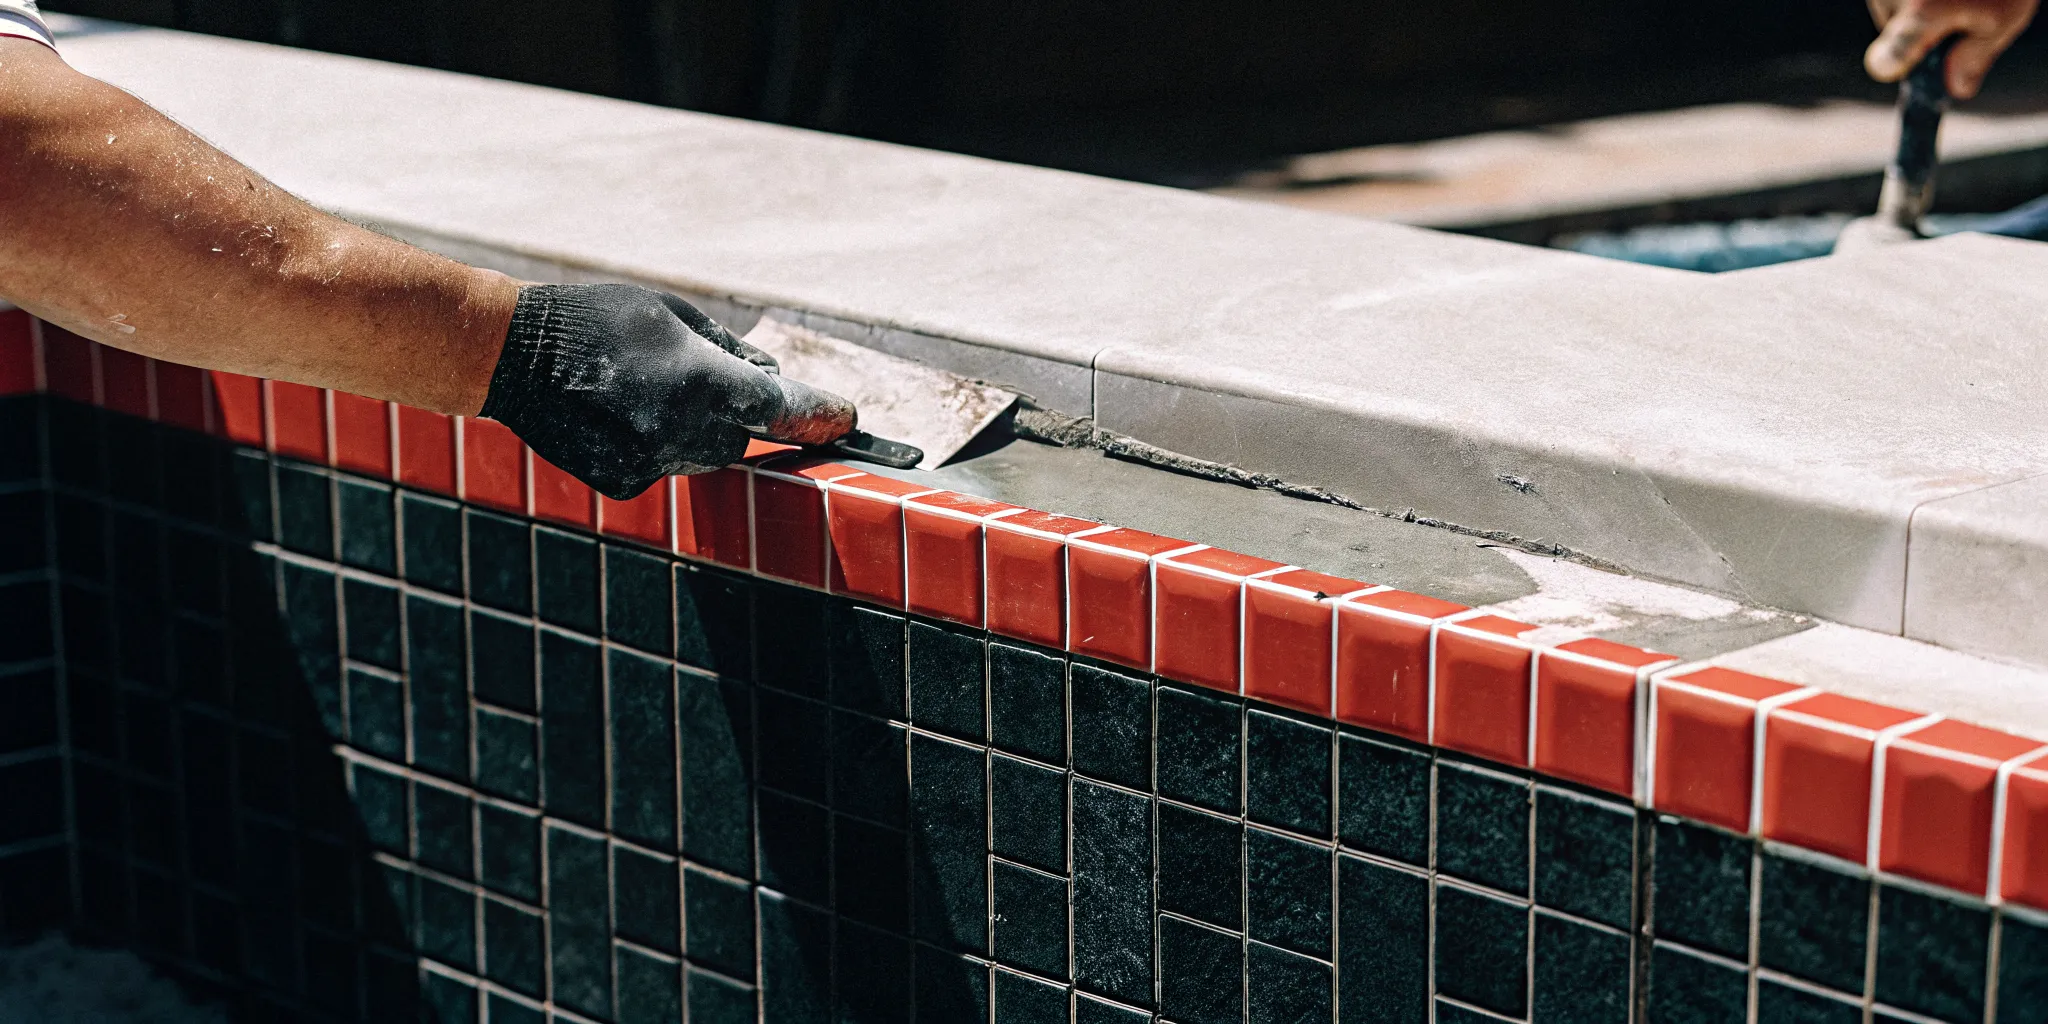
Mixing and applying the finish
The crew mixes the plaster right at your home. They use large bins to blend the white cement and crushed marble. They must get the ratio just right so the mix is easy to spread. If the mix is too dry, it will be hard to smooth out.
If it is too wet, it might run down the walls. This is why a pro crew is so vital. They know how to adjust the mix based on the heat and sun of the day. They can also add tints to the mix if you want a cool gray or deep black pool look.
Once the mix is ready, the team works fast. They use hand trowels to press the plaster onto the walls. It takes a lot of arm strength to get an even coat across the whole pool. The crew starts at the deep end and moves up the walls.
They must work in the shade or use a tent to keep the sun off the wet plaster. If it dries too fast, it might crack. This is a tough part of the job that needs many hands on deck at once.
- Draining and scrubbing: The team pumps out all the pool water and uses tools to scrub away old scale and dirt from the shell.
- Gunite repairs: Any holes or cracks in the concrete shell are filled with a patch mix to make sure the base is flat.
- The bond coat: A sticky layer is rolled onto the shell to help the new marble dust pool finish grip the old concrete.
- The first pass: The crew uses trowels to spread a thin layer of plaster over the walls and floor of the pool.
- Final smoothing: As the plaster starts to set, the team rubs it down many times to get a glass-smooth feel.
- Filling with water: Clean water must go back into the pool as soon as the floor is done to help the plaster cure.
- Startup care: You must brush the pool walls and check the water mix every day for at least two weeks.
Startup care and water balance
Filling the pool is not the last step. The first month is a vital time for a new gunite swimming pool renovation. You must keep the water mix in a safe range. High or low pH can etch the new surface and make it feel rough.
The CDC says that proper water balance is key for the health of both the pool and the people who use it. Brushing the walls twice a day helps remove any loose dust from the plaster.
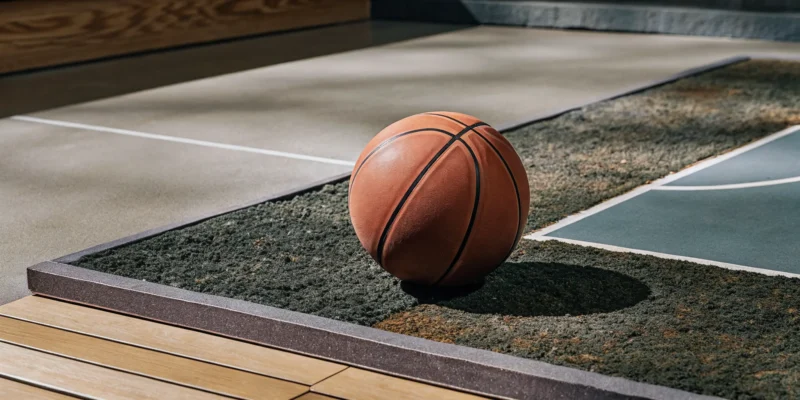
At Gappsi, we take pride in our work. We offer a full range of outdoor services beyond just pools. Our team can also build Sports Game Courts and patios to match your new pool. If you want to see our work, visit our Smithtown showroom.
We can show you samples of the different colors and styles we offer. Our goal is to help you create a backyard space that you love to use every day.
Comparing pool finish options for your property? Talk with Gappsi about marble dusting before choosing a color and finish.
How long does a marble dust pool finish last?
A marble dust pool finish can remain attractive for many years, but there is no single service-life guarantee. Longevity depends on shell preparation, installation quality, water chemistry, climate, and use. Careful startup and routine maintenance help preserve the smooth plaster surface.
You can learn more about how to build a pool with us. We help people on Long Island get the best results for their homes.
Factors that impact service life
Preparation, climate, and pool use all affect service life. The crew should repair cracks, clean the shell, and apply the mix evenly. Proper filling and startup care help a marble dust pool finish set correctly.
Signs your pool needs a new finish
You should look for signs that your pool needs a new finish. Stains are a common sign that the surface is wearing out. Some stains are just on the top, but others go deep into the plaster.
You might also see rough spots on the floor or walls. This can happen when the water balance is off. The water can eat away at the finish. This is called etching and it makes the walls feel like grit.
Scaling is another sign to watch for in your pool. This is when hard white spots form on the surface. It can make the finish feel like sand or even sharp in some areas.
If you see cracks or if the plaster starts to fall off in chunks, you should call a pro. You can see work we have done in our showrooms to see how a fresh finish should look. A smooth surface is safer for your feet and looks much better.
Why water balance matters
The best way to make your marble dust pool finish last is to watch the water. You must keep the pH and other levels in the right range. If the water is too harsh, it will be bad for the white cement.
This will lead to a rough surface that can trap dirt and algae. It is also hard on your skin and eyes when you swim. Good water balance keeps the surface smooth and clear.
You should test your pool water often to keep it safe. Keeping the water in check protects the finish and makes it feel better for those who swim. Many groups give tips on how to keep your pool safe and clean.
As one guide, the CDC has rules on pool health. Using these rules will help you get the most out of your pool finish and keep it bright for a long time.
How to care for a marble dust pool finish
Protect a new marble dust pool finish by following the installer’s startup plan, brushing away plaster dust, circulating and filtering the water, and monitoring chemistry. After startup, regular testing, cleaning, and prompt stain removal help keep the surface smooth and bright.
The first few weeks of startup
Wait for three weeks before you use an auto pool cleaner. The wheels can leave tracks on the soft finish. It is also best to wait a few weeks before you use a pool heater. High heat can change how the finish cures.
Good startup care helps the surface stay smooth and bright for many years. Gappsi Group has seen many pools in Nassau and Suffolk Counties stay in great shape with these steps. Our team in Smithtown knows that these early days set the stage for how long your pool will last.
Keep the water chemistry balanced
Keeping your water chemistry balanced is the best way to protect your marble dust pool finish. If the water is not balanced, it can damage the smooth inside. Check your pool water at least once a week. You want to look at the pH level first.
If the pH stays too high for a long time, calcium can build up. This creates a white crust on the walls. If the pH is too low, the water becomes acid. Acid can etch the marble dust and make the walls feel rough.
Total alkalinity and calcium hardness are also key. Alkalinity acts as a shield for the pH level. It keeps the pH from jumping up and down. Calcium hardness is a measure of how much lime is in the water.
If the level is too low, the water will try to pull calcium out of your pool walls. This leads to pits and small holes in the finish. If you see white flakes in the water, your calcium may be too high. Keeping these levels in a safe range will help your pool finish last for a long time.
Handling stains and yearly changes
Stains can form on a marble dust pool finish from leaves, dirt, or metal bits. If you see a dark spot, try to brush it right away. Many stains are just on the surface and will come off with a stiff brush. For tough marks, you can use a stain remover made for pool plaster.
Do not use harsh tools like wire brushes. They can tear the finish. If you have trees near your pool, skim the water often. Natural things like acorns can leave brown marks if they sit on the bottom for too long.
On Long Island, we must deal with cold winters and big shifts in the weather. When you close your pool for the year, make sure the water is clean. Add winter chemicals to keep the water clear while the pool is off. A tight cover is a good tool to keep out dirt and trash.
If you use a mesh cover, check the water level and chemistry in the late winter. Snow and rain can change the balance of the water. Taking care of your pool in the cold months prevents a big mess in the spring. If you need help with a new pool build or a fix, we are here for you.
Is marble dust right for your Long Island pool?
Marble dust may be right for a Long Island gunite pool when a smooth feel and bright, classic appearance are priorities. Also called marcite, the finish combines Portland cement and crushed marble sand. Compare its texture, maintenance needs, and color options with alternatives before deciding.
When you plan your pool construction, the finish is one of the last steps. It sets the color of the water and the feel of the floor, while marble dust feels soft to the touch during long days of swimming.
The classic look and feel
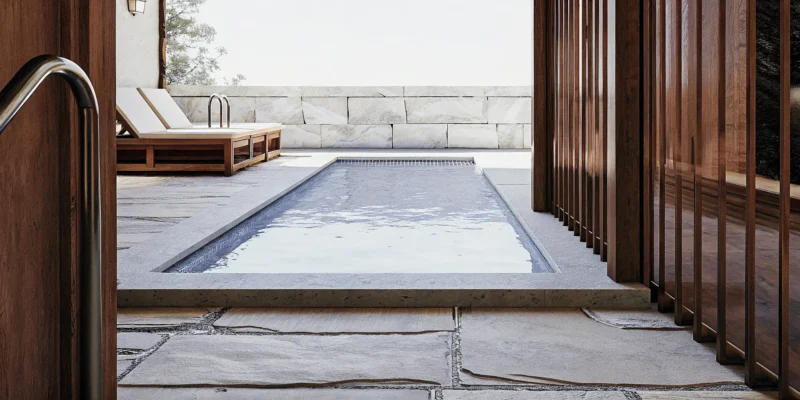
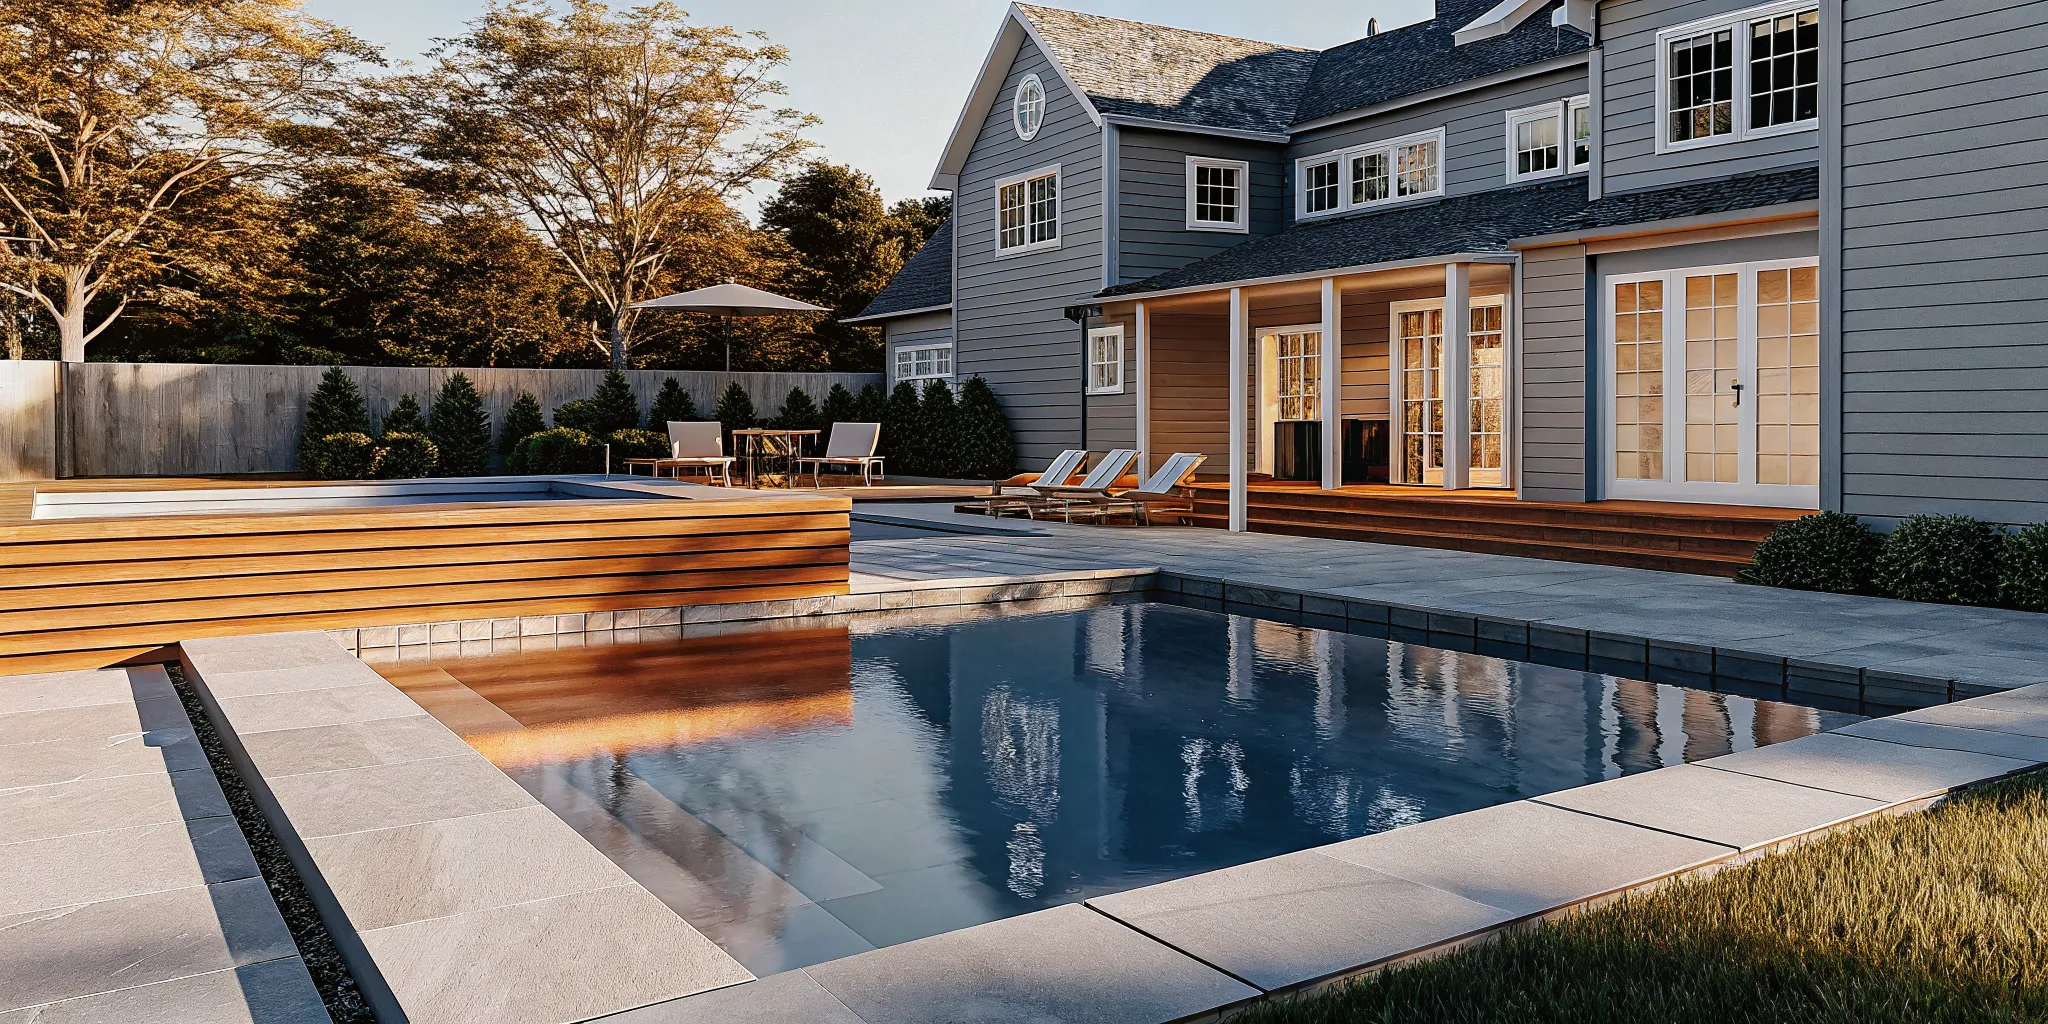
A marble dust finish gives your pool a crisp and white glow. When the sun hits the water, the white surface makes the pool look light blue and clear. This look fits well with many home styles on the island. Its smooth feel makes it a practical pick for steps and shallow areas where people sit or play.
The texture is tight and fine. This helps to keep the water clear and the surface easy to brush. Most people like how the pool stays bright even on cloudy days. The result is a classic style that does not quickly go out of fashion.
Strong and lasting results
Long Island weather can be tough on a pool. Our cold winters and hot summers mean you need a finish that lasts. Research shows that adding marble dust to cement mixes can make them stronger. One study found that marble dust helps durability and helps the mix resist damage from the weather.
A good install is also vital for your pool. Our experts at Gappsi Group make sure the mix is applied well. This stops thin spots or cracks that could lead to leaks later. When done right, a marcite finish can last for ten to fifteen years.
You just need to keep your water balance in check to keep it looking new. Proper care keeps the surface white and stops stains from forming over time.
Making your final choice
It is helpful to see these samples in person before you decide. You can visit the Gappsi showroom in Smithtown to see real samples of pool finishes. We can show you how marble dust looks next to other options like pebble or glass bead. Seeing the colors and feeling the textures helps you make a choice you will love for years.
We can also help you plan other parts of your yard, including the patio and landscape. We work with you from the first design to the final splash in your new pool.
Frequently Asked Questions
These answers cover the most common questions about marble dust terminology, colors, staining, and comparative cost. Because every pool and site differs, a professional inspection is the best way to evaluate the right finish and care plan for a specific property.
What is the difference between marcite and marble dust?
There is no real difference between these two terms. In the pool industry, marcite is just another name for a marble dust finish. Both refer to a mix of white Portland cement and crushed marble sand. This mix is the standard way to coat gunite pools on Long Island.
According to Gappsi, this classic choice remains common. It gives the pool a bright white look and a very smooth surface for swimmers.
Can you add color to a marble dust pool finish?
Yes, you can add liquid or powder tints to the mix to change the color. While white is the most common choice, many pool owners choose light blues or grays to give the water a deeper look. Keep in mind that dark colors may show streaks or fade over time due to the sun and pool salts. If you want a custom look, you can visit the Gappsi showroom to see different color options in person.
Does a marble dust pool finish stain easily?
Since it is a porous finish, marble dust can stain if you do not keep the water in check. Metals like iron or copper in the water can leave dark spots on the white walls. Debris like leaves can also leave marks if they sit on the floor for too long. According to Gappsi, frequent water testing and weekly brushing help prevent most stains.
Is marble dust the most affordable pool finish?
Yes, marble dust is often the most budget-friendly choice for finishing a gunite pool. It costs less than modern options like quartz or pebble because the parts are simpler. While it saves you money upfront, it has a shorter life than tougher finishes. Research shows that adding marble powder helps the cement resist water better, but the actual service life depends on installation and care.
Ready for your Long Island pool consultation?
A professional consultation can help you compare marble dust colors, assess the current gunite shell, and understand the application and startup process. Ask about a marble dust pool renovation and the appropriate next step for your Long Island property.
Ready to visit the Smithtown showroom or request a pool consultation? Visit our local Smithtown showroom to talk to a pool expert and start your pool project with our helpful crew today. We are here to help you get the best results for your home.