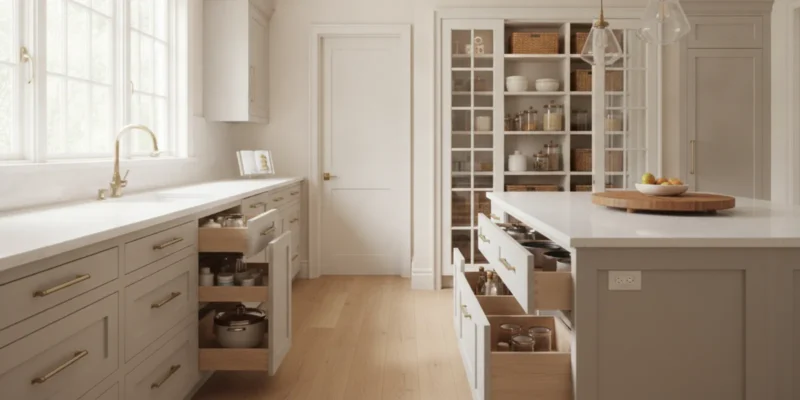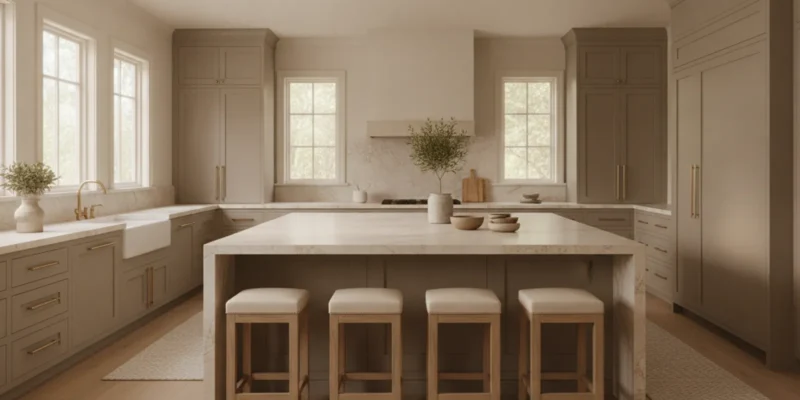
The best kitchen island size is the largest one that still leaves comfortable, usable walkways around it. For a kitchen remodel island size Long Island homeowners are planning, start with the room’s clear floor area, then account for cabinet doors, appliances, seating, and the way people move through the space. A well-fitted island supports cooking and gathering without turning the kitchen into an obstacle course.
Contact Gappsi through our contact page to discuss your kitchen project
Posted by Gappsi Group
What kitchen remodel island size works best on Long Island?
There is no single island dimension that fits every home. A compact island might be about 2 feet deep and 4 feet long; a more flexible work island often starts around 3 feet deep and 6 feet long. Larger islands can accommodate seating or appliances, but only if the surrounding aisles remain functional. Treat these as planning ranges, not fixed requirements: the room, household routines, cabinet plan, and appliance specifications decide what will work.
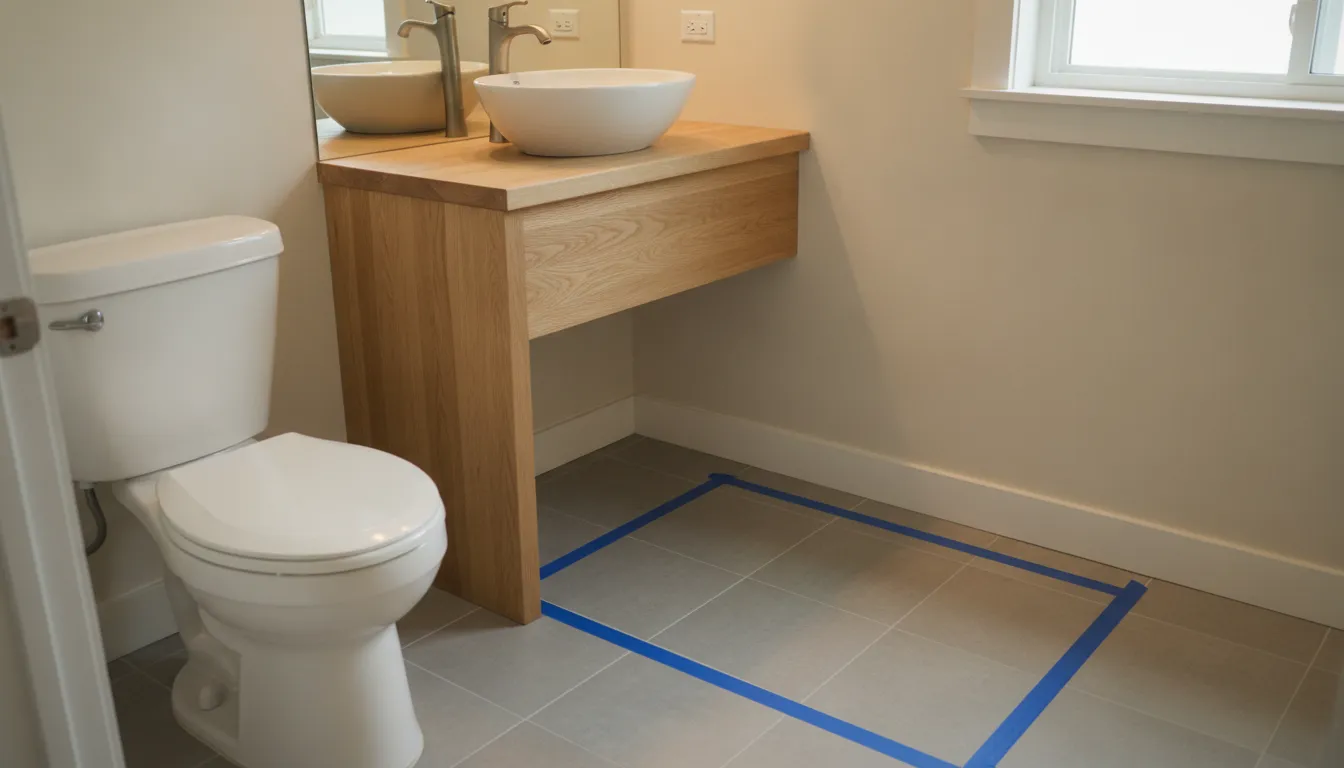
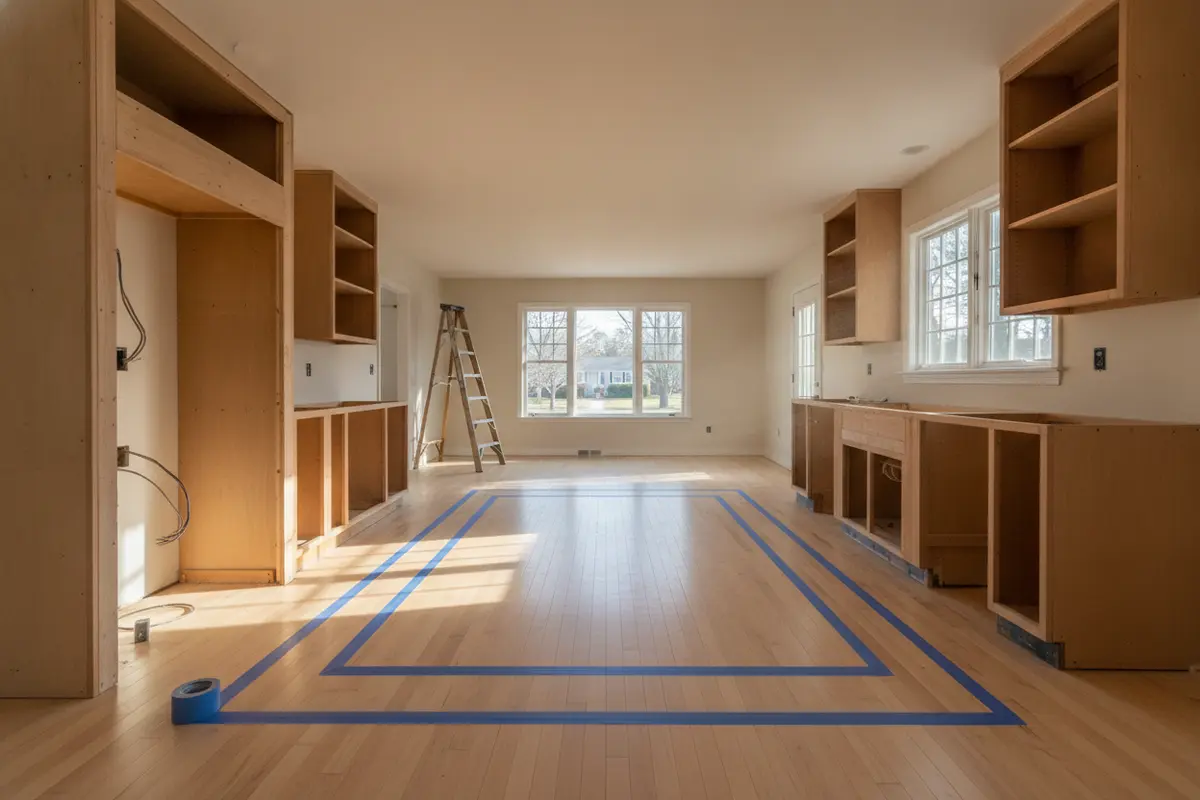
Measure the open floor area after planned cabinets and appliances are included, not just the room’s wall-to-wall dimensions. A kitchen can look spacious before a refrigerator, range, pantry door, or peninsula is drawn in. Sketch those fixed elements first. Then test island footprints with painter’s tape or cardboard on the floor. Walk the route from the refrigerator to the sink and range, pull out drawers, and sit where stools would go. This simple test can reveal a tight spot before construction begins.
Island size is a balance among three things: usable work surface, movement space, and the other jobs the island needs to perform. A smaller island with clear circulation can be more useful than an oversized one that blocks access to storage. Decide what the island must do before choosing its dimensions.
How much clearance should you leave around an island?
Plan the aisles before settling on the island footprint. A common starting point is about 36 inches for a passageway and roughly 42 inches for a working aisle used by one cook. A busy kitchen with two cooks, opposing appliance doors, or several people moving through may need more room. These are design guidelines, not a substitute for applicable code or a project-specific review.
Measure each aisle from the island’s finished edge to the nearest obstruction, such as a counter overhang, cabinet handle, appliance, or wall. Check the tightest point, not only the center of the aisle. A dishwasher door open in front of the sink can occupy a significant part of the route. A refrigerator door or pull-out pantry can create the same issue on the opposite side.
| Planning element | Useful starting point | What to check in your layout |
|---|---|---|
| Basic passageway | About 36 inches | Confirm people can pass without colliding with cabinet pulls or seating. |
| Working aisle | About 42 inches | Allow room for a cook to work while drawers or appliances are in use. |
| Two-cook or busy aisle | 42 inches or more may be more comfortable | Test opposing doors, traffic routes, and the number of people using the kitchen. |
| Compact island depth | About 24 to 30 inches | Check whether the surface can support the intended prep or storage tasks. |
| Seating overhang | Often about 12 to 15 inches | Confirm legroom, support, stool size, and the aisle behind seated people. |
Dimensions in a planning table are starting points, not a code checklist. Actual requirements can depend on the work, equipment, and local rules. For general building standards information, consult the International Code Council and verify applicable requirements with the local building department and qualified project professionals. Appliance manuals and cabinet plans also matter: use their stated door swings and clearances rather than estimating from a closed-door view.
One useful test is to draw appliance doors at full opening on the plan. Then mark a standing person’s space at the sink, range, and refrigerator. If those zones overlap in a way that prevents normal use, adjust the island, relocate a function, or rethink the traffic path. Do not assume a narrower aisle will feel fine because it looks acceptable on paper.
Which island dimensions suit different kitchens?
A narrow kitchen may suit a modest island or a movable worktable better than a fixed, deep block. If adding an island leaves only a tight route between it and the counters, a peninsula or a wall-side prep area may make better use of the room. The right answer is not always “make the island smaller”; it may be to choose a different layout.
For a medium-sized kitchen, an island around 3 feet by 6 feet can provide a practical prep surface and storage if the clearances work. A longer island can support more than one activity, such as food preparation at one end and informal seating at the other. Keep the tasks organized. A sink, cooktop, and seating packed together can leave little uninterrupted counter area and can complicate safe movement.
A larger kitchen may have room for a longer island, but scale alone does not make it useful. Consider how far someone must walk between the sink, refrigerator, and cooking surface. If an island becomes a barrier between those work areas, adjust its position or split functions across the perimeter and island. For open-plan rooms, also consider how the island relates to the dining and living areas, including sightlines and the route people take through the room.
For comparison, place three taped outlines on the floor: a compact footprint, a mid-size option, and the largest option that appears feasible. Walk each one with doors and drawers open. Note where two people would stand, where groceries would land, and where stools would project. The outline that preserves easy movement while meeting daily needs is usually the better design starting point.
How do storage and countertop shape affect the size?
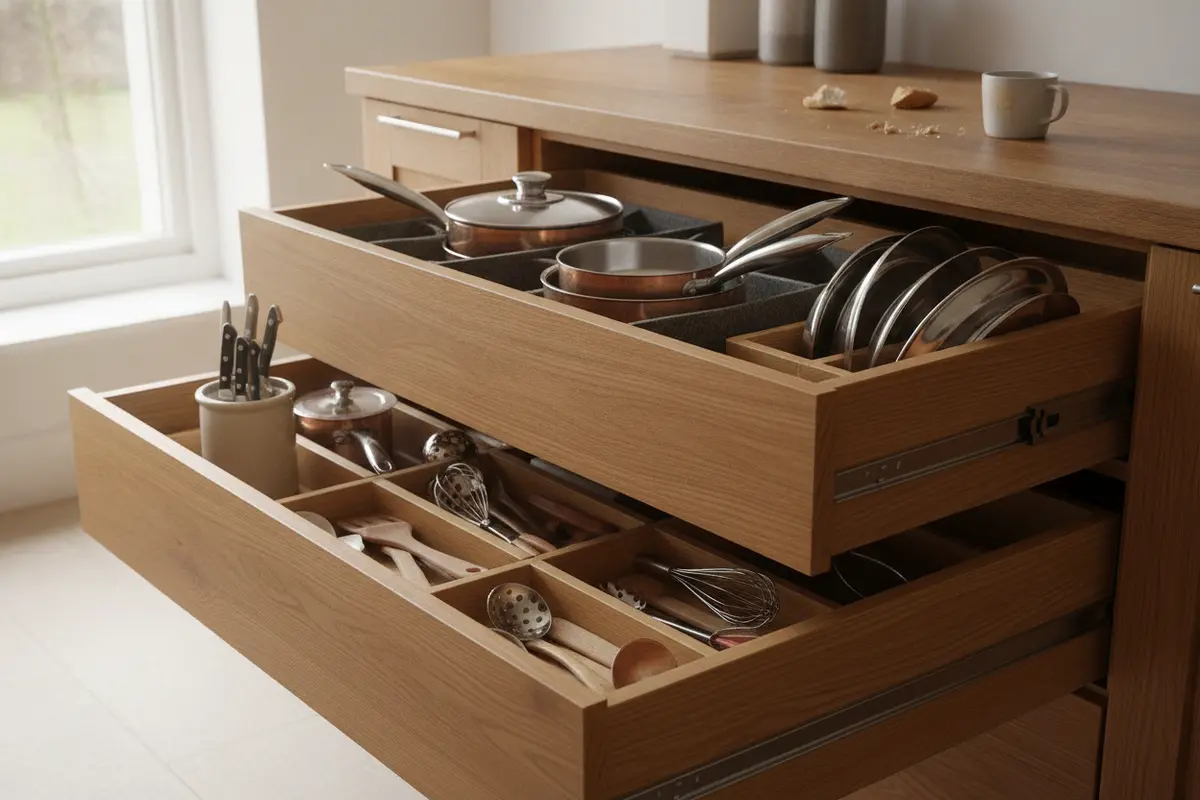
An island’s outside dimensions do not tell the whole story. A deep cabinet run, drawer banks, a finished back panel, and an overhang all take up space within or beyond the footprint. Decide which items need to live in the island, such as cookware, mixing bowls, serving pieces, or recycling, then check that the proposed cabinet arrangement can hold them. Deep drawers can be convenient for pots, while narrower drawers may work better for utensils. Keep frequently used items easy to reach from the part of the kitchen where they are used.
Countertop shape also changes how the island functions. A straight rectangle is easy to plan and can create a clear edge for seating. A modest extension at one end may allow stools without interrupting the main prep surface. An angled or irregular outline can respond to a room shape, but it may create awkward corners or reduce usable cabinet storage. Draw the countertop overhang separately from the cabinet box so you can see the actual edge and the area stools occupy.
Think about the work surface in zones. Leave a clear landing area near the refrigerator for groceries, space near the sink for preparation or cleanup, and enough uninterrupted surface for the tasks done most often. If several functions compete for one island, a wider or longer top is not automatically the answer. Moving storage to perimeter cabinets or choosing a peninsula may give each task more room without constricting the aisle.
Should the island include seating, a sink, or a cooktop?
Every additional feature affects the island’s dimensions and the amount of clear surface left over. Seating needs an overhang and enough room for people to sit without blocking a working aisle. As a planning range, allow about 24 inches of width per seated person, then check the actual stool dimensions and how much elbow room household members prefer. The rear aisle must still work when someone is seated and another person walks past.
A sink needs plumbing access, a faucet zone, and nearby space for dishes or food preparation. A dishwasher adds another door swing to test. A cooktop calls for careful coordination with ventilation, power or fuel, landing areas, and the clearances required by the product. These choices can change the layout and construction scope, so confirm them before finalizing the island dimensions.
Consider whether a feature belongs on the island at all. If the island is the household’s main gathering point, a clear countertop may be more valuable than a cooktop. If the sink is placed there, plan for splash, cleanup, and a usable prep area. If seating is the priority, avoid letting a large appliance divide the conversation space from the rest of the room.
How can you plan kitchen remodel island size Long Island homes need?
Start by recording the room’s inside dimensions and the locations of doors, windows, plumbing, electrical connections, and fixed appliances. Mark cabinet depths and any trim or handles that project into an aisle. If the remodel changes these locations, use the proposed plan rather than relying on the existing kitchen alone.
- List the island’s jobs. Choose the main purpose: prep surface, storage, seating, sink, cooking, or a combination. Rank the jobs so the design protects the most important one.
- Map daily movement. Trace the routes from the entry to the refrigerator, sink, range, dining area, and pantry. Note where household traffic crosses the cook’s work area.
- Set aisle targets. Mark working and passage aisles around the proposed island. Check them with doors and drawers open and with a person standing at each work area.
- Choose the footprint. Compare a compact, middle, and larger outline. Keep enough uninterrupted counter for the tasks you identified.
- Test seating and equipment. Add the actual stool footprint and appliance dimensions. Check overhang support and manufacturer instructions for the selected equipment.
- Review the whole room. Consider lighting, outlets, storage access, flooring transitions, and how the island relates to adjoining rooms. Confirm construction and permitting questions with the appropriate professionals.
For Long Island homes, the planning conversation should use the dimensions and constraints of the actual property rather than assumptions about a typical house. Existing walls, structural conditions, and the location of utilities may affect what can move. A clear drawing that identifies the island, cabinets, appliances, door swings, and aisles helps homeowners compare alternatives and discuss the scope of a remodel.
Financing questions can also be part of early project planning; see Gappsi financing information as you organize the next steps. If the kitchen opens to an outdoor entertaining area, think about how people will move between spaces and use the backyard project archive or patio project examples for broader indoor-outdoor planning ideas.
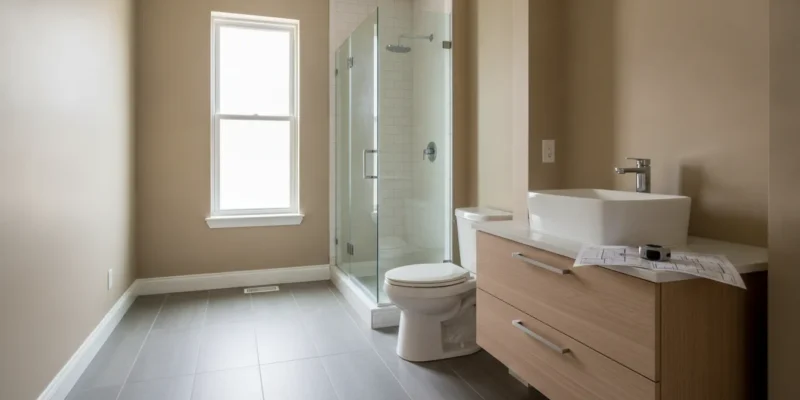
Material choices should follow the project’s design and practical needs. If you are comparing surfaces or finishes, the Gappsi Store offers a starting point for exploring materials and products. Related porcelain tile examples may help when considering how a floor finish relates to adjoining areas. For wider property work, browse hardscaping projects and project examples to see how design choices connect across a home.
A remodel may involve more than one part of the property. Gappsi’s masonry project archive and Gappsi project updates provide examples of other work around Long Island homes. For island sizing itself, base decisions on the kitchen plan, appliance specifications, and the household’s daily routines.
How should you compare two island plans?
Compare plans by the work they support, not by countertop area alone. For each version, list what fits in the island, what remains on the perimeter, and which tasks can happen at the same time. If one plan has more storage but forces a cook to cross the main walkway to reach the refrigerator, note that trade-off. If another provides seating but leaves little room for food preparation, ask whether the seating is worth that loss for your household.
Review the drawings at a useful scale and check the measurements in writing. Confirm the proposed island’s finished length and depth, counter overhang, cabinet configuration, and distance to every nearby counter or wall. Mark doors and drawers in their open positions. Where two routes intersect, think about who uses each one and whether someone can pass while another person is working. These checks help turn a general preference into a clear design decision.
It can also help to rank priorities as essential, preferred, or optional. For example, clear access to the refrigerator and sink may be essential, seating for three may be preferred, and a built-in appliance may be optional. If the available room cannot support every feature comfortably, this list makes it easier to adjust the plan without losing the functions that matter most.
What mistakes should you avoid when sizing an island?
- Choosing the island before laying out the room. Appliances, cabinets, and traffic routes determine the space left for the island.
- Measuring closed doors only. Open dishwasher, refrigerator, and cabinet doors can occupy aisle space and interrupt movement.
- Adding seating without testing the rear aisle. Stools and seated people project beyond the counter edge.
- Overloading the countertop. A sink or cooktop can reduce prep space, even when the island is large.
- Using room dimensions as finished clearances. Counters, handles, trim, and overhangs reduce usable space.
- Assuming a rule of thumb replaces review. Product instructions, project details, and local requirements need confirmation.
Before approving a plan, ask for the finished island dimensions and the clear aisle dimensions to be shown separately. Review appliance models, seating locations, and any structural or utility work. If an option looks tight, test it at full scale on the floor rather than relying on a small drawing.
Contact Gappsi through our contact page to discuss your kitchen remodel plans
Frequently Asked Questions
How big should a kitchen island be for four stools?
As a starting point, plan roughly 24 inches of island width per person, or about 8 feet for four seats, then confirm the specific stool sizes and preferred elbow room. The overhang and aisle behind the stools also need to fit without obstructing traffic.
Is a 36-inch aisle wide enough around an island?
About 36 inches can work as a basic passageway, but a working aisle is often planned closer to 42 inches, with more room useful in busy or two-cook kitchens. Test the layout with appliances open and consult the applicable project requirements.
Can a kitchen island be too large?
Yes. An oversized island can narrow walkways, block cabinet access, and separate the main work areas. The best footprint preserves circulation and leaves enough counter for the tasks the island is meant to support.
Does a kitchen island need a sink or cooktop?
No. A clear island can be valuable as a prep and serving surface. A sink or cooktop may help a particular layout, but each adds equipment, utility, clearance, and planning considerations.
Contact Gappsi through our contact page to talk through your project
A kitchen island works best when it fits the room and the way people use it every day, with clear walkways taking priority over an arbitrary size.