View Gappsi’s YouTube Channel to view Auroom Mira L Cabin Sauna Installed in Wainscott, NY: Luxury Outdoor Wellness by Gappsi
As more homeowners embrace wellness-focused outdoor living spaces, luxury home saunas have become one of the most sought-after additions to residential properties across Long Island. A professionally installed outdoor sauna provides a private retreat for relaxation, stress relief, muscle recovery, and year-round enjoyment, while increasing your home’s value and appeal.
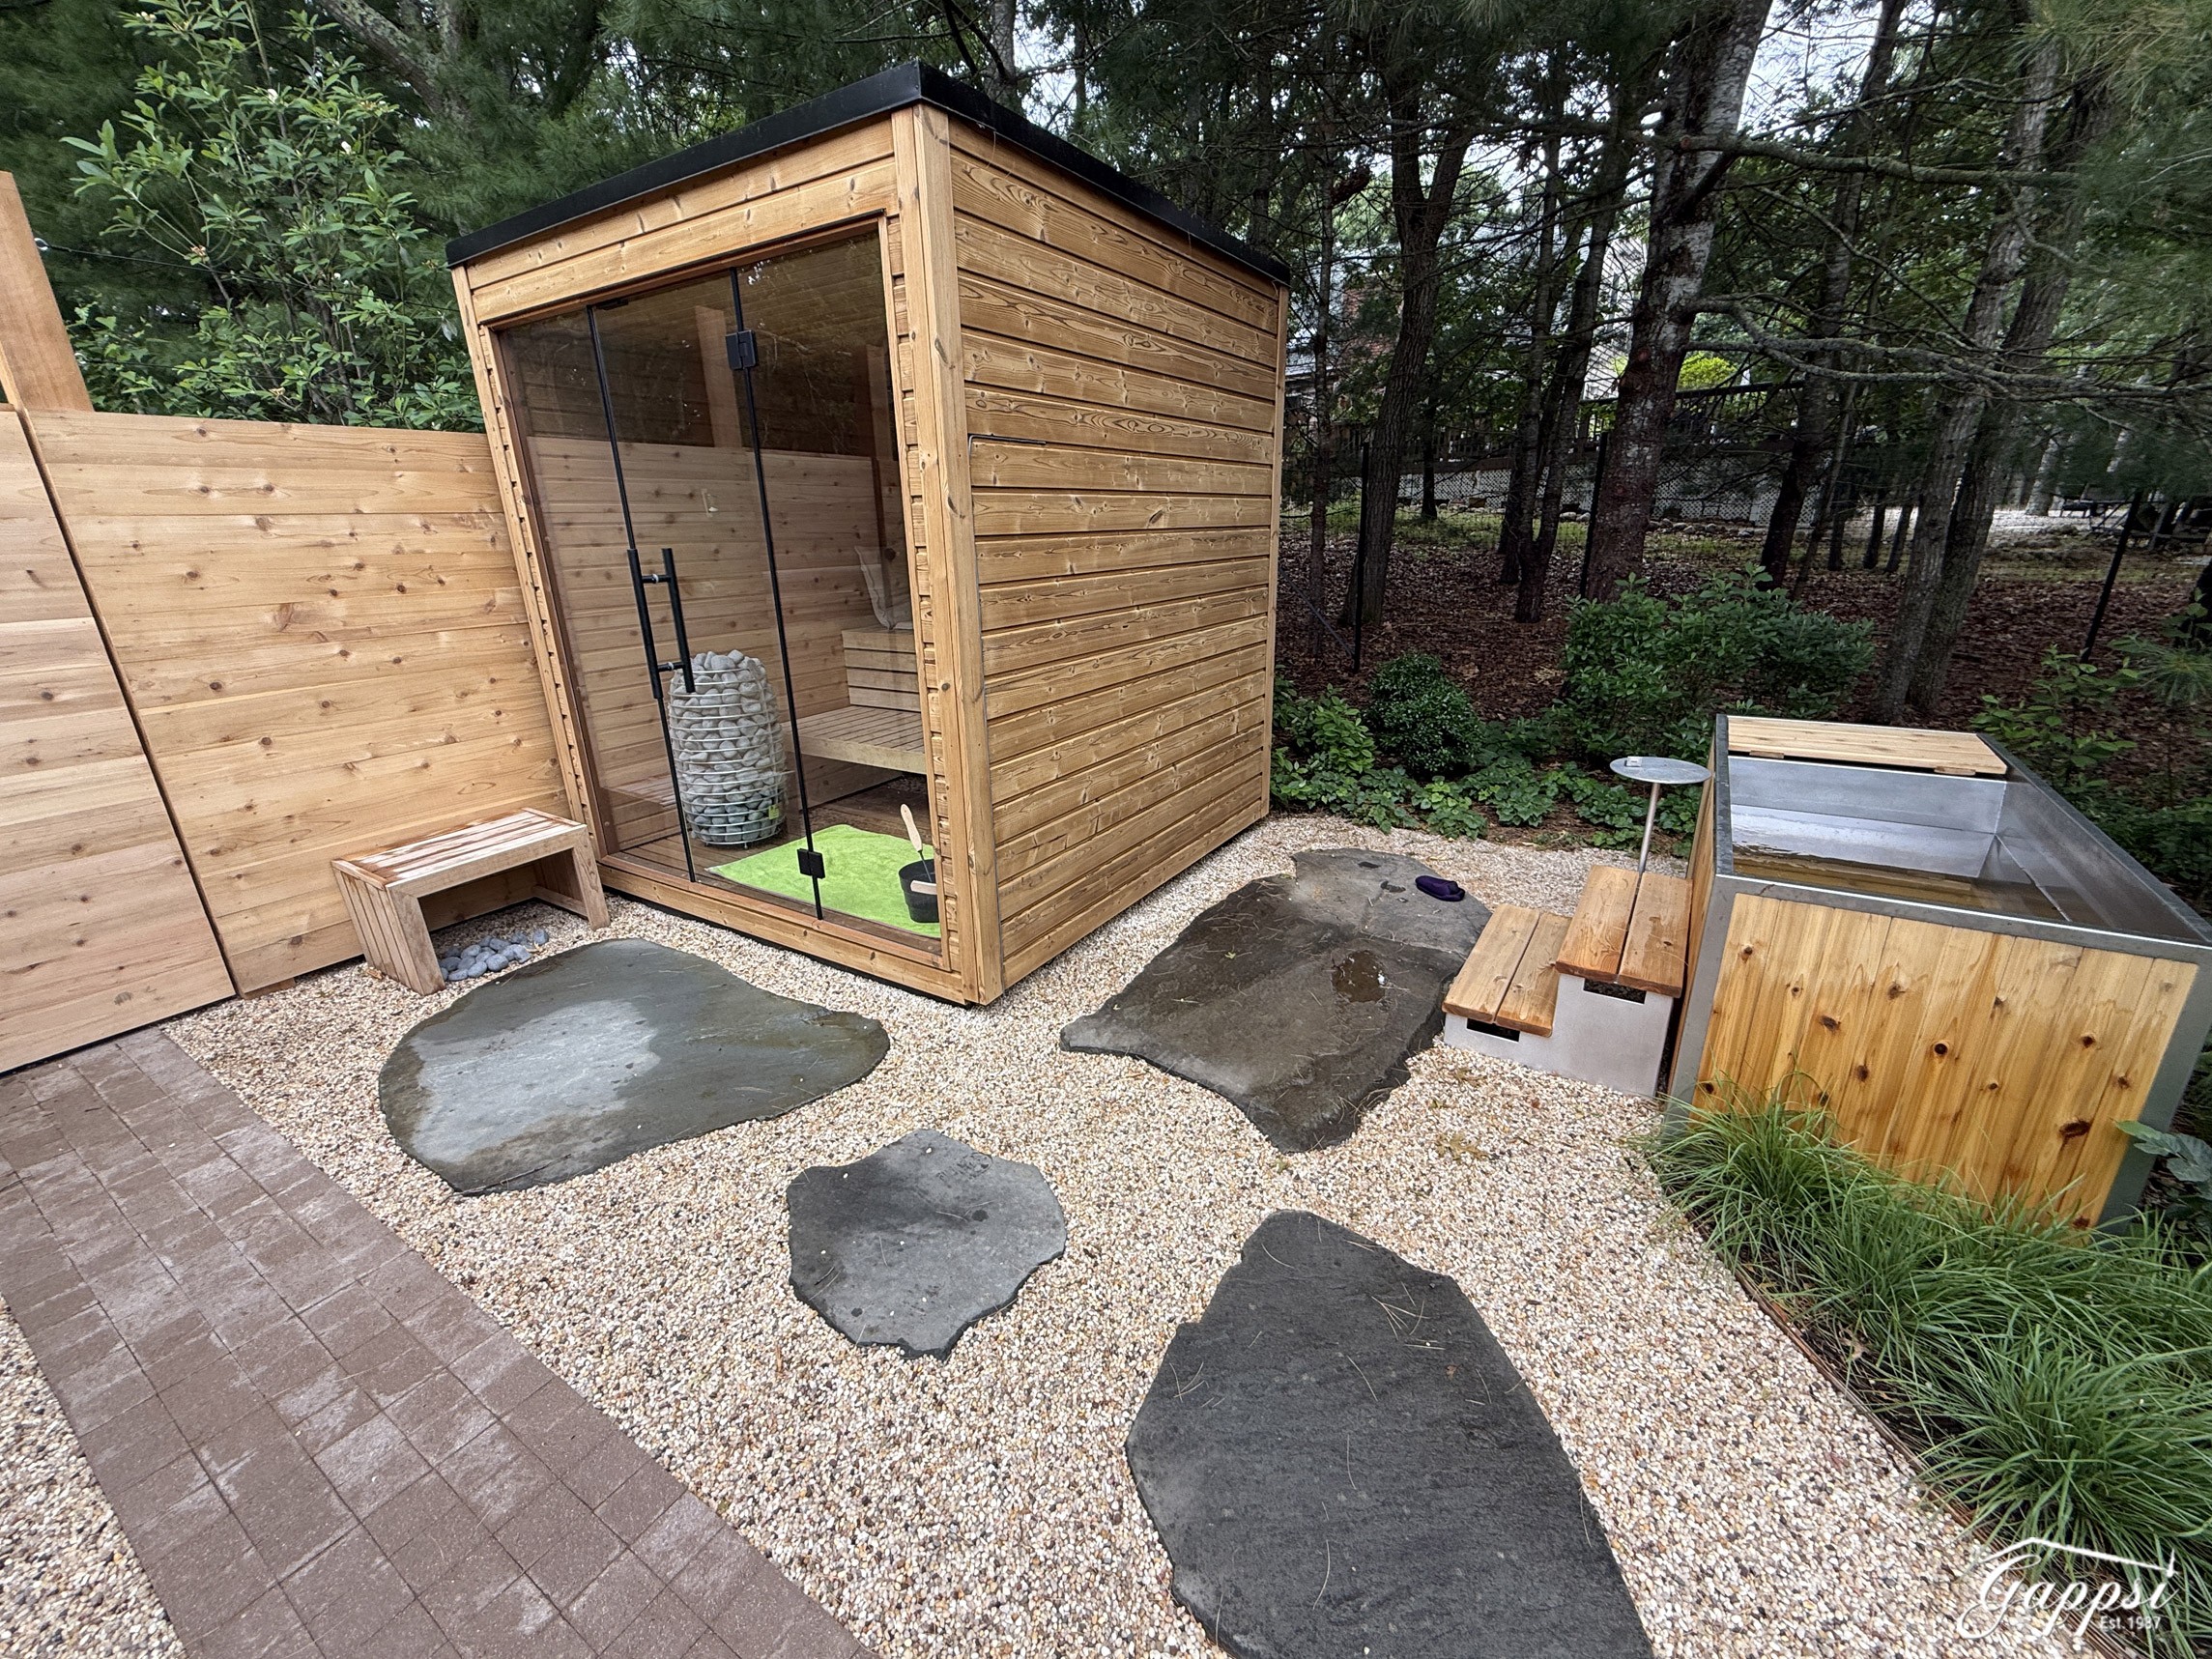
Gappsi recently completed another premium outdoor sauna installation in Wainscott, NY, featuring the elegant Auroom Mira L Cabin Sauna. This project combines exceptional craftsmanship, sophisticated design, and beautiful landscaping to create a tranquil wellness destination just steps away from the client’s home.
Luxury Outdoor Sauna Installation in Wainscott, NY
Located in the beautiful Hamptons, Wainscott homeowners often invest in outdoor spaces that blend functionality with luxurious aesthetics. For this project, the client wanted more than just a sauna; they envisioned a complete outdoor wellness experience that complements the surrounding landscape while providing a peaceful escape from everyday life.
The centerpiece of this installation is the Auroom Mira L Cabin Sauna, one of today’s most elegant prefabricated luxury sauna models. Known for its premium craftsmanship and modern Scandinavian-inspired design, the Mira L offers both exceptional performance and timeless beauty.
Gappsi handled the complete installation, ensuring every component was professionally assembled and seamlessly integrated into the surrounding landscape.
Premium Auroom Mira L Cabin Sauna
The Auroom Mira L Cabin Sauna is designed with both luxury and durability in mind. Every detail reflects high-end craftsmanship, from the carefully selected cedar wood to the sleek architectural lines that make this sauna a standout feature in any backyard.
For this Wainscot installation, the client selected a beautiful clear cedar exterior finish, allowing the wood’s natural grain and warmth to become part of the landscape design.
The natural cedar blends effortlessly with the outdoor environment while providing exceptional resistance to weather and moisture. Cedar has long been recognized as one of the finest woods for sauna construction because of its durability, pleasant aroma, and ability to withstand repeated heating and cooling cycles.
For homeowners seeking a different aesthetic, the Auroom Mira L is also available with a striking black exterior finish, offering a contemporary architectural appearance that complements modern homes.
Beautiful Cedar Interior
One of the most impressive aspects of the Mira L Cabin Sauna is its luxurious interior craftsmanship.
The entire interior is finished using premium cedar, creating an inviting atmosphere that feels more like fine custom furniture than a traditional sauna. Every surface has been carefully finished to showcase the wood’s natural beauty while providing maximum comfort for users.
The rich cedar aroma immediately creates a calming environment, enhancing the overall wellness experience. Many sauna enthusiasts appreciate cedar not only for its appearance but also for its naturally pleasant fragrance that contributes to relaxation.
The warm tones of the wood create a peaceful setting that encourages users to slow down, unwind, and enjoy the therapeutic benefits of sauna bathing.
Full Glass Front Creates an Open Feel
A defining feature of the Auroom Mira L Cabin Sauna is its stunning full-glass front wall.
Rather than feeling enclosed, users can enjoy uninterrupted views of the surrounding landscape while relaxing inside the heated cabin. This expansive glass opening fills the sauna with natural light during the day and creates a spectacular visual connection between the indoor and outdoor environments.
Whether overlooking gardens, a pool, natural stone patios, or wooded landscapes, the glass front transforms the sauna experience by immersing users in nature.
For this Wainscott property, the surrounding landscaping enhances these views, making every sauna session even more enjoyable.
Comfortable Two-Level Bench Seating
Inside the sauna, the Mira L features two beautifully crafted cedar benches at different heights.
The upper bench allows users to enjoy higher temperatures since heat naturally rises, while the lower bench offers a slightly cooler seating option. This two-level configuration provides flexibility for different comfort preferences and accommodates multiple users simultaneously.
The ergonomic bench design makes extended sauna sessions comfortable while showcasing the exceptional woodworking quality that Auroom is known for.
Modern Harvia Heater Delivers Superior Performance
Every premium sauna requires an equally impressive heating system.
This installation features a sleek Harvia heater, recognized worldwide for its reliability, efficiency, and modern Scandinavian design.
The Harvia heater complements the clean lines of the Mira L Cabin Sauna while delivering consistent temperatures throughout the cabin. Its minimalist appearance integrates seamlessly with the cedar interior without distracting from the wood’s natural beauty.
The result is an efficient heating system that delivers the authentic Finnish sauna experience homeowners expect from a luxury outdoor sauna.
Integrated Chiller Installation
As part of this project, Gappsi also installed the sauna’s chiller unit near the cabin.
The strategic placement allows for easy accessibility while maintaining the clean appearance of the outdoor living area. Integrating supporting equipment into the overall design is an important part of creating a polished, professional installation.
Gappsi carefully planned the equipment layout to ensure both functionality and aesthetics were achieved without disrupting the surrounding landscape.
Custom Landscaping Completes the Outdoor Retreat
A luxury sauna deserves equally beautiful surroundings.
To complement the Mira L Cabin Sauna, Gappsi installed random bluestone stepping stones set within a gravel landscape.
This combination creates a natural pathway leading guests toward the sauna while adding texture and visual interest to the backyard. Bluestone has long been one of Gappsi’s preferred natural stone materials because of its timeless appearance, durability, and ability to blend seamlessly into Long Island landscapes.
The surrounding gravel provides excellent drainage while giving the installation a clean, modern finish that enhances the overall outdoor design.
Together, the sauna, stone pathway, and surrounding landscape create an inviting wellness retreat that feels intentionally designed rather than simply added to the property.
Benefits of Installing an Outdoor Sauna
More homeowners throughout Long Island are investing in outdoor saunas because they offer numerous health and lifestyle benefits.
Regular sauna use may help:
- Promote relaxation and reduce stress
- Improve circulation
- Support muscle recovery after exercise
- Encourage better sleep
- Provide a private wellness retreat at home
- Enhance outdoor entertaining spaces
- Increase property value
- Extend enjoyment of outdoor living areas throughout the year
When professionally installed, an outdoor sauna becomes a permanent luxury feature that families and guests can enjoy for many years.
Why Choose Gappsi for Outdoor Sauna Installation?
Installing a premium outdoor sauna requires experience, precision, and attention to detail. Gappsi specializes in designing and constructing complete outdoor living environments that combine beauty, functionality, and lasting craftsmanship.
From site preparation and equipment installation to custom landscaping and finishing touches, every project is completed with the same commitment to quality that has made Gappsi one of Long Island’s premier outdoor living contractors.
Whether you’re looking to install a luxury sauna, outdoor kitchen, pergola, patio, pool area, or complete backyard transformation, Gappsi provides expert design and installation services tailored to your property and lifestyle.
Experience Luxury Outdoor Wellness
This beautiful Auroom Mira L Cabin Sauna installation in Wainscott, NY, showcases how premium materials, thoughtful landscaping, and expert craftsmanship can transform an outdoor space into a private wellness destination.
Featuring a clear cedar exterior, luxurious cedar interior, expansive glass front, comfortable two-level seating, a sleek Harvia heater, integrated chiller, and custom bluestone landscape design, this project represents another successful luxury installation completed by Gappsi.
If you’re considering adding an outdoor sauna or creating a complete backyard wellness retreat, contact Gappsi today. Our experienced team can help you design and install a custom outdoor living space that combines comfort, beauty, and lasting value for your Long Island home.
Contact Gappsi Today
📍 Serving all of Long Island, NY — Nassau & Suffolk Counties
🌐 https://www.gappsi.com/
📞 Call now for a free consultation and estimate