24x24x2 Pavers for Long Island Driveways and Patios
24x24x2 pavers give driveways, patios, and pool decks a clean large-format appearance while providing the thickness needed for demanding outdoor applications. The square format creates fewer visual interruptions than smaller units, which can make a compact backyard feel calmer and a wide driveway feel more intentional. The best result, however, depends on choosing the right material and building the base for the actual site conditions.
Contact Gappsi to compare materials and plan your Long Island project.
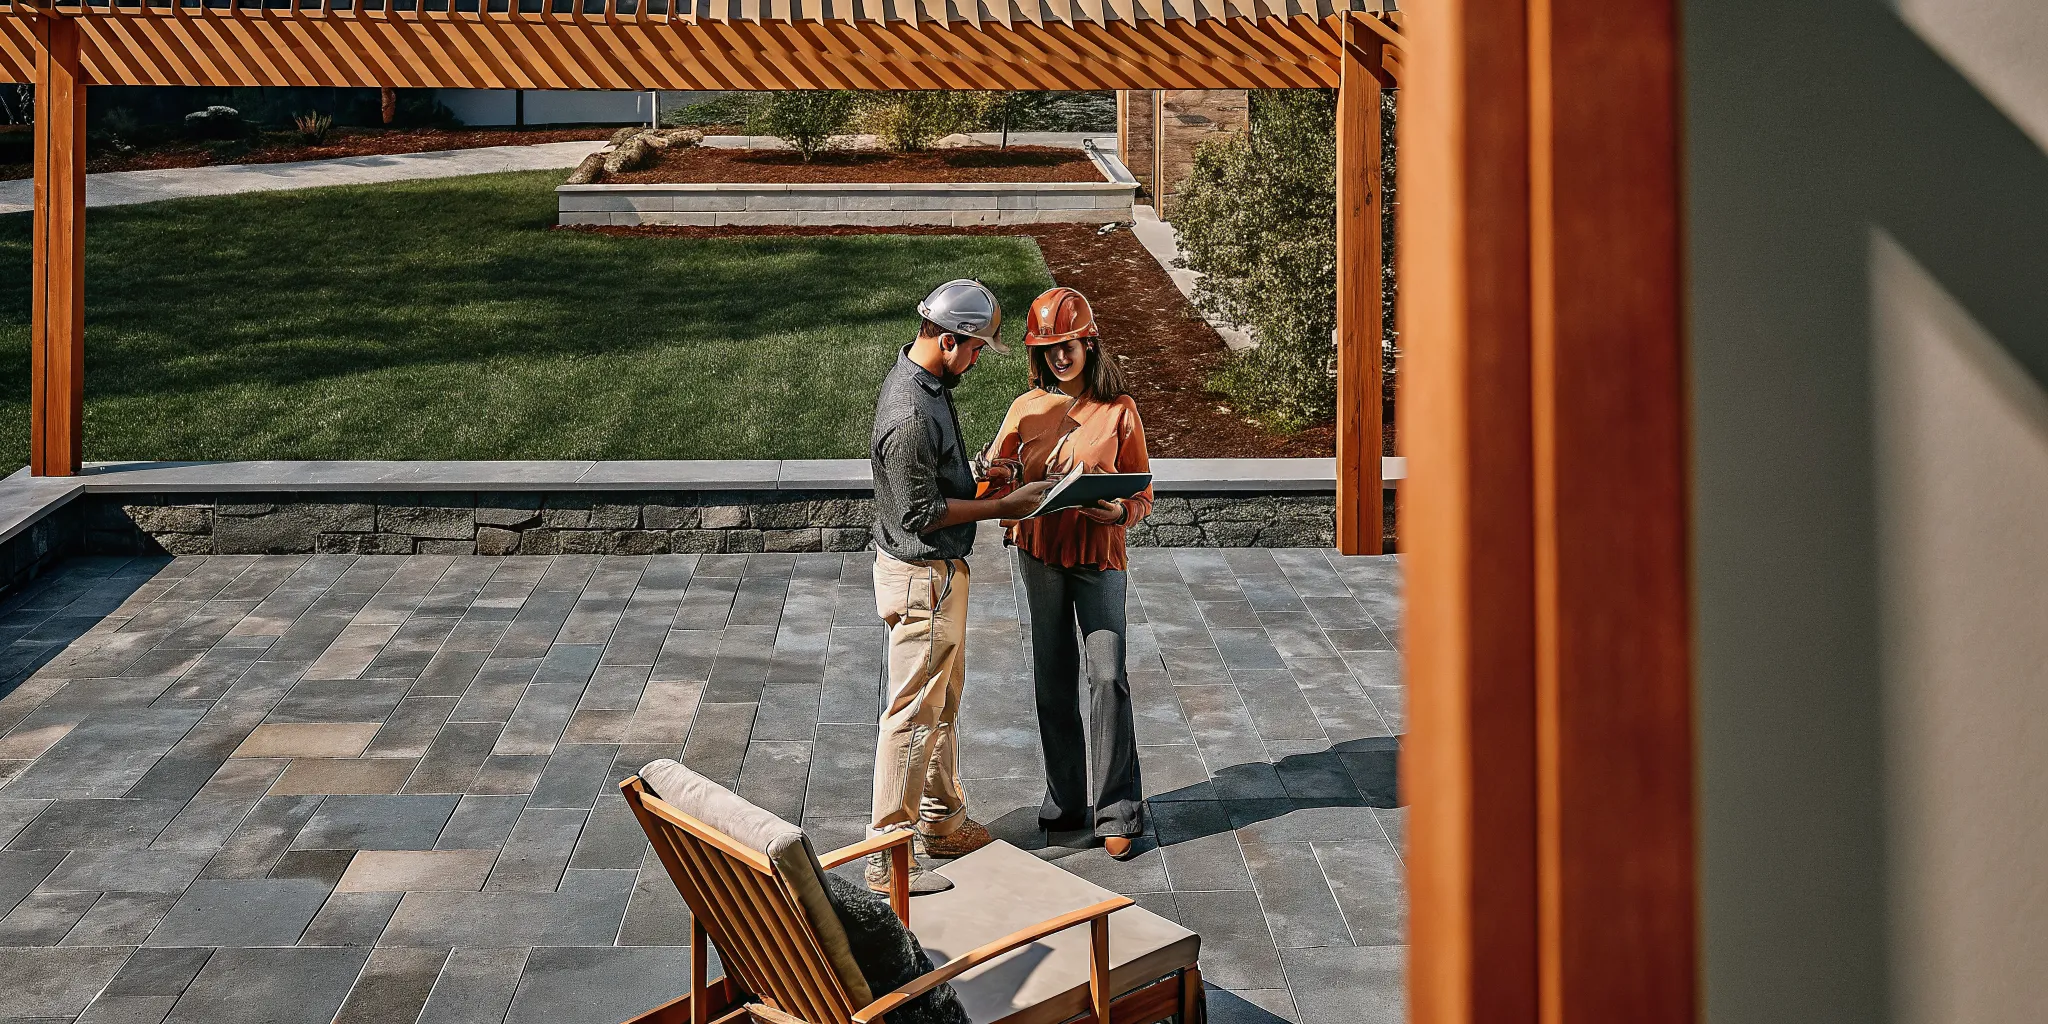
For homeowners in Nassau and Suffolk Counties, freeze-thaw cycles, drainage, vehicle loads, and pool exposure all influence the specification. Gappsi brings material selection, design, and installation planning together, helping homeowners move from a sample in the Smithtown showroom to a finished outdoor space with fewer handoffs.
What are 24x24x2 pavers?
In brief: A 24x24x2 paver is a large square paving unit measuring about two feet on each side and two inches thick. Its broad face creates a modern grid, while its substantial profile supports outdoor installations when paired with a properly engineered base.
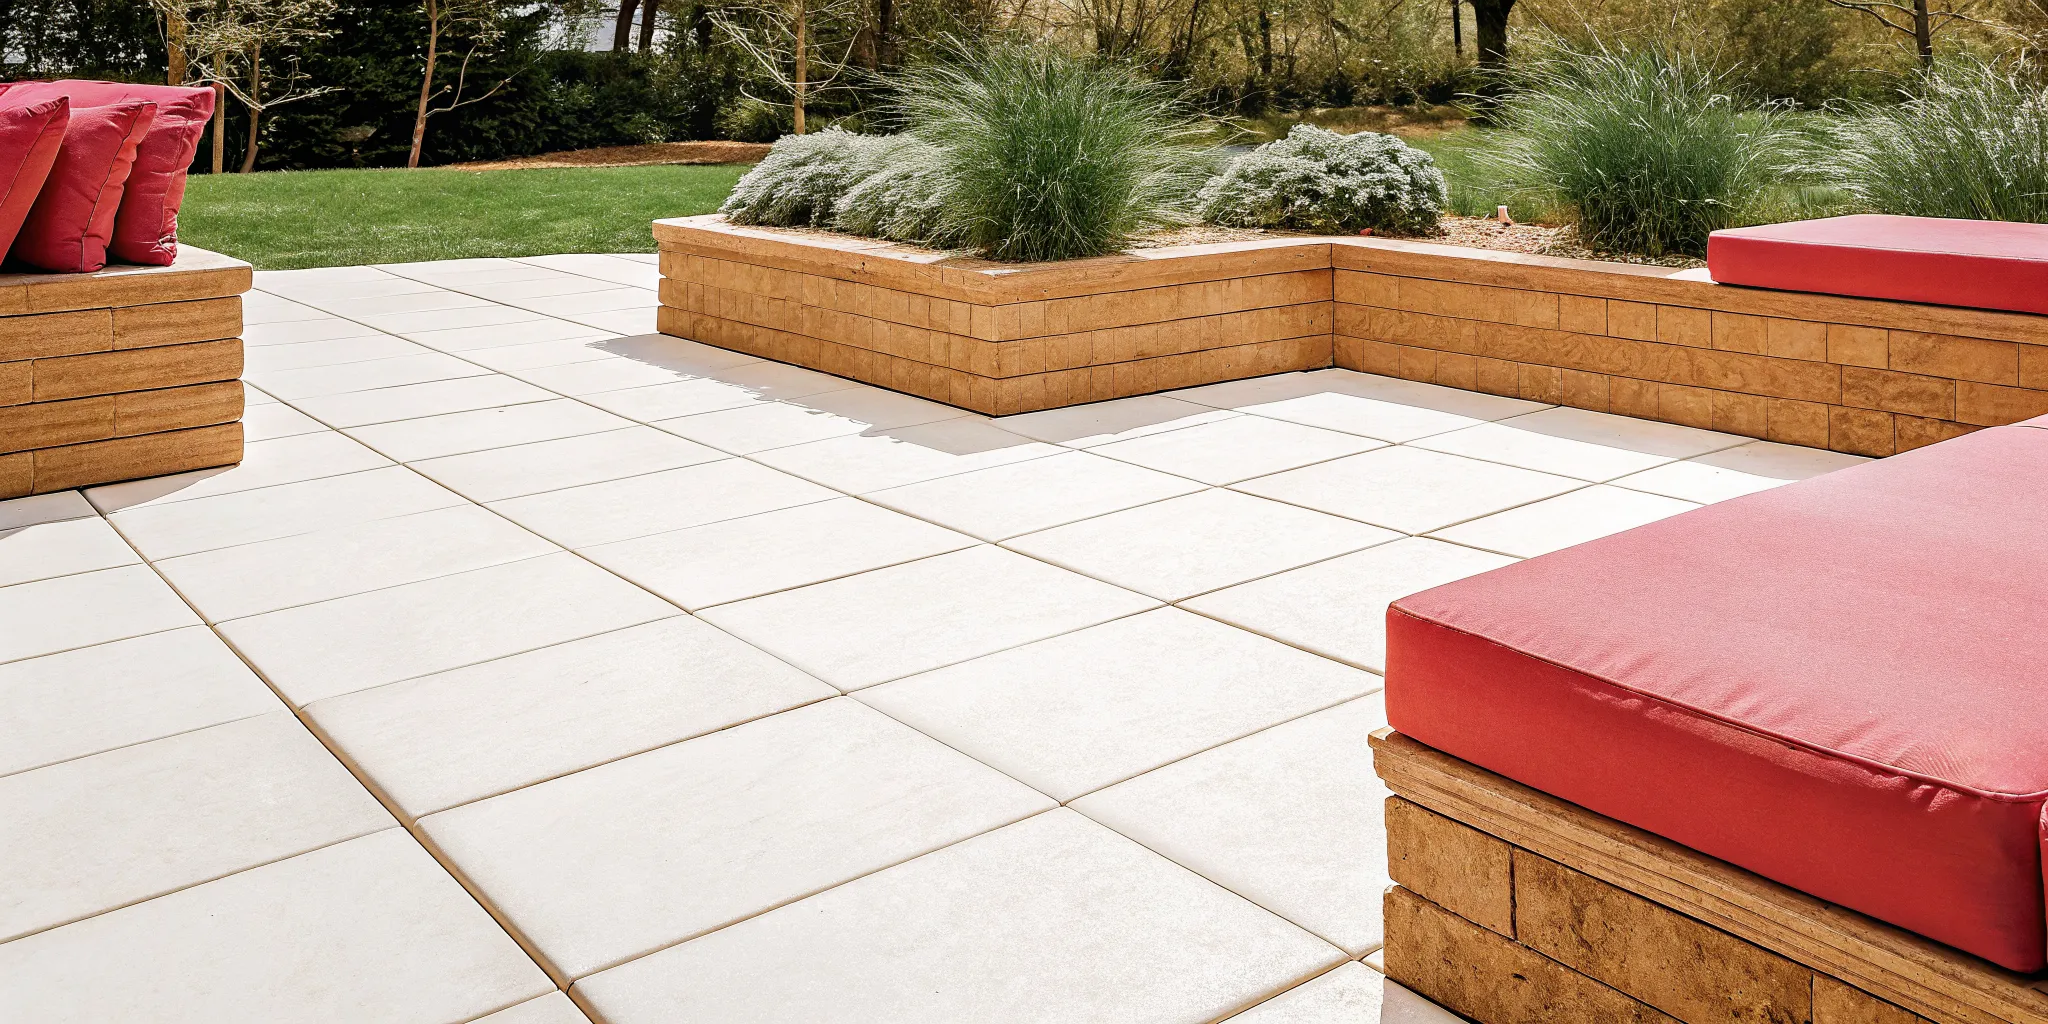
The dimensions affect both appearance and construction. Each unit covers four square feet, so every paver becomes a noticeable part of the pattern. Straight joints emphasize architecture and symmetry. An offset layout softens the grid and can make long areas feel less rigid. Because the units are large, small changes in grade or base compaction are more visible than they might be with a smaller-format paver.
The term describes size, not one specific material. Options may include porcelain, natural stone, or concrete. Those materials differ in surface texture, edge character, stain response, color variation, and installation requirements. Homeowners should compare physical samples outdoors, where natural light reveals differences that showroom lighting may not show.
A useful design decision starts with the location, not the color. A driveway requires a different load strategy than a pedestrian patio. A pool surround adds wet-surface comfort and maintenance concerns. Gappsi’s porcelain and natural stone paver selection gives homeowners a practical place to compare those options.
Where do large-format pavers work best?
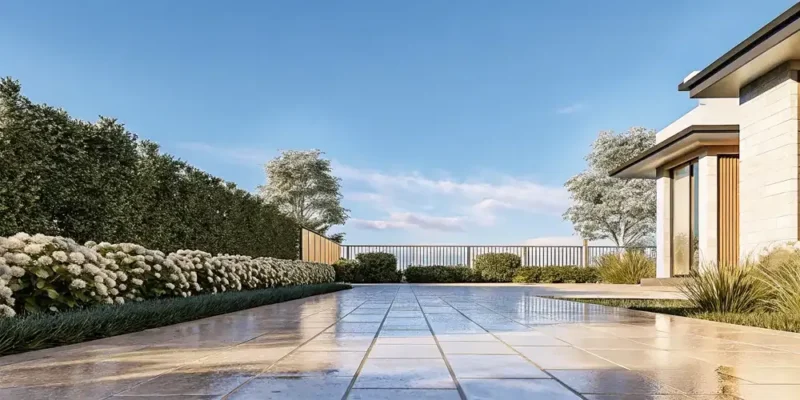
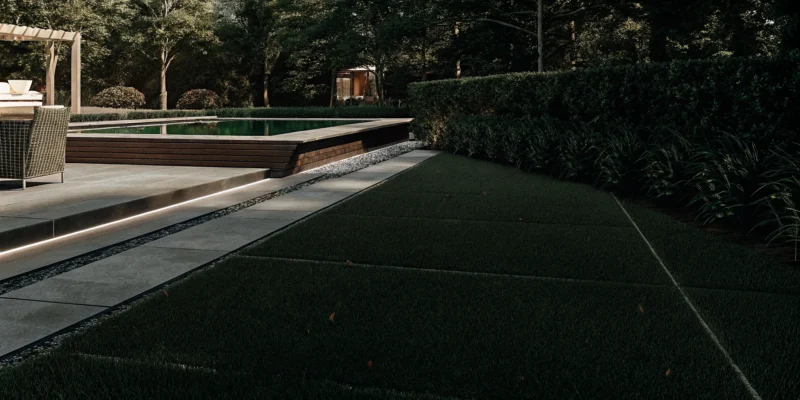
In brief: Large-format pavers work best where their scale can organize the view, including broad driveways, open patios, straight walkways, and pool decks. They can also suit smaller spaces when the layout is planned to limit awkward cuts.
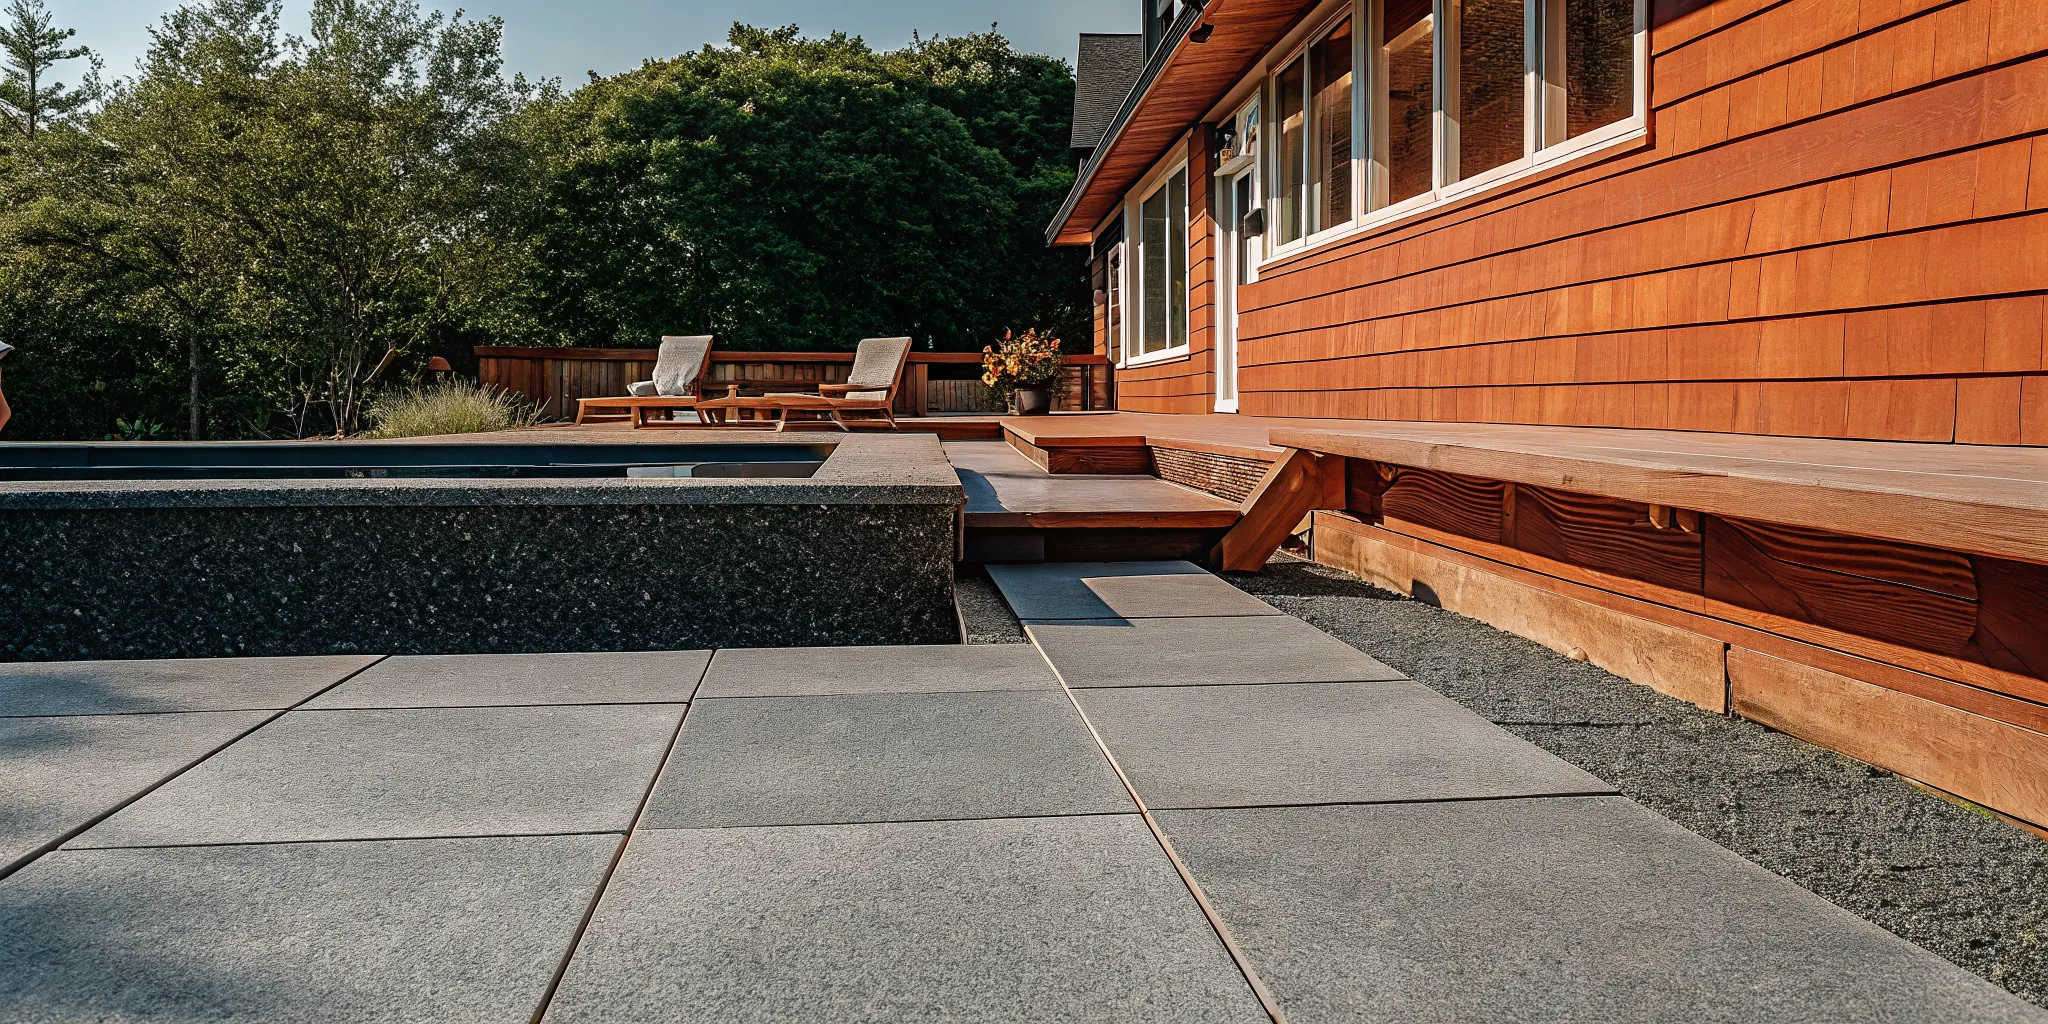
On a driveway, a disciplined grid can visually connect the street, entry walk, and home. On a patio, the same format can create a restrained surface that allows furniture, planting, and an outdoor kitchen to stand out. Around a pool, broad units reduce the number of joints across the deck and help create a clean visual frame around the water.
Scale should be tested before installation. A two-foot module may land neatly between a house wall and pool edge on one property, but create narrow perimeter cuts on another. A layout drawing helps determine the starting line, border treatment, and joint alignment before the first paver is set. This planning step is especially valuable around steps, columns, curves, drains, and utility covers.
Large units can also bridge different outdoor zones. Repeating one format from a patio to a walkway creates continuity, while changing the laying direction can signal a transition without introducing another material. Homeowners considering a complete backyard plan can review Gappsi’s Long Island masonry design and construction services.
How should homeowners choose the material?
In brief: Choose the material by balancing appearance with the site’s load, exposure, maintenance needs, and desired surface character. Size alone does not determine whether a paver is right for a driveway, patio, or pool deck.
Porcelain for a controlled, contemporary look
Porcelain can offer consistent sizing and a refined stone-look surface. It is often considered for contemporary outdoor designs where crisp edges and controlled color variation matter. Homeowners should confirm that the selected product, finish, and installation system are intended for the planned exterior application.
Natural stone for individual character
Natural stone brings variation in color, movement, and texture. Each piece contributes to the finished composition. So a sample should be evaluated as part of a broader range rather than as an exact promise of every installed unit. Stone selection should also account for the exposure and maintenance expectations of the property.
Concrete for additional design options
Concrete pavers are available in many colors and finishes. Product suitability still depends on the manufacturer specification and installation design. For any material, ask how edges will be restrained, joints handled, cuts placed, and transitions finished. These details often separate a deliberate result from a surface that merely uses attractive units.
The decision is easier when samples are compared next to siding, masonry, coping, and other permanent finishes. Gappsi’s porcelain pavers guide provides additional context for homeowners evaluating porcelain.
| Material | Visual character | Planning focus |
|---|---|---|
| Porcelain | Controlled sizing and refined stone-look options | Confirm exterior application, finish, and installation system |
| Natural stone | Individual color, movement, and texture | Review expected variation, exposure, and maintenance |
| Concrete | Broad range of colors and finishes | Confirm product suitability and complete assembly design |
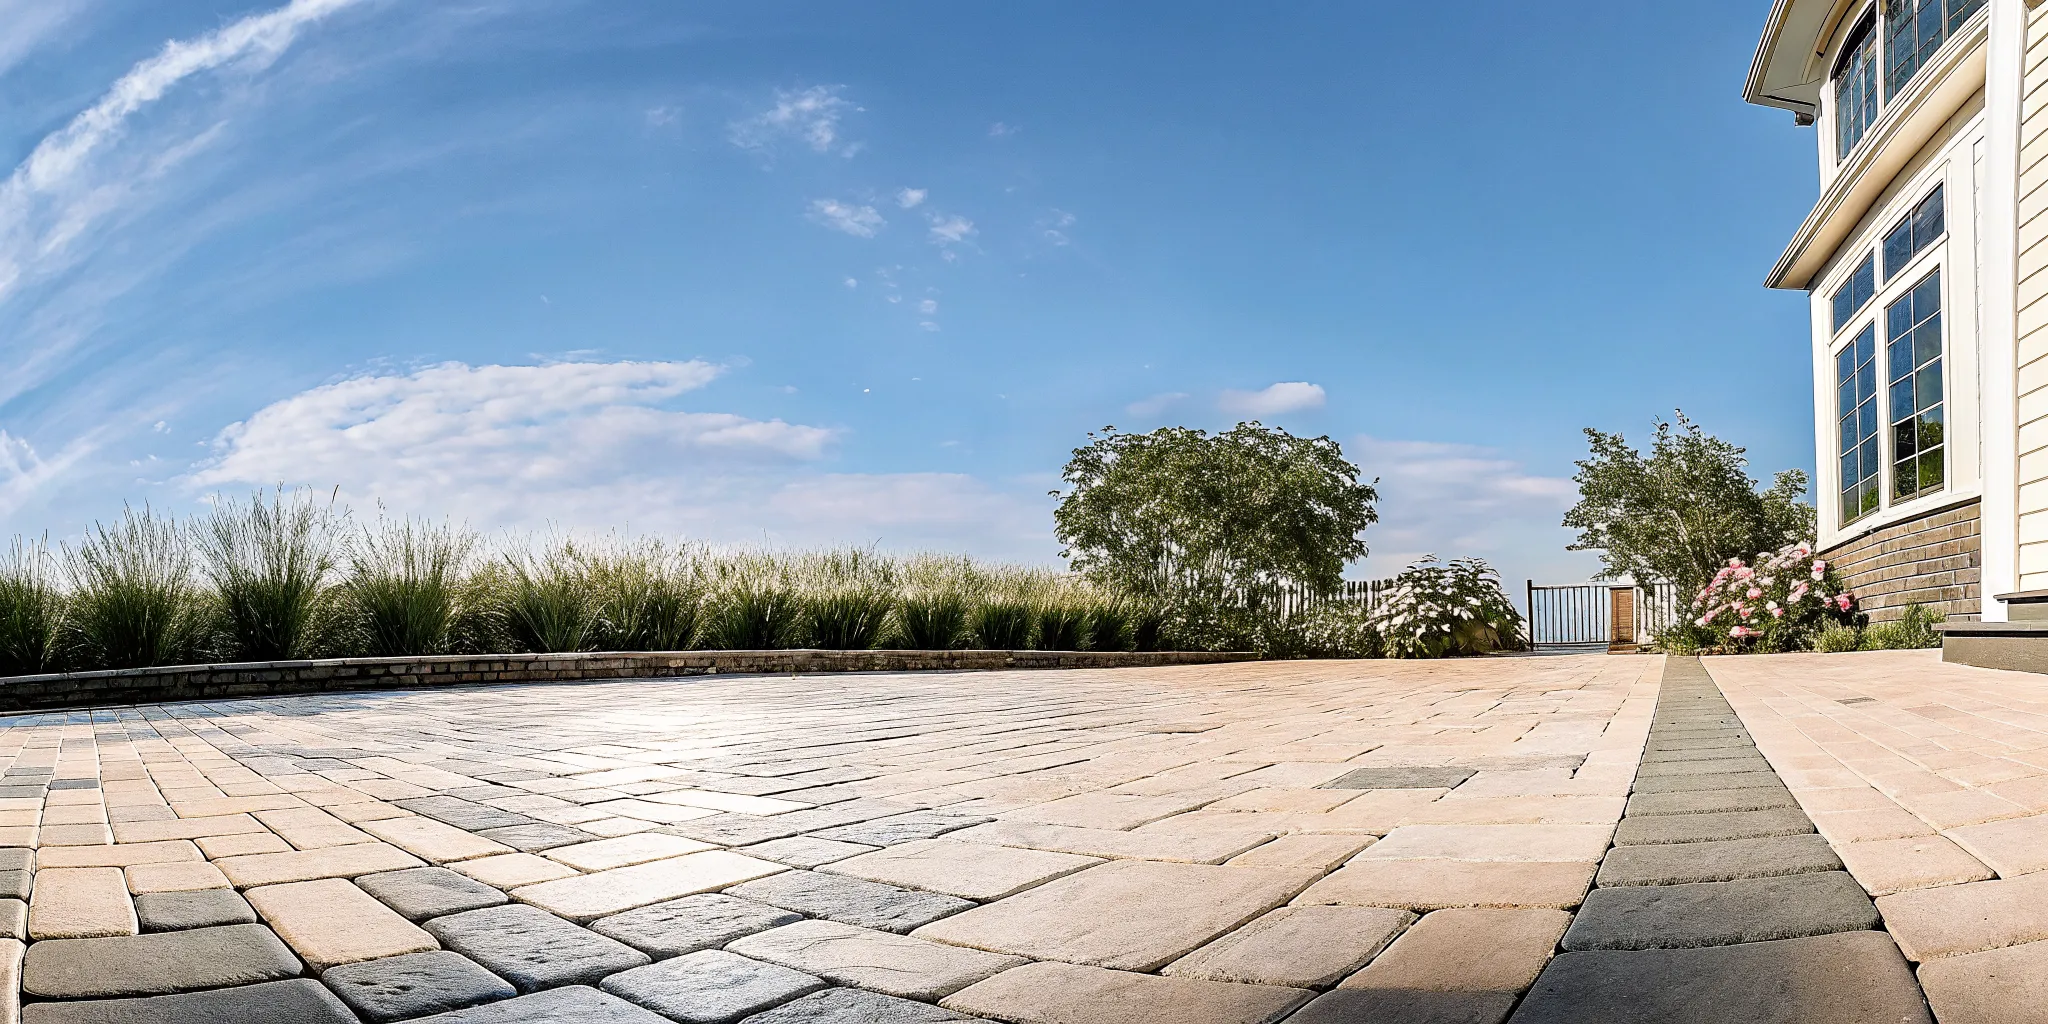
Can 24x24x2 pavers be used for driveways?
In brief: They can be used for some driveway installations when the chosen product is approved for vehicular use and the complete assembly is designed for the expected loads. The paver, base, drainage, joints, and edge restraint must work as one system.
A driveway places repeated wheel loads on specific travel paths. Turning, braking, delivery vehicles, and edges can introduce concentrated stresses. That is why a two-inch thickness should never be treated as the only qualification. Product specifications and site conditions determine whether an option is appropriate.
The base is the hidden structure of the driveway. Excavation depth, subgrade condition, aggregate selection, lift thickness, and compaction all affect performance. Drainage must move water away from the paving assembly and nearby structures. Edge restraint helps keep the field from spreading under use. These are construction decisions, not finishing touches.
Large-format units make planning especially important because the joint grid is prominent. Designers can align the pattern with the garage doors, front walk, or facade. Borders may provide a visual frame and help resolve dimensions that do not fit the two-foot module evenly. Homeowners should ask for a plan that explains load suitability and layout, rather than selecting on appearance alone.
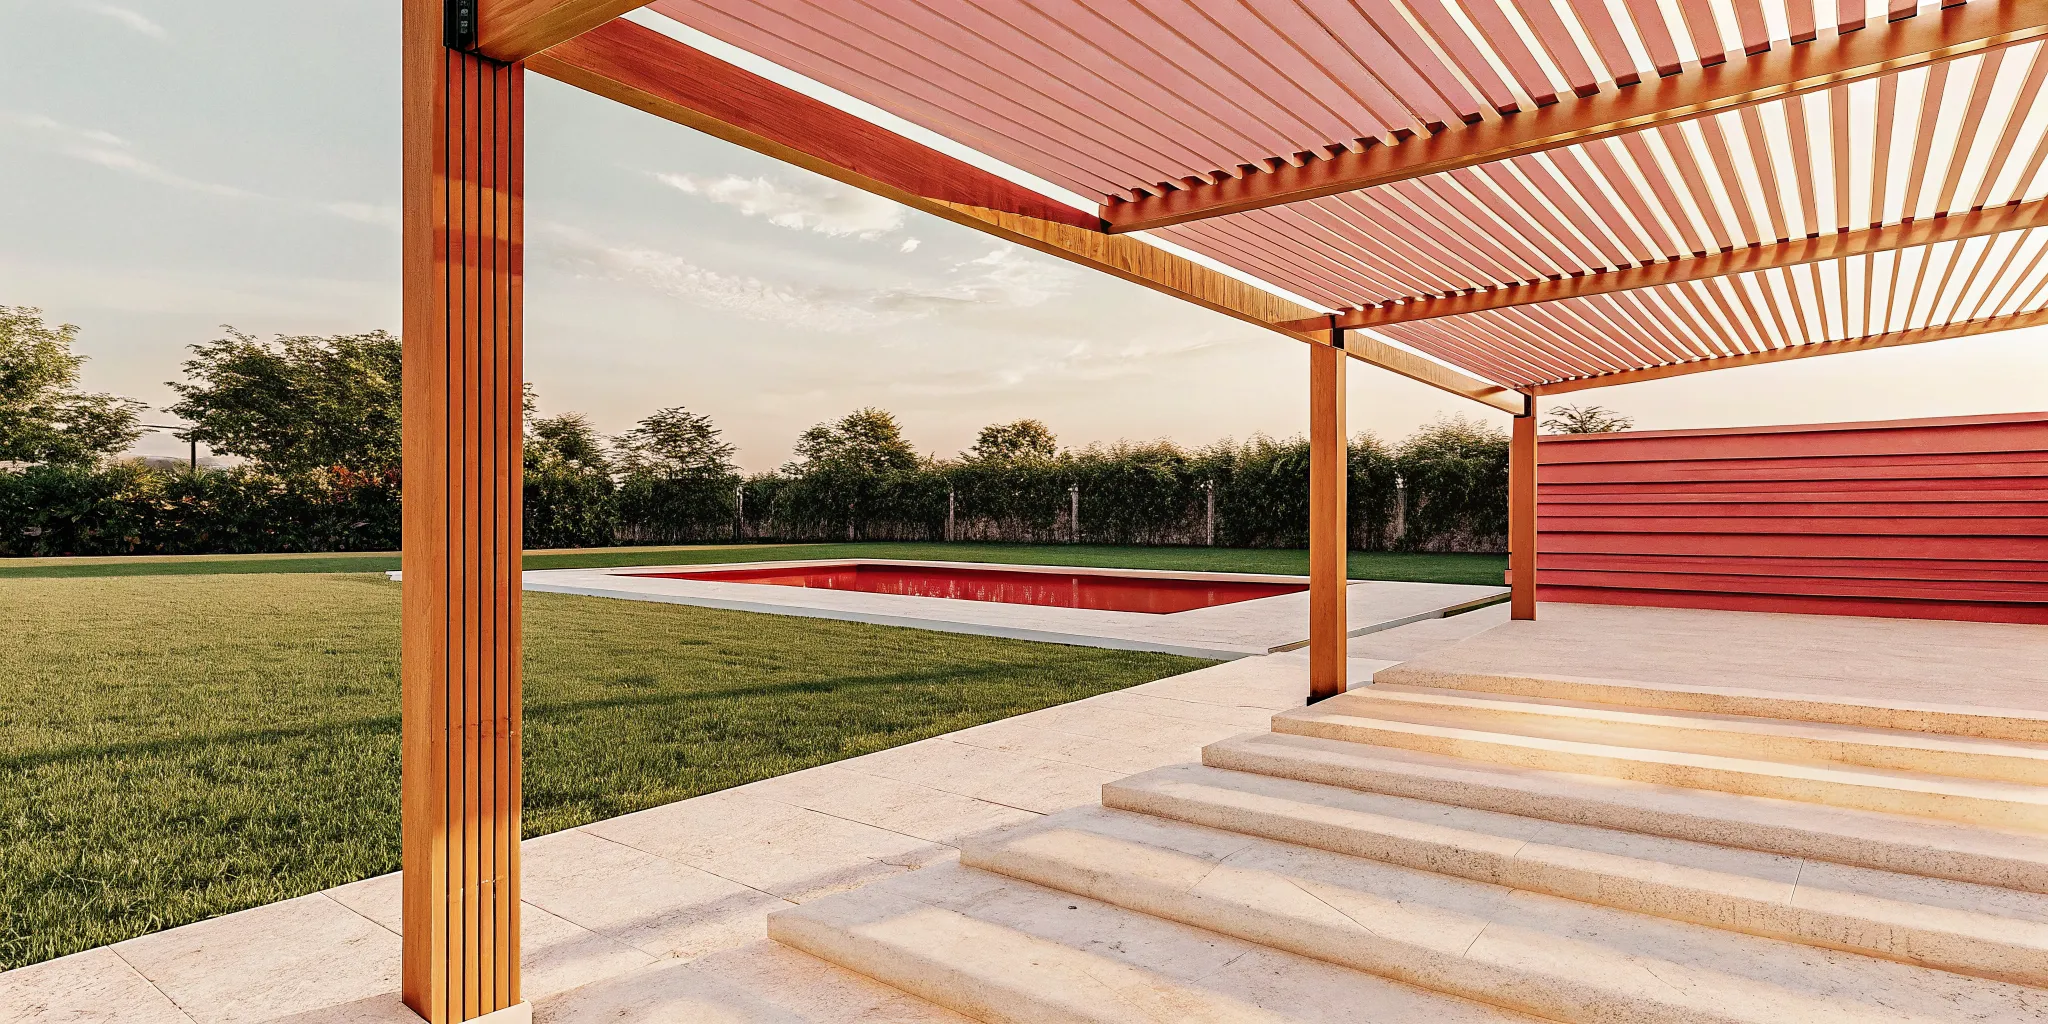
What matters most for patios and pool decks?
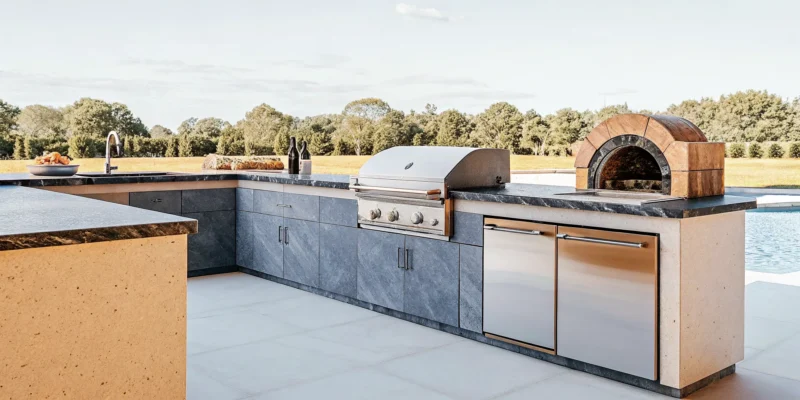
In brief: For patios and pool decks, prioritize drainage, comfortable circulation, surface texture, transitions, and a layout that works with furniture and pool geometry. The best-looking material must also support everyday outdoor use.
A patio is a working room. Dining chairs need stable placement. Door thresholds should transition cleanly. Water should move away from the home, and the finished elevation must account for steps, landscape beds, and adjacent lawn. A large-format layout can help define dining, cooking, and lounge zones without building visual clutter into the floor.
Pool decks add wet feet, splashing, coping interfaces, drains, and equipment access. Surface characteristics should be assessed for the intended setting, and the material should be reviewed in bright sun. Light-colored surfaces may create a different visual and comfort experience than darker selections. The pattern should also resolve cleanly around the pool shape.
Visit Gappsi’s swimming pool design and construction page to see how pool planning connects with the surrounding landscape. The U.S. Environmental Protection Agency also provides general information about permeable pavement and stormwater, which can help homeowners understand why drainage deserves early attention.
How does a strong installation plan prevent problems?
In brief: A strong installation plan matches the assembly to the soil, load, drainage, and selected product before construction begins. It also resolves elevations, joints, borders, cuts, and transitions on paper instead of improvising them in the field.
Start with the site
The installer should understand existing grades, drainage paths, subgrade conditions, access constraints, and nearby structures. Long Island properties vary, so a method that works on one site should not automatically be copied to another. Water movement is particularly important because trapped water and seasonal temperature changes can affect outdoor paving systems.
Build and verify the base
Base preparation must follow the selected system and project conditions. Consistent compaction and grade help the broad paver faces remain aligned. If utilities, drains, or future structures need accommodation, those details should be coordinated before the finished surface is placed.
Protect the edges and joints
Perimeter restraint and joint treatment help the surface operate as intended. Their form depends on the product and installation method. The Concrete Masonry and Hardscapes Association is an additional industry resource for homeowners who want to learn more about segmental paving systems.
Request a Gappsi consultation before finalizing your paver installation plan.
What should you ask during a design consultation?
In brief: Ask about application suitability, base design, drainage, pattern layout, edge details, material variation, maintenance, and how the paving will connect with the rest of the property. Clear answers reveal whether the complete space has been considered.
- Is this exact product approved for the planned use? A driveway, patio, and pool deck may need different specifications.
- How will drainage be handled? Ask where water will go and how grades relate to the home, pool, and landscape.
- Where will cuts and borders appear? A drawing should show how the two-foot module fits the site.
- How will transitions be finished? Review thresholds, steps, coping, planting beds, and adjacent paving.
- What variation should we expect? Understand the natural or manufactured range before approving a material.
- How should the surface be maintained? Get guidance tailored to the selected material and exposure.
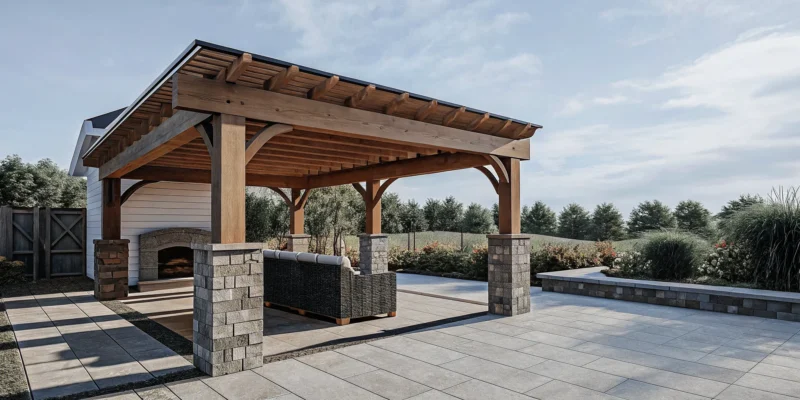
Bring photographs, approximate dimensions, and examples of styles you like. If the project includes a future pool, outdoor kitchen, pergola, or landscape renovation, mention it early. A coordinated plan can prevent a paving decision from limiting the next phase.
Why use a design-build approach on Long Island?
In brief: A design-build approach coordinates material selection, layout, grading, construction, and surrounding outdoor features through one planning process. That coordination is valuable when large-format paving must align with pools, masonry, landscaping, and architecture.
Gappsi has served Long Island since 1987 and works across specialized outdoor-living divisions. For a homeowner, the practical advantage is the ability to discuss the pavers as one part of a larger property plan. Material choice can be evaluated alongside a pool deck, retaining wall, steps, landscape, lighting, or outdoor kitchen rather than in isolation.
The Smithtown showroom also gives homeowners an opportunity to compare real materials. Photographs are useful for direction, but samples reveal scale, texture, edge character, and color more clearly. A consultation can then turn those preferences into a site-specific layout and construction plan for a Nassau or Suffolk County property.
Large-format pavers reward careful decisions. When the material, module, base, and surrounding features are coordinated, the result can feel simple without being generic. That is the core opportunity presented by 24x24x2 pavers: a strong visual framework supported by disciplined planning.
Frequently asked questions about 24x24x2 pavers
Are 24x24x2 pavers suitable for every driveway?
No. Suitability depends on the exact product specification, expected vehicle loads, base design, drainage, and installation system. Confirm that the selected unit is approved for vehicular use and have the complete assembly planned for the site.
Do large pavers make a small patio look bigger?
They can create a calmer surface with fewer visual breaks, which may make a compact space feel more open. The outcome depends on pattern direction, perimeter cuts, furniture placement, and how the paving connects to surrounding features.
What is the best material for a pool deck?
There is no single best material for every pool deck. Compare options based on intended exterior use, surface characteristics, exposure, maintenance, appearance, and compatibility with coping and drainage. Review physical samples before deciding.
Where can I see paver samples on Long Island?
Homeowners can contact Gappsi about visiting the Smithtown showroom to compare outdoor paving materials and discuss a site-specific design. Bring project photographs and approximate dimensions to make the consultation more productive.
Plan your 24x24x2 paver project with Gappsi
Whether you are planning a driveway, patio, or pool deck, the right result starts with a material and installation strategy tailored to the property. Gappsi can help Long Island homeowners compare options, resolve the large-format layout, and coordinate the paving with a broader outdoor-living plan.
Contact Gappsi to request a consultation or plan a visit to the Smithtown showroom.